

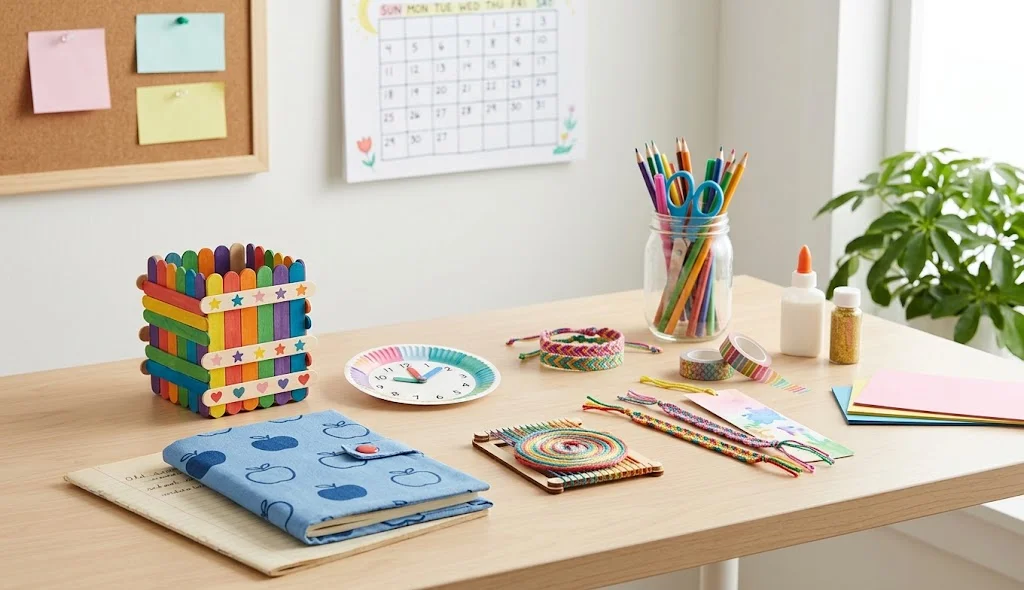
School projects are a great opportunity to combine learning with creativity. Instead of buying ready-made decorations or project accessories, students can make useful and attractive items with simple materials available at home.
DIY crafts for school can include study organizers, classroom decorations, project displays, pencil accessories, learning tools, and creative stationery. These projects are suitable for students who want to make something practical while also adding a personal touch to their schoolwork.
In this guide, you will find easy DIY crafts for school methods that use affordable materials and can be customized for different subjects and school projects.
What Are DIY Crafts for School?
DIY crafts for school are handmade projects designed for students, school activities, classroom displays, assignments, and everyday study needs. They can be decorative, educational, or practical.
With materials such as cardboard, paper, recycled containers, craft sticks, string, markers, and fabric scraps, students can create useful school supplies and project decorations without spending much money.
DIY Crafts for School Methods
1. DIY School Supply Organizer
Create a simple organizer to keep pens, pencils, rulers, and other supplies together.
Materials:
- Cardboard boxes
- Colored paper
- Glue
- Scissors
- Markers
- Ruler
Method:
- Collect two or three small cardboard boxes.
- Cut them to different heights.
- Cover the boxes with colored paper.
- Arrange and glue them together.
- Label each section for different school supplies.
- Decorate the outside with your favorite patterns.
This is useful for keeping a study desk organized.
2. DIY Subject Divider Tabs
Make colorful divider tabs for notebooks and school folders.
Materials:
- Cardstock
- Scissors
- Markers
- Tape
- Hole punch
Method:
- Cut cardstock into small rectangular pieces.
- Write a subject name on each tab.
- Decorate the tabs with simple patterns.
- Cover them with transparent tape for extra durability.
- Attach them to notebook pages or folder sections.
Create different tabs for mathematics, science, English, history, and other subjects.
3. DIY Cardboard Study Stand
Make a lightweight stand for holding textbooks or notes while studying.
Materials:
- Strong cardboard
- Pencil
- Ruler
- Scissors or craft knife
- Glue
- Decorative paper
Method:
- Draw two matching support pieces on cardboard.
- Cut the pieces carefully.
- Create a base section that connects both supports.
- Glue the pieces together securely.
- Cover the finished stand with decorative paper.
Make sure an adult helps with cutting thicker cardboard when necessary.
4. DIY Homework Reminder Board
Create a small board to keep track of homework and school tasks.
Materials:
- Cardboard
- Colored paper
- Sticky notes
- Markers
- String
- Glue
Method:
- Cover a cardboard sheet with colored paper.
- Divide it into sections such as “Today,” “This Week,” and “Completed.”
- Add labels using markers.
- Attach string or decorative borders around the edges.
- Use sticky notes to record assignments.
This craft can make homework planning more visual and manageable.
5. DIY Pencil Topper Characters
Make fun pencil toppers using lightweight craft materials.
Materials:
- Foam sheets or cardstock
- Glue
- Markers
- Scissors
- Pencils
Method:
- Draw small character shapes on foam or cardstock.
- Cut out two matching pieces.
- Decorate the pieces with faces and details.
- Glue the edges while leaving the bottom open.
- Slide the finished topper onto a pencil.
Create animals, stars, monsters, fruits, or simple cartoon-style characters.
6. DIY Mini School Timetable
Turn a piece of cardstock into a reusable school timetable.
Materials:
- Cardstock
- Ruler
- Markers
- Decorative tape
- Clear protective sheet
Method:
- Draw a grid with columns for school days.
- Add rows for different class periods.
- Write your subjects in the appropriate spaces.
- Decorate the borders.
- Cover the timetable with a clear protective sheet.
Place it near your study area so your schedule is easy to see.
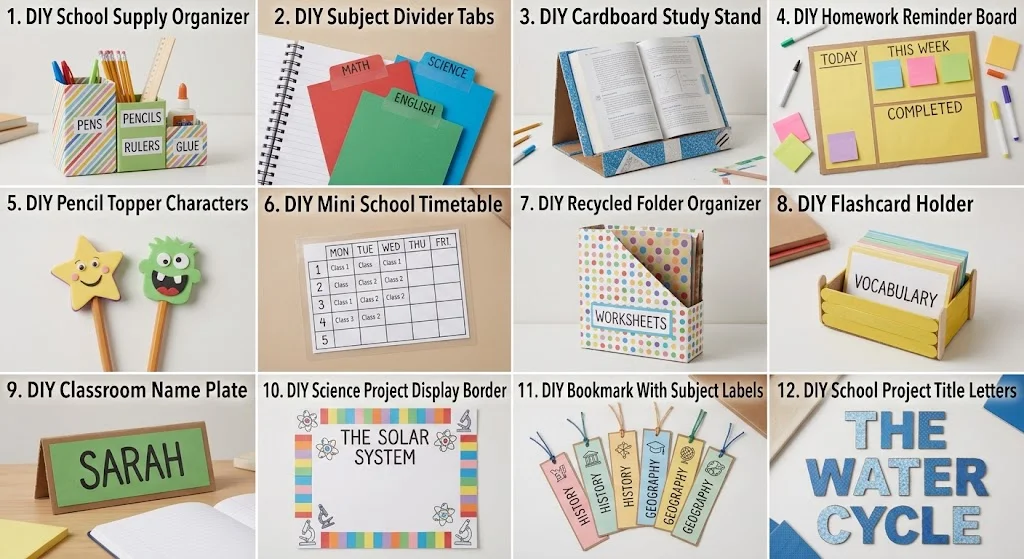
7. DIY Recycled Folder Organizer
Turn an old cereal box into a useful school folder organizer.
Materials:
- Empty cereal box
- Wrapping paper or colored paper
- Glue
- Scissors
- Labels
Method:
- Clean and flatten the box.
- Cut one side diagonally to create an open folder shape.
- Cover the box with decorative paper.
- Glue the paper securely.
- Add a label for worksheets, assignments, or notes.
This is an easy way to reuse packaging instead of throwing it away.
8. DIY Flashcard Holder
Make a small holder to organize study flashcards.
Materials:
- Cardboard
- Craft sticks
- Glue
- Colored paper
- Markers
Method:
- Cut cardboard into a rectangular base.
- Attach craft sticks around the base to create low sides.
- Cover the structure with colored paper.
- Add a label for the subject.
- Place your flashcards inside.
You can make separate holders for vocabulary, formulas, definitions, or revision notes.
9. DIY Classroom Name Plate
Create a personalized name plate for a desk or school project.
Materials:
- Thick cardboard
- Colored paper
- Markers
- Glue
- Decorative stickers
Method:
- Cut cardboard into a rectangular or creative shape.
- Cover it with colored paper.
- Write the name clearly in the center.
- Add simple borders and decorations.
- Fold the bottom section to make a standing base.
This can also be adapted for project presentations.
10. DIY Science Project Display Border
Give a school science project a neat handmade presentation border.
Materials:
- Poster board
- Colored paper
- Ruler
- Glue
- Markers
Method:
- Choose a color theme related to your project.
- Cut paper strips for the border.
- Arrange them around the edges of the poster.
- Glue them evenly.
- Add small subject-related drawings or labels.
Keep the center area clear so the main information remains easy to read.
11. DIY Bookmark With Subject Labels
Create a reusable bookmark designed specifically for school textbooks.
Materials:
- Thick cardstock
- Hole punch
- String
- Markers
- Decorative paper
Method:
- Cut cardstock into a narrow bookmark shape.
- Write the subject name at the top.
- Add simple educational symbols or patterns.
- Punch a hole near the top.
- Attach a piece of string.
Make a different bookmark for each textbook or subject.
12. DIY School Project Title Letters
Make large decorative letters for a school project display.
Materials:
- Cardboard
- Pencil
- Ruler
- Scissors
- Colored paper
- Glue
Method:
- Sketch large letters on cardboard.
- Cut each letter carefully.
- Cover the letters with colored paper.
- Add patterns around the edges.
- Arrange the letters to create your project title.
This can make a simple school presentation look more creative and organized.
Tips for Making DIY Crafts for School
- Choose lightweight materials that are easy to carry.
- Use strong glue when making items that will be handled frequently.
- Keep school projects neat and readable.
- Choose colors that complement your project subject.
- Reuse cardboard boxes and packaging whenever possible.
- Avoid adding too many decorations to educational displays.
- Make labels large enough to read from a distance.
- Ask an adult for help when using sharp cutting tools.
- Test handmade organizers before placing heavy supplies inside them.
Best Materials for School Crafts
You can create many DIY crafts for school using inexpensive materials such as:
- Cardboard
- Cardstock
- Colored paper
- Cereal boxes
- Craft sticks
- Foam sheets
- String
- Markers
- Glue
- Decorative tape
- Recycled containers
- Sticky notes
- Fabric scraps
DIY Crafts for Different School Activities
Different crafts can be useful for different school situations.
For studying:
Try a flashcard holder, timetable, study stand, or homework reminder board.
For school projects:
Create title letters, display borders, name plates, and subject-themed decorations.
For organizing:
Make supply organizers, folder organizers, and notebook divider tabs.
For classroom decoration:
Create name plates, subject labels, educational displays, and project borders.
Why Make DIY Crafts for School?
DIY school crafts can encourage creativity while providing practical solutions for everyday school needs. Students can customize each project according to their favorite colors, subjects, and personal style.
They are also a useful way to reuse materials that might otherwise become waste. An ordinary cardboard box can become a folder organizer, while leftover cardstock can become divider tabs or project decorations.
Final Thoughts
DIY crafts for school are an easy way to make schoolwork more creative, organized, and personal. From supply organizers and homework boards to flashcard holders, project decorations, pencil toppers, and handmade timetables, there are plenty of useful projects students can make with simple materials.
Start with one easy project and customize it with your favorite colors, patterns, and subject themes. With a little creativity, everyday materials can become practical school crafts that are both useful and fun to make.