

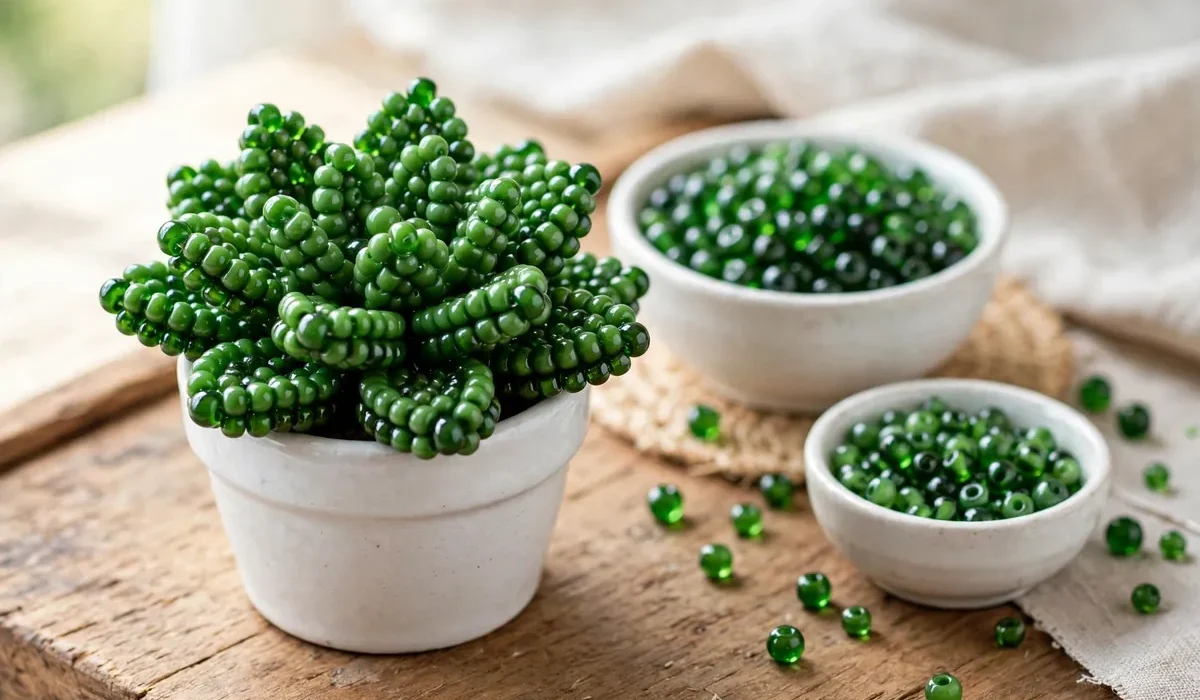
A succulent bead plant is a tiny work of art. With just beads, wire, and a small pot, you can create a beaded succulent that looks like a real echeveria, jade plant, or string of pearls, but never needs water or sunlight.
Why Beaded Succulents Are So Popular
Succulents are beloved for their sculptural shapes and low-maintenance charm, and beaded succulents capture both qualities. A beaded succulent gives you the look of a real succulent with zero upkeep. It will not rot from overwatering, stretch toward the light, or drop leaves on your desk.
Supplies for a Beaded Succulent
You do not need many supplies to make a beaded succulent. Seed beads: Size 8 or 6 seed beads in two or three shades of green work best for a realistic succulent. Add a darker green for the outer leaves and a lighter green for the center. For a decorative succulent, try teal, blue-green, or dusty purple beads. Craft wire: Thin 28-gauge wire for leaves, and thicker 20 or 22-gauge wire for the stem and base. A tiny pot: Mini terracotta pots, small ceramic pots, or even bottle caps make charming homes for beaded succulents. A pot about 1 to 2 inches wide is ideal. Floral foam or modeling clay: To anchor the succulent inside the pot.

How to Make a Beaded Succulent Leaf
The leaf is the building block of every beaded succulent. This method uses the loop-and-twist technique, which is sturdy, quick, and beginner-friendly. Real rosette succulents have leaves that are wide at the base, pointed at the tip, and slightly cupped. Your beaded succulent will use three leaf sizes: large outer leaves, medium middle leaves, and small center leaves. Step 1: Cut the wire. Cut a 10 inch piece of 28-gauge wire, one per leaf. Step 2: Thread the beads. Thread beads onto the wire. For a large outer leaf, thread 14 to 16 beads. For a medium leaf, thread 11 to 13 beads. For a small center leaf, thread 8 to 10 beads. Push the beads to the center of the wire. Step 3: Form the leaf. Fold the wire in half so the beads form a loop, with the two wire ends meeting at the base. Twist the ends together two or three times to close the loop. You now have a single beaded leaf. Step 4: Shape the leaf. Gently pinch the loop at the tip to create a slight point, and press the middle of the loop outward so the leaf cups slightly. For one rosette succulent, make about 6 large leaves, 5 medium leaves, and 4 small leaves, for a total of about 15 leaves.
Assembling the Beaded Succulent Rosette
Step 1: Build the center. Take the small leaves and twist their wires together to form a tight cluster. This is the center of the rosette. Step 2: Add the middle layer. Arrange the medium leaves around the center cluster, spacing them evenly. Twist their wires together with the center cluster wires. Step 3: Add the outer layer. Arrange the large leaves around the outside, spacing them evenly between the medium leaves. Twist all the wires together to form a single stem. Step 4: Wrap the stem. Wrap the joined wires with green floral tape to hide the wire, and trim any excess with wire cutters. Step 5: Pot the succulent. Place floral foam or modeling clay inside your tiny pot, push the stem in until the rosette sits level, cover the foam with pebbles or moss, and fluff the leaves until the plant looks balanced.
Beaded String of Pearls and Design Variations
A beaded string of pearls is a fun variation that uses a different technique. Instead of a rosette, you make long trailing strands of round beads. To make one strand, cut a piece of 28-gauge wire about 18 inches long. Thread on a single round bead, then thread the wire back through the bead to lock it in place. Continue adding beads one at a time, spacing them about half an inch apart, until the strand is as long as you want. Make 5 to 7 strands of different lengths. Gather the strands together at the top, twist the wires, and anchor them in a small pot with floral foam. Let the strands trail over the edge of the pot. Once you have mastered the basic rosette, try these variations. Try an echeveria with dusty blue-green leaves, a jade plant with round leaves on branching stems, or an aloe with long, upright leaves. Beaded succulents look best in groups of three or five, and they make wonderful gifts.
Frequently Asked Questions
How long does it take to make a beaded succulent?
A small rosette takes one to two hours. A trailing string of pearls takes about 45 minutes to an hour.
What size beads are best for beaded succulents?
Size 8 or 6 seed beads are ideal for most beaded succulents because they are easy to handle and give leaves a smooth, realistic texture.
Can beginners make beaded succulents?
Yes. Beaded succulents are one of the best beginner bead crafts because they are built from one repeated leaf shape.
How do I clean a beaded succulent?
Dust gently with a soft brush. Avoid water, and keep beaded succulents out of prolonged direct sunlight, since colors can fade.
Can I sell beaded succulents I make?
Yes. They sell well at craft fairs and online shops, and they are lightweight and easy to ship.
Final Thoughts
A succulent bead plant is a small project with a big payoff. With a handful of beads, a length of wire, and a tiny pot, you can create a lasting piece of handmade decor that captures all the charm of a real succulent with none of the upkeep. Start with one simple rosette and soon you will be making whole collections.