

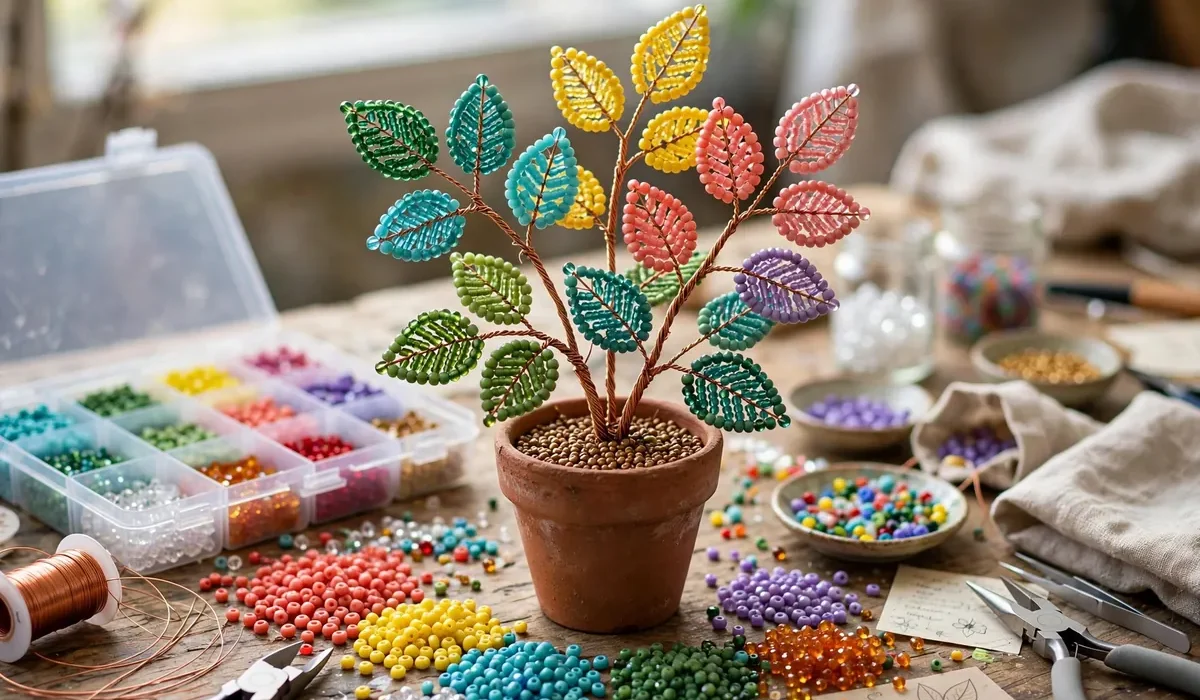
A plant made of beads is one of the most satisfying crafts you can make. It never needs water, it never wilts, and it adds a sparkle of color to any shelf, desk, or windowsill. Whether you want a tiny potted plant for your desk, a handmade gift for a friend, or a relaxing weekend project, a beaded plant is a wonderful place to start.
Why Make a Beaded Plant?
Beaded plants have become a favorite craft for good reason. They are affordable, portable, and endlessly customizable. You can make a plant in any color, size, or style, from a realistic leafy houseplant to a whimsical, rainbow-colored creation. They are also perfect for people who love plants but struggle to keep real ones alive. A beaded plant gives you the look of greenery without watering schedules, sunlight worries, or pests. It is also a great gift, because it lasts forever and shows the care that went into making it by hand.
Supplies You Need
One of the best things about this craft is that you do not need much to get started. Seed beads or glass beads: Size 8 or 6 seed beads in green are a great starting point for leaves. Add a few accent colors for flowers or berries. Craft wire: Thin, flexible beading wire in 26 or 28 gauge works well for leaves. Thicker 20 or 22 gauge wire works for stems. A small pot: A mini terracotta pot, a small ceramic pot, or even a teacup makes a charming home for your beaded plant. Floral foam or modeling clay: To anchor the stems inside the pot. Wire cutters and round-nose pliers: For cutting wire and shaping loops. Green floral tape: To wrap stems and give them a finished, plant-like look. Optional extras: Small decorative pebbles, moss, or tiny artificial flowers to decorate the top of the pot.
Basic Beading Techniques
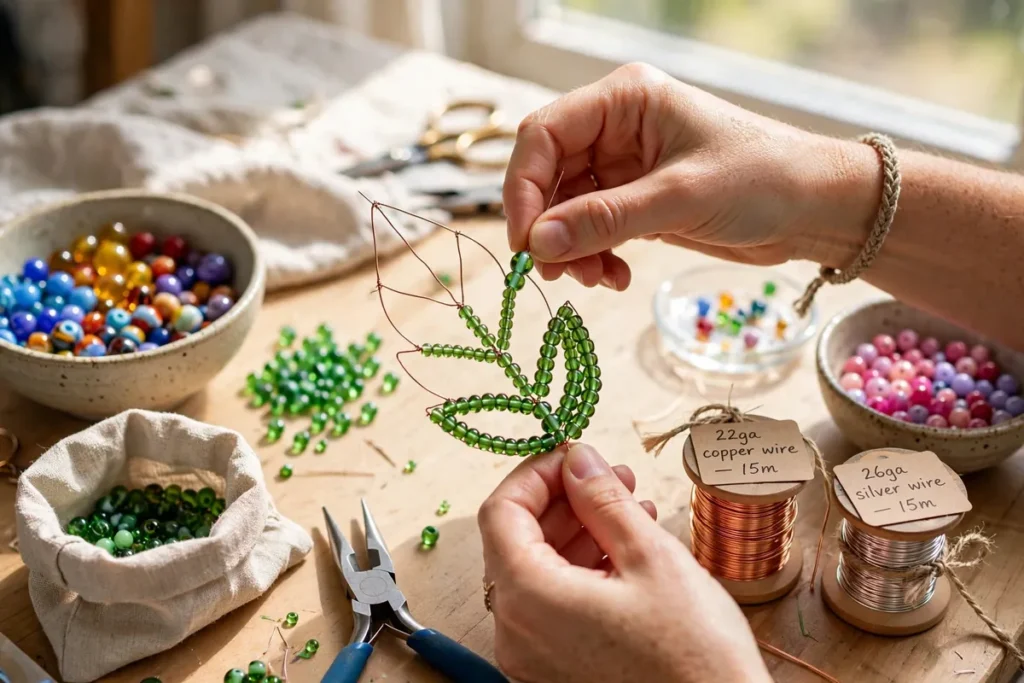
Every beaded plant is built from a few simple techniques. Once you learn these three, you can make almost any beaded plant design. The loop method is the easiest way to make a leaf. Thread a group of beads onto a piece of wire, then bend the wire back to form a loop, twisting the ends together at the base. A loop of 10 to 15 beads makes a small leaf. Larger loops make larger leaves. The fringe method creates a strand of beads that hangs like a trailing vine. Thread beads onto a wire, leaving a small loop at the end, then thread back through all but the last few beads. This creates a dangling strand with a small cluster of beads at the tip. Fringe strands are perfect for trailing plants. The woven leaf method makes a flatter, more realistic leaf. Thread beads onto a wire in rows, passing the wire back through each row to build up the leaf shape. Start with the loop method, then try the fringe and woven methods to add variety.
Step-by-Step: Make a Simple Beaded Plant
This project makes a small, leafy beaded plant in a mini pot. It takes about one to two hours and is suitable for complete beginners. Step 1: Make the leaves. Cut a piece of 28-gauge wire about 12 inches long. Thread on 12 green seed beads, then bend the wire to form a loop, twisting the two ends together at the base. Repeat to make a second loop on the same wire, then a third. You now have a small cluster of three leaves on one stem. Make 8 to 10 of these leaf clusters. Step 2: Build the stems. Twist two or three leaf clusters together to form a thicker stem, wrap it with green floral tape, and repeat until you have 4 to 5 stems. Step 3: Add flowers or berries (optional). For flowers, make five small loops of contrasting beads on one wire and attach it to a stem with floral tape. For berries, attach short wires with 3 to 5 red or purple beads among the leaves. Step 4: Assemble the plant. Place floral foam or modeling clay inside your pot. Push stems into the foam at different heights, taller in the center, and adjust until the plant looks full and balanced. Step 5: Finish the pot. Cover the foam with pebbles or moss, shape the leaves so they fan outward, and your beaded plant is finished.
Design Ideas and Tips for a Professional Finish
Once you have made your first plant, try more designs. A leafy houseplant with green leaves in different shades gives a full, bushy look. A flowering plant adds bright pink, yellow, or white beaded flowers among the green leaves. A trailing vine uses long fringe strands of beads that spill over the edge of a hanging pot. Keep your bead tension even. Beads strung too loosely will sag, while beads strung too tightly can kink the wire. Aim for a smooth, even row of beads with no gaps. Choose a pot that fits the plant. A pot about one-third the height of the finished plant usually looks balanced.
Frequently Asked Questions
How long does it take to make a beaded plant?
A small beaded plant takes one to two hours. Larger plants can take three to five hours.
What beads are best for a beaded plant?
Seed beads in size 8 or 6 are a good starting point because they are easy to handle and widely available.
What wire should I use for beaded plants?
Use 26 or 28 gauge wire for leaves and 20 or 22 gauge for stems. Cut beading wire with wire cutters, not scissors.
Can kids make beaded plants?
Kids around age 10 and up can make simple beaded plants with adult supervision, since wire ends can be sharp.
How do I clean a beaded plant?
Dust gently with a soft brush. Avoid water, and keep beaded plants out of direct sunlight, since colors can fade.
Final Thoughts
A plant made of beads is a craft that anyone can enjoy. It is affordable, relaxing, and endlessly creative, and the finished plant is a lasting piece of handmade decor. Start with a simple leafy plant and the basic loop technique, and enjoy an afternoon of creative crafting.