

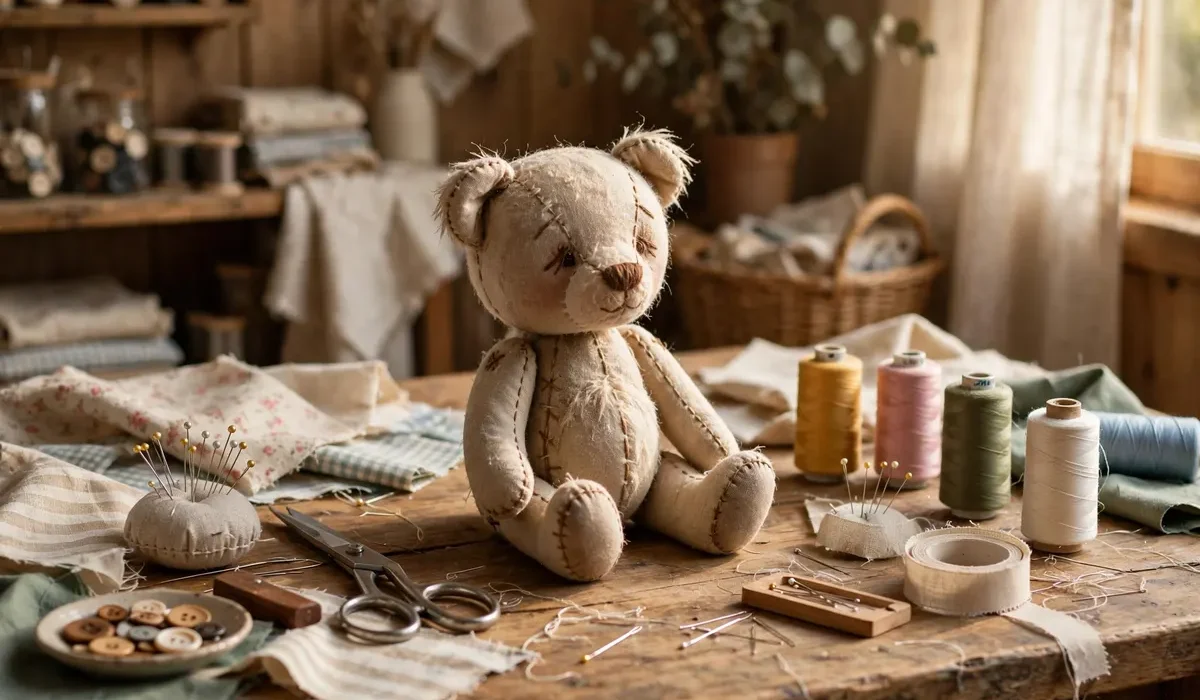
Few handmade toys carry as much meaning as teddy bear. Teddy is first friend, comfort object, keepsake, gift that can stay on shelf for decades. Learning how to make teddy bear at home easier than most people expect. Tutorial is complete step-by-step guide for beginners. Covers choosing fabric, cutting pattern, sewing/stuffing each part, assembling bear, adding face.
What Makes a Handmade Teddy Bear Special
Store bought bear made on production line. Handmade teddy made by one person, slowly, with choices at every step.
Supplies You Will Need
Half meter of plush fabric, fleece, or cotton in brown, cream, or any color you love. Matching thread, hand sewing needle, pins, sharp fabric scissors, fabric marker. Polyester fiberfill stuffing. Two safety eyes or black embroidery thread for eyes, plus black embroidery thread for nose/mouth. Small piece of felt for paw pads/inner ears, ribbon for neck bow, optional.
Step 1: Draw and Cut Your Teddy Bear Pattern
Classic teddy bear has six pattern pieces: head, body, arm, leg, ear, muzzle. You do not need to buy pattern. Draw head as circle about fourteen centimeters across, body as rounded pear shape about twenty centimeters tall, arm as curved shape, leg as slightly larger version. Draw ear as small circle, muzzle as horizontal oval. Cut out each paper shape. You will need two head pieces, two body pieces, four arm pieces, four leg pieces, four ear pieces, one muzzle piece. Pin paper pieces to fabric, trace around them, add about one centimeter seam allowance.
Step 2: Sew the Head and Ears
Place two head pieces with right sides together, pin firmly. Sew around edge with small backstitch, leaving bottom open where will join neck, plus gap about four centimeters at back for turning/stuffing. Turn head right side out. Now attach ears. Sew two ear pieces together, right sides facing, leaving bottom open. Turn them out, pin each ear to top sides of head, sew in place.
Step 3: Sew the Body, Arms, and Legs
Sew body pieces same way: right sides together, small backstitch, leaving top open at neck, gap at back for stuffing. Sew each arm/leg from two pieces, leaving top open. Turn each piece right side out. Stuff arms/legs lightly so stay soft/floppy. Close open tops with running stitch. Stuff body more firmly than limbs.
Step 4: Stuff the Head and Add the Muzzle
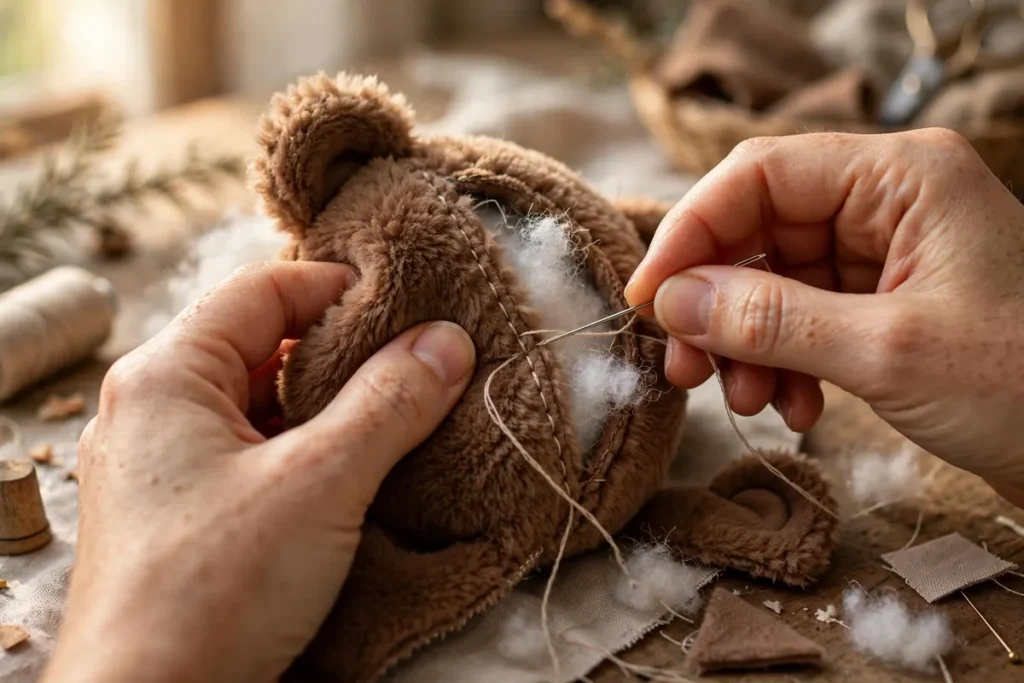
Stuff head in small handfuls of fiberfill, starting at snout area, working toward back. Press head gently from all sides as go. Once head fully stuffed, close stuffing gap with ladder stitch. Now attach muzzle. Pin oval muzzle piece to lower center of head, sew on with ladder stitch, leaving top open. Add small amount of stuffing behind muzzle, then close top.
Step 5: Assemble the Teddy Bear
Work in this order: head to body, then arms, then legs. Pin head to top of body, aligning centers so head sits straight. Sew around neck with strong close stitches, going around twice for security. Next, pin arms to sides of body, just below neck. Sew them on with several strong stitches. Repeat with legs, attaching to lower sides of body. Position legs slightly forward so bear can sit upright on own.
Step 6: Add the Face and Finishing Touches
Face is where teddy gets personality, so work slowly, check placement before sew anything permanent. Mark eye positions with pins. Eyes should sit evenly spaced above muzzle. If using safety eyes, insert now, secure washers firmly. If prefer embroidered eyes, stitch small French knot or filled circle of satin stitch at each marked point. Stitch nose onto muzzle with black embroidery thread. Small upside down triangle is classic teddy nose. Fill in with satin stitch so looks smooth/solid. Then stitch short vertical line down from nose, add gentle curved smile each side. Add felt inner ears/paw pads, tie ribbon around neck, check each limb secure.
Frequently Asked Questions
How long does it take to make a teddy bear?
First teddy bear takes about three to four hours from cutting to finishing.
What is best fabric for a handmade teddy bear?
Fleece and short pile plush fabric best choices for beginners. Soft, easy to cut, forgiving to sew.
Can I make a teddy bear without a sewing machine?
Yes. Entire tutorial designed for hand sewing. Hand stitches give excellent control on small pieces.
Make Your Teddy Today
Now you know exactly how to make teddy bear at home. Draw pattern, cut fabric, sew each piece, bring bear to life one stitch at a time. Start today, explore more plush/sewing tutorials on Hommiest.