

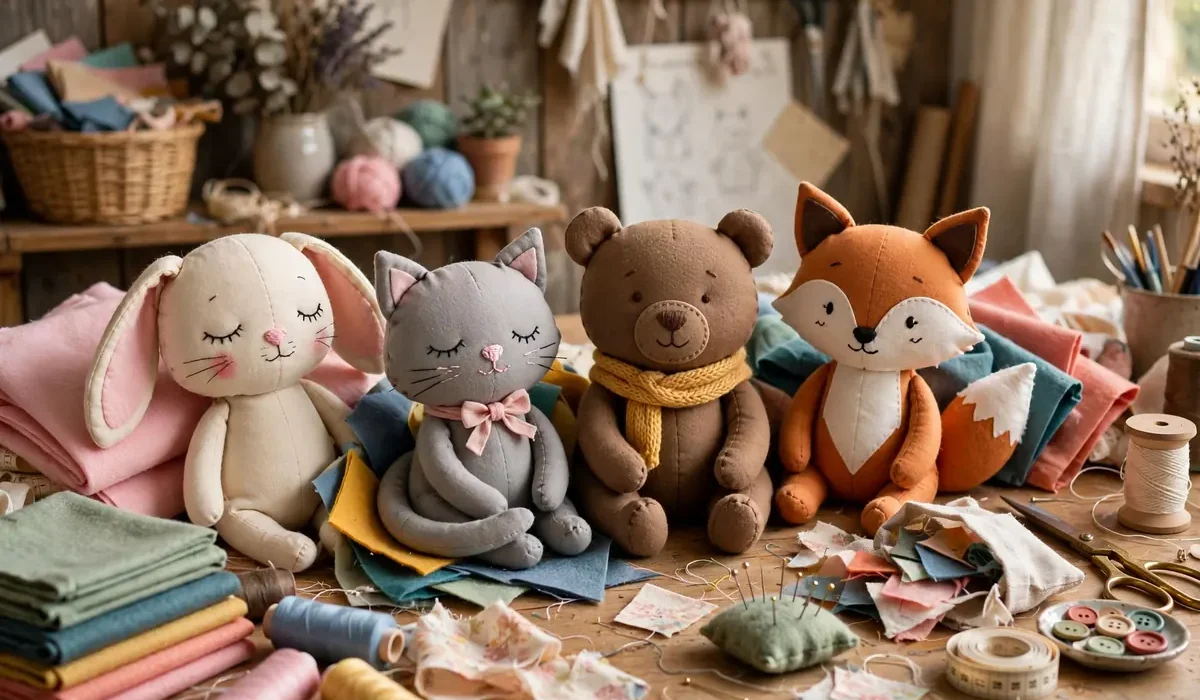
How To Make A Plushie DIY: Easy Beginner Guide With Pattern And No-Pattern Options
Something special about stuffed animal you made yourself. Does not have to be perfect to be loved. Slightly wonky ears and hand-stitched smile are exactly what make homemade plushie charming. If ever wondered how to make plushie DIY style, guide will walk through it, even if never sewn stuffed toy before. Best part: you can make any animal you like: cat, bunny, fox, frog, or completely made-up creature from imagination. You can follow simple pattern, or skip pattern and build plushie from basic shapes. Both methods work, both covered below.
What Is A Plushie?
Plushie, also called plush toy or stuffed animal, is soft toy made from fabric, filled with stuffing. Plushies can be tiny keychain charms or big huggable pillows, make wonderful gifts for kids, friends, anyone who loves cute things. Making own plushie gives full control over animal, colors, size, face. Costs very little in materials, carries far more meaning than store-bought toy.
Supplies You Need To Make A Plushie
You do not need fancy equipment to start. Gather basics: Soft fabric: fleece, felt, cotton, or minky fabric all work well for beginners. Matching thread and hand-sewing needle, or sewing machine if have one. Polyester fiberfill stuffing. Scissors, pins, fabric marker or chalk. Safety eyes or small buttons, or embroidery thread for stitched face. Paper for drawing pattern, if use one. For first plushie, choose light-colored fleece or felt. These fabrics forgiving, do not fray much, small mistakes easy to hide.
How To Make A Plushie DIY: The Basic Steps
Every plushie, no matter animal, follows same basic process. Learn five steps, can adapt to almost any design.
Step 1: Choose Your Animal And Shape
Start simple. Pick animal with round or oval body, like cat, frog, or blob-shaped bunny. Simple shapes easier to sew/stuff, still look adorable. Sketch animal on paper first: big body, two ears, small tail if like.
Step 2: Make Or Choose A Pattern
You can draw own pattern or use free printable plushie pattern from craft site. If draw own, keep lines smooth/simple, add about half centimeter around every edge for seam allowance.
Step 3: Cut Out Your Fabric Pieces
Fold fabric so right sides face each other, pin paper pattern on top, cut carefully. Will need two body pieces, plus matching pairs for ears, arms, or legs.
Step 4: Sew, Stuff, And Close
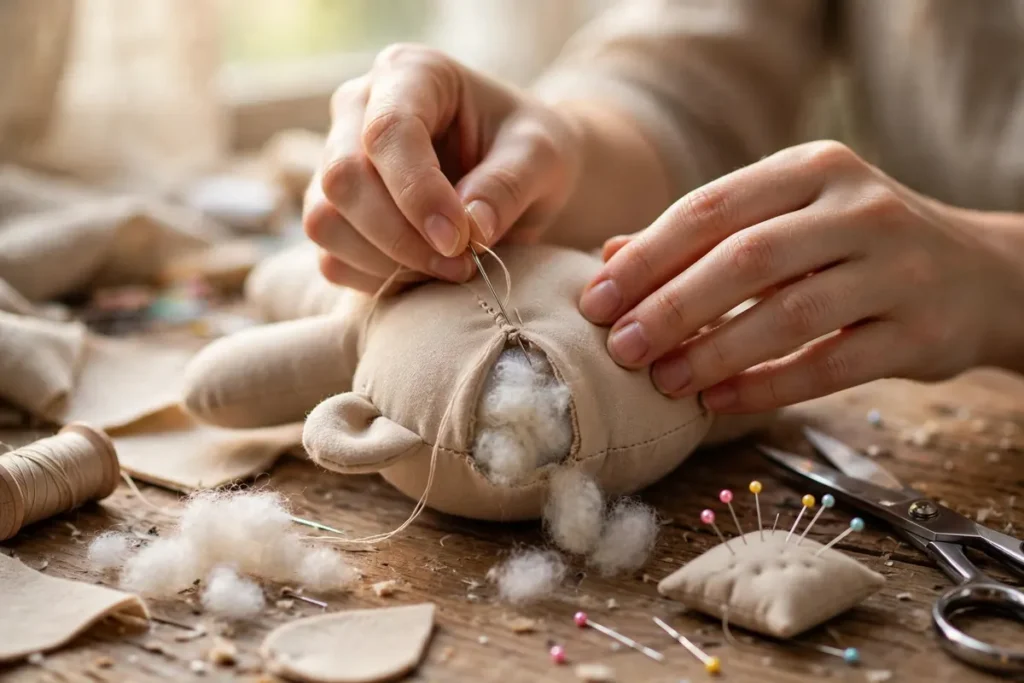
Pin body pieces together with right sides facing inward, tucking ears/limbs between layers where belong. Sew around edge, leaving gap about five centimeters for turning/stuffing. Turn plushie right side out, then fill little at a time. Push small pieces of stuffing into corners with pencil or chopstick for even shape. When feels soft but firm, sew gap closed with hidden ladder stitch.
Step 5: Add The Face And Details
This is where plushie gets personality. Sew on safety eyes or stitch eyes with embroidery thread. Add small nose, smile, or whiskers. For toy meant for baby/toddler, always use stitched features instead of buttons or small parts.
The No-Pattern Plushie Method
If drawing pattern feels intimidating, try no-pattern method. Uses shapes you already know how to cut, perfect for beginners/kids. Start with two identical circles or ovals for body. Then cut two small ears, small oval belly patch in different color. Sew ears between body pieces, stuff, close, add stitched face. You can turn same two-circle base into many animals just by changing ears/colors. Pointed ears plus whiskers make cat. Long ears make bunny. Green body with big eyes makes frog.
Easy Plushie Ideas For Beginners
Not sure which animal to make first? These ideas all use same basic method: Round cat plushie: Two circles, triangle ears, stitched whiskers. Bunny plushie: Oval body, long floppy ears, tiny pom-pom tail. Frog plushie: Green circles, big white eye circles on top, wide smile. Ghost plushie: White body, two black eyes, wavy bottom edge. Perfect for Halloween. Make one for yourself first, then second as gift. Second always turns out better.
Tips For A Neat, Cuddly Finish
Sew slowly around curves, clip tiny notches into seam allowance so fabric lies flat when turned. Do not overstuff. Plushie should feel soft/squeezable, not hard like ball. If stuffing looks lumpy, pull apart into small fluffy pieces first, fill corners before middle. Remember, small imperfections normal. Handmade plushies supposed to look handmade. That is what makes them special.
Frequently Asked Questions
How long does it take to make a plushie?
Small simple plushie takes about one to two hours from cutting to finishing. Larger designs can take three to four hours.
What is best fabric for a beginner plushie?
Fleece and felt easiest fabrics for beginners. Soft, do not fray, easy to sew by hand or machine.
Can I make a plushie without a sewing machine?
Yes. Hand sewing works perfectly for small plushies. Use small backstitch for strong seams, ladder stitch to close stuffing gap invisibly.
Make Your First Plushie Today
You do not need perfect pattern or years of sewing experience to make plushie you will love. Pick simple animal, grab soft fabric, follow steps above. First plushie might be little lopsided, and that is fine. Second one will be better, by third, will be designing own creatures.