

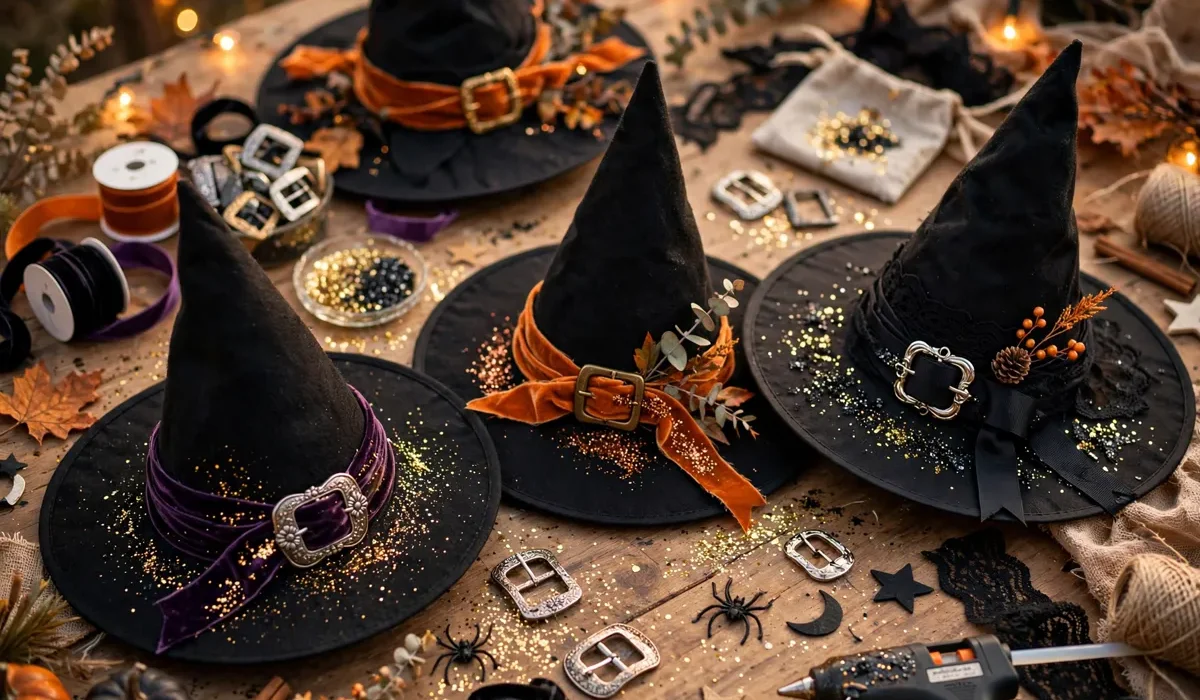
A diy witch hat is the fastest way to finish a Halloween costume at home. Also, you can make one in an afternoon with felt, glue, and ribbon. A classic witch hat has a tall cone and a wide brim, and it suits kids and adults alike. Also, a handmade hat costs far less than a shop bought one. In addition, you can shape the cone tall or short, wide or slim, to fit your own style. In this guide, you will find twelve easy styles, from glittery purple cones to cute mini hats for dolls.
This diy witch hat guide works for every skill level. Even a simple craft project turns out well. There is a style here for every age and every budget. Also, most of these hats use supplies from one trip to the craft store. You need felt, a glue gun, and a few fun extras. Then, pick the style you love most. Next, set aside a relaxed hour to build it. Finally, wear your new hat with pride on Halloween night.
What You Need for DIY Witch Hat
This diy witch hat project starts with black felt, a glue gun, and a wide ribbon. Also, a few simple extras like scissors, tape, and a needle and thread help too. Useful extras include glitter, buckles, and small stars so you can decorate the cone and brim. Also, keep felt sheets close, because one sheet makes a small hat and two make a tall one. Black, purple, and orange felt look best for Halloween. In addition, think about the style you love before you start. A tall cone needs strong felt, and a floppy look needs soft fabric. With those supplies ready, you can build most of these hats in a single hour.
How to Make DIY Witch Hat
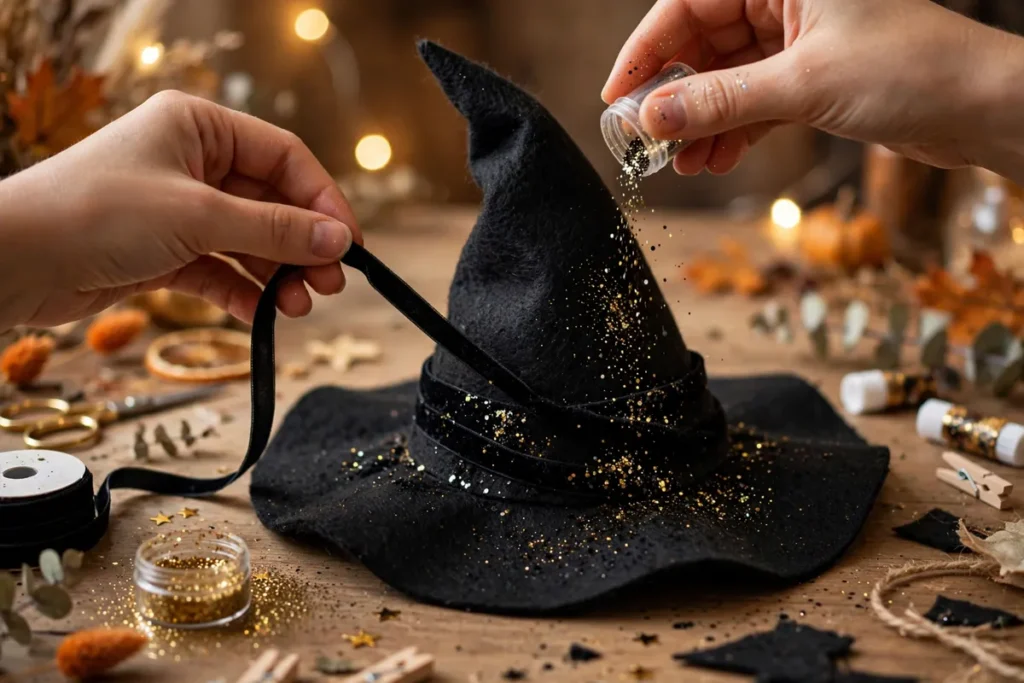
Cut a large circle from felt for the brim. Then, cut a half circle and roll it into a tall cone. Next, glue the cone closed and trim the base so it sits flat. Then, glue the cone onto the center of the brim. After that, wrap a ribbon around the base of the cone. Add glitter, stars, or a buckle for charm. Also, press the seams flat while the glue is still warm. Finally, try the hat on and trim the brim to fit. Then, enjoy your diy witch hat with family and friends on Halloween night.
12 DIY Witch Hat Ideas
1. A Classic Black Cone for DIY Witch Hat
Cut black felt into a tall cone and a wide round brim. Then, glue the cone to the brim and add a purple ribbon. Also, add a small gold buckle at the front for charm. Next, press the brim flat so it holds a neat round shape. This classic style suits every costume, and it takes less than one hour to make.
2. A Glittery Purple Cone
Cover a purple felt cone with fine glitter and let it dry. Then, add silver stars along the brim. Next, tie a black ribbon around the base. Also, sprinkle a little extra glitter on the tip for sparkle. This bright style shines at night, and it suits a bold party look.
3. A Ribbon and Buckle Classic for DIY Witch Hat
Wrap wide ribbon around the base of a black cone. Then, glue a shiny buckle where the ribbon meets at the front. Also, add a small bow on the side for a sweet touch. Next, trim the ribbon ends at a slant for a neat finish. This neat style looks smart, and it works well for school parties.
4. A Mini Hat for Dolls
Cut a small cone and brim from leftover felt scraps. Then, glue the pieces together and add a tiny ribbon. Next, place the hat on a doll or a toy pumpkin. Also, add a tiny star on the tip for charm. This tiny style is a sweet gift, and it uses up spare felt.
5. A Spooky Spider Web Hat for DIY Witch Hat
Paint thin white web lines across a black felt cone. Then, glue a small plastic spider near the tip. Also, add a few silver beads along the brim. Next, paint a small web on the brim edge too. This spooky style thrills brave kids, and it looks great after dark.
6. A Patchwork Felt Hat
Sew small squares of orange, purple, and black felt into a cone. Then, add a matching patchwork brim. Next, stitch a ribbon around the base. Also, sew a few small stars onto the cone for charm. This cozy style feels handmade, and it suits a fun fall party.
7. A Golden Star Hat for DIY Witch Hat
Glue gold paper stars all over a deep purple cone. A gold ribbon around the base adds a rich shine. Sprinkle a little gold glitter on the brim for extra sparkle. One large star at the very tip finishes the look. This starry style looks magical, and it shines in photos.

8. A Cozy Knit Look
Wrap a black felt cone with strips of soft knit fabric. Then, add a chunky yarn bow at the base. Next, stitch a few felt leaves on the brim. Also, add a small felt pumpkin on the side. This warm style suits cool nights, and it feels soft to wear.
9. A Cat Ear Hat for DIY Witch Hat
Cut two small felt ears and glue them to the sides of the cone. Then, add a pink nose and whiskers on the brim edge. Also, paint a cute face on the front of the cone. Next, add a small bell to the tip for fun. This playful style suits young kids, and it pairs well with a cat costume.
10. A Glow in the Dark Hat
Paint the cone with glow in the dark fabric paint. Then, add glow stars along the brim. Next, charge the paint under a bright lamp. Also, add a glow ribbon around the base. This glowing style lights up the night, and it keeps kids easy to spot.
11. A Flower Crown Style
Glue small fabric flowers around the base of the cone. Then, add green leaves between the blooms. Also, tie a soft ribbon bow at the back. Next, add one bright bloom at the tip. This pretty style suits a garden witch, and it works well for daytime parties.
12. A Candy Corn Style
Paint the cone in bands of white, orange, and yellow. Then, add a black ribbon around the base. Next, glue a small candy corn charm on the front. Also, add orange glitter along the brim edge. This sweet style pops in photos, and it suits a fun candy theme.
Tips for a Perfect Homemade Hat
Keep the cone light, because heavy decor can tip the hat. Next, test the glue before the party, because weak glue spoils the shape. Also, use a glue gun with care, because the tip gets very hot. Then, store the hat in a tall box, because a flat box will crush the cone. Finally, try the hat on before the night, because a good fit feels best. A handmade hat works best when you can wear it with ease.
Frequently Asked Questions
How long does it take to make one?
A simple hat takes about one hour from start to finish. Then, add thirty minutes if you want extra glitter or ribbon. A tall cone with a wide brim can take two hours, but most of the time goes to drying glue.
What felt works best for a tall cone?
Thick craft felt holds a tall cone shape best. It stays firm, it cuts clean, and it glues well. Then, use soft felt for a floppy look, because it bends with ease.
How do I keep the cone from flopping over?
Use thick felt and a strong glue line along the cone seam. Also, add a small felt ring inside the base for support. Then, let the glue dry fully before you wear the hat.
Can kids help make this hat?
Yes, kids can help with cutting and decorating. Let an adult handle the hot glue gun, because the tip gets very hot. Then, kids can add glitter, stars, and ribbon with safe craft glue.
How do I store the hat after Halloween?
Store the hat in a tall box with tissue paper inside the cone. Then, keep the box in a cool dry place. Also, avoid stacking books on top, because weight will crush the shape.
Final Thoughts
A handmade hat proves that the best Halloween looks are built, not bought. With felt, ribbon, and a little glitter, you can build a costume piece to love. It turns a plain outfit into a fun costume to remember. It makes every Halloween feel better. Also, a diy witch hat you built yourself feels more personal. Every ribbon and star was your choice. Finally, pick your favorite idea from this list, and build your new hat this week.
Call to Action: Start with black felt and one wide ribbon this week. Then, finish your hat before the weekend so it is ready in time. Explore more fun Halloween and craft ideas on Hommiest for your next project.