

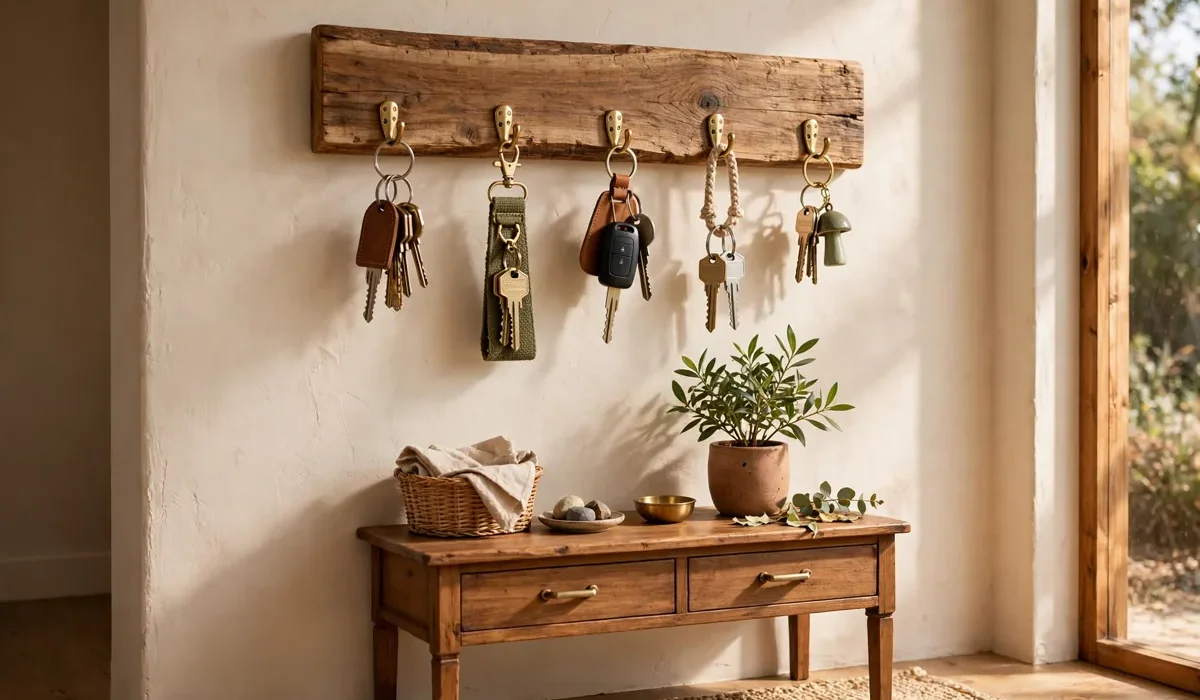
These diy key holder ideas turn a plain wall into a tidy entryway in one fun afternoon. Also, a diy key holder keeps every key in one spot, so you never hunt for keys again. A keychain keeps your keys together, and a good rack gives that ring a home by the door. Also, you can build a rack that matches your style, from rustic wood to clean modern lines. In this guide, you will find twelve handy ideas for your home, from simple boards to full family command centers.
In addition, these diy key holder ideas work for renters and homeowners alike. There is a style here for every budget and every skill level. Also, most of these ideas use simple supplies from one trip to the store. You need a wood board, a few hooks, and some paint. Then, pick the idea that fits your wall and your style. Next, build your rack over a relaxed weekend. Then, enjoy a front door that always knows where your keys are.
What You Need for DIY Key Holder
These diy key holder projects start with a wood board, hooks, and paint or stain. A few simple extras like screws, wall anchors, and a level help too. Useful extras include sandpaper, a drill, and a small brush so you can finish the wood with care. Also, keep a pencil and a tape measure close, because straight hooks look best on the wall. Wood, metal, and leather all work well for a rack. In addition, think about how many keys your home needs to hold before you start. A small board suits one or two sets, and a wide board suits a whole family. With those supplies ready, you can build most of these ideas in a single afternoon.
How to Make DIY Key Holder
Cut or buy a wood board to the size you want. Then, sand the edges smooth and wipe off the dust. Next, paint or stain the board and let it dry fully. Then, mark the hook spots with a pencil and a level. After that, screw the hooks into the board in a straight row. Also, fix a sawtooth hanger or two D rings on the back. Finally, hang the board by the door and test it with your keys. Then, enjoy your diy key holder with family and friends.
12 DIY Key Holder Ideas
1. A Rustic Wooden Board for DIY Key Holder
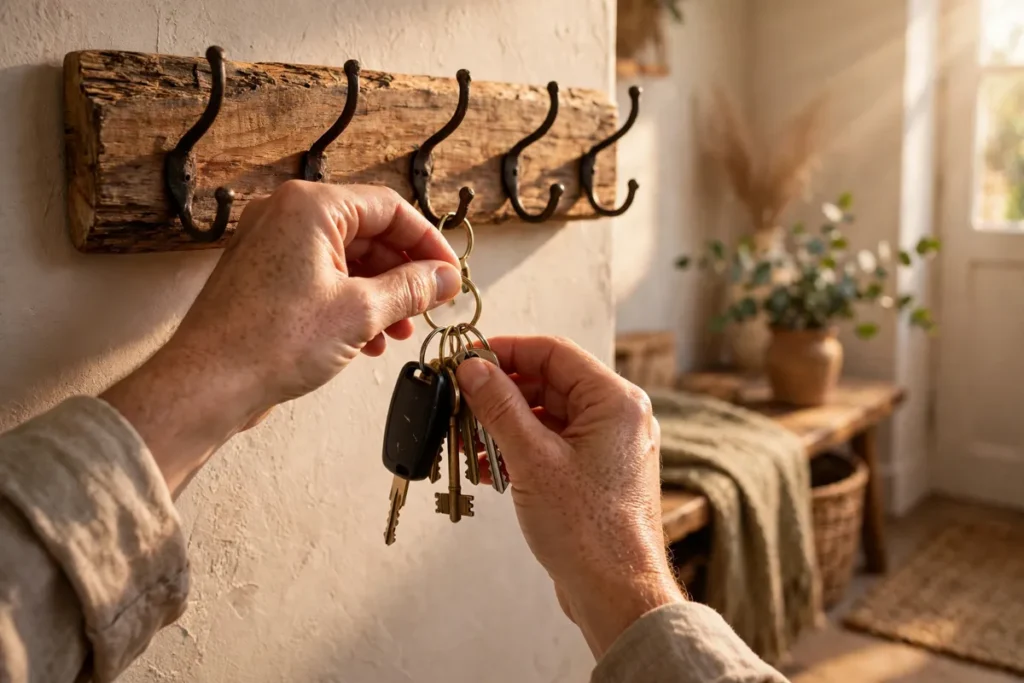
Start with a thick plank of reclaimed wood for a warm rustic look. Then, sand the edges and add a dark stain for rich color. Next, screw in five black metal hooks in a straight row. Also, hang it by the door, and it will hold keys, dog leads, and small bags with ease.
2. A Painted Key Rack with Bright Hooks
Paint a plain pine board in a bold color that pops on the wall. Then, add white or brass hooks for a bright contrast. Next, add a small painted label above each hook. This cheerful rack suits a busy family well, and it makes every key easy to spot.
3. A Chalkboard Key Board with Notes Space
Paint half the board with chalkboard paint for notes and reminders. Then, fix three hooks along the bottom edge. Next, write the day plan or a shopping list in chalk. Also, wipe it clean each week, and the board stays fresh and useful.
4. A Pallet Wood Rack for DIY Key Holder
Pull apart a small pallet and pick the best slats for your board. Then, sand the slats smooth and join them with two back battens. Next, add sturdy hooks and a coat of clear wax. This rough wood rack suits a farmhouse hall well, and it costs almost nothing to build.
5. A Floating Shelf with Hidden Hooks
Fix a small shelf to the wall with hidden brackets for a clean look. Then, screw short hooks under the shelf for the keys. Next, set a small plant or a bowl on top for style. This smart shelf hides the hooks from view, and it keeps the wall looking calm.
6. A Leather Strap Key Board
Cut thick leather straps into short loops and fix them to a wood board. Then, slip a brass ring through each loop for the keys. Next, hang the board at eye level by the door. This soft leather look feels warm and crafty, and it suits a modern home well.
7. A Vintage Frame Display for DIY Key Holder
Find an old picture frame at a thrift shop and remove the glass. Then, fit a painted board inside the frame for the hooks. Next, add brass hooks and a small chalk tag on each one. This framed rack looks like art on the wall, and it charms every guest who sees it.
8. A Peg Rail with Numbered Hooks
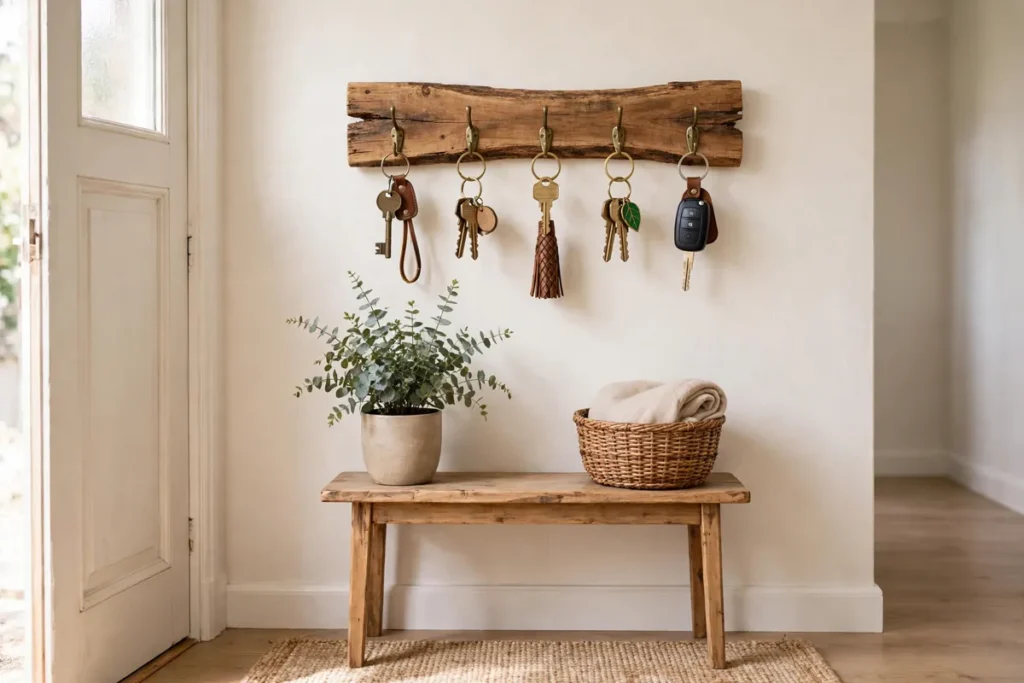
Cut a long peg rail and paint it the same color as your wall. Then, number each peg with small tags or paint. Next, give each family member their own peg. Also, kids love a peg with their name on it, and the rail keeps every set in order.
9. A Cork Board Key Rack
Glue a sheet of cork onto a wood board for a soft, warm base. Then, push brass hooks into the cork in a neat row. Next, pin small notes or photos around the hooks. This cork rack works as a memo board too, and it suits a home office well.
10. A Modern Minimal Board for DIY Key Holder
Pick a slim oak board with clean edges for a calm modern look. Then, add four matte black hooks in a wide row. Next, leave the wood bare with just a clear oil finish. This simple board suits a small hall well, and it stays neat all year.
11. A Magnetic Key Strip by the Door
Fix a strong magnetic strip to the wall just inside the door. Then, add a small metal ring to each key set. Next, snap the keys onto the strip as you walk in. This fast strip needs no hooks at all, and it keeps keys in sight.
12. A Family Command Center with Key Hooks
Build a wide board with hooks, a chalk strip, and a small mail shelf. Then, add a calendar and a pen pot to the side. Next, give each person a hook and a small label. This full center runs the whole hallway, and it keeps keys, mail, and plans in one place.
Tips for a Neat Entryway Key Rack
Keep the rack near the door, because keys belong where you grab them. Next, test the hooks with your heaviest key set before you hang the board. Also, use wall anchors on plaster walls, because screws alone can pull loose. Then, keep the hooks spaced wide, because crowded keys tangle and scratch. Finally, wipe the board clean each month. A tidy rack works best when every hook has its own key set.
Frequently Asked Questions
How many hooks do I need on my rack?
Count the key sets in your home, then add two spare hooks for guests. A small home needs three or four hooks, and a large family needs six or more. Then, leave one hook free, because a spare hook always comes in handy.
What wood works best for a key rack?
Pine is cheap, light, and easy to paint for a first build. Oak and walnut look richer, and they hold screws well. Then, seal the wood with wax or oil, because a sealed board stays clean for years.
How do I hang a heavy rack safely?
Find a wall stud with a stud finder and screw into it for the best hold. On brick walls, use masonry plugs and screws. Then, test the rack with a firm pull, because a rack full of keys must stay put.
Can I build one of these racks as a renter?
Yes, use strong adhesive strips or a freestanding rack that leans on the wall. Pick a light board, and use hooks that stick on without holes. Then, check your lease rules first, because some rentals limit wall fixings.
How do I keep the rack looking tidy?
Hang only the keys you use each day, and store spare sets in a drawer. Wipe the board each week, and tighten any loose hook at once. Then, add a small tray below, because a tray catches mail and loose change too.
Final Thoughts
A homemade rack proves that the best entryway ideas are built, not bought. With a wood board, some hooks, and a little paint, you can build a tidy spot for every key. It turns a plain wall into a calm welcome home. It makes every morning feel easier. Also, a diy key holder you built yourself feels more personal. Every hook and color was your choice. Finally, pick your favorite idea from this list, and build your rack this week.
Call to Action: Start with a wood board and three hooks this week. Then, finish your rack before the weekend so it is ready in time. Explore more fun home and craft ideas on Hommiest for your next project.