

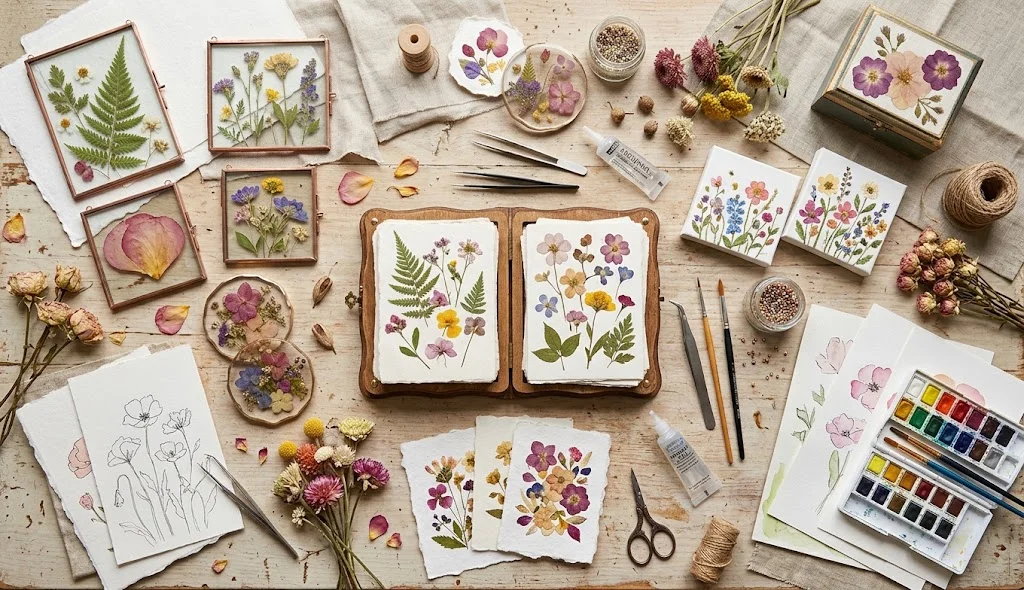
DIY pressed flower art is a beautiful way to preserve the delicate appearance of flowers and turn them into handmade decorations. Pressed petals and leaves can be arranged into pictures, botanical designs, greeting cards, bookmarks, framed artwork, and personalized gifts.
The natural colors and shapes of flowers make every project slightly different. You can create a simple minimalist arrangement or build a detailed composition using several varieties of flowers and leaves.
What Is Pressed Flower Art?
Pressed flower art involves flattening flowers and leaves so they can be used in decorative projects. Once completely dry, the pressed pieces can be carefully arranged on paper, cardstock, canvas, or another suitable surface.
Because natural flowers vary in shape and color, pressed flower artwork has a handmade character that is difficult to reproduce exactly.
7 DIY Pressed Flower Art Methods
1. Framed Pressed Flower Artwork
A framed botanical arrangement is one of the simplest ways to turn pressed flowers into wall decor.
Method:
- Choose completely dry pressed flowers and leaves.
- Select a piece of thick cardstock that fits your frame.
- Arrange the flowers without glue first.
- Create a balanced composition with larger pieces and smaller accents.
- Carefully attach each flower using a suitable adhesive.
- Allow the artwork to dry completely.
- Place the finished design inside a clean frame.
2. Pressed Flower Initial Art
Create personalized artwork using the first letter of a name.
Method:
- Draw a large initial on cardstock.
- Select small pressed flowers and leaves.
- Arrange them along the outline of the letter.
- Experiment with the placement before attaching anything.
- Secure the flowers carefully with suitable adhesive.
- Fill gaps with small petals or leaves.
- Frame the finished initial artwork.
3. Pressed Flower Greeting Card
Pressed flowers can add a natural handmade touch to greeting cards.
Method:
- Fold a piece of sturdy cardstock into a card.
- Choose small, flat pressed flowers.
- Plan a simple floral arrangement on the front.
- Attach the flowers carefully.
- Add a short handwritten message or decorative lettering.
- Let the adhesive dry fully before closing or packaging the card.
4. Botanical Pressed Flower Panel
Create artwork that combines flowers, leaves, and simple botanical labels.
Method:
- Choose a collection of pressed flowers and leaves.
- Select a neutral cardstock or art panel.
- Arrange the botanical pieces in separate sections.
- Add small handwritten or printed plant labels if desired.
- Secure the pieces one at a time.
- Allow the artwork to dry.
- Display it in a frame or suitable holder.
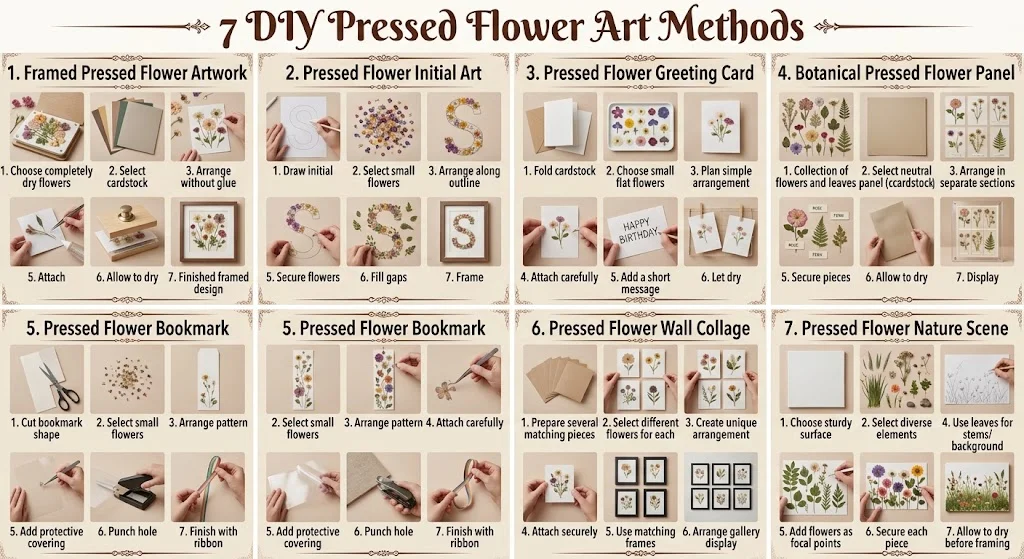
5. Pressed Flower Bookmark
A pressed flower bookmark is a practical project that allows you to use small floral pieces.
Method:
- Cut thick cardstock into a long bookmark shape.
- Select small pressed flowers that fit the surface.
- Arrange them into a simple pattern.
- Attach the flowers carefully.
- Add a protective clear covering if appropriate.
- Punch a hole near the top.
- Finish with ribbon or decorative thread.
6. Pressed Flower Wall Collage
Instead of creating one large design, make a collection of small floral artworks.
Method:
- Prepare several pieces of matching cardstock.
- Select different pressed flowers for each piece.
- Create a unique arrangement on every card.
- Attach the flowers securely.
- Use matching frames or mounting materials.
- Arrange the pieces as a coordinated gallery display.
7. Pressed Flower Nature Scene
Use flowers and leaves to create a small nature-inspired picture.
Method:
- Choose a sturdy art surface.
- Select pressed flowers, leaves, and small petals.
- Plan a simple scene such as a garden, meadow, or floral landscape.
- Use leaves to create stems and larger background elements.
- Add flowers as the main focal points.
- Secure each piece carefully.
- Allow the finished artwork to dry completely before framing.
How to Prepare Flowers for Pressed Flower Art
Choose flowers that are fresh and free from excess moisture. Smaller, naturally flatter flowers are often easier to press than thick flowers with large centers.
Remove unwanted leaves or bulky sections before pressing when appropriate. Arrange the flowers carefully between suitable absorbent sheets and place them inside a flower press or under a heavy, flat object designed for pressing.
Allow the flowers enough time to become completely dry before using them in artwork. Rushing this stage can cause delicate pieces to bend, discolor, or deteriorate.
Choosing Flowers for DIY Pressed Flower Art
Different flowers create different visual effects. Small blossoms can work well for detailed designs, while larger petals can become the main focal point.
Leaves, tiny petals, stems, and flower fragments can also be useful. Rather than throwing away small pieces, keep them for filling gaps or creating delicate borders.
When choosing flowers, consider their final color and condition after drying. Some flowers naturally retain their appearance better than others.
How to Arrange Pressed Flowers
Before using adhesive, place all your flowers on the surface and experiment with different layouts.
A balanced arrangement can combine:
- Large flowers as focal points
- Small flowers as accents
- Leaves for structure
- Petals for filling empty areas
- Stems for natural lines
- Empty space for a clean appearance
Avoid moving delicate flowers repeatedly because dried petals can break easily.
Tips for Making Pressed Flower Art Last
Keep finished artwork away from excessive moisture and direct sunlight. Strong sunlight can gradually change the appearance of natural flowers.
A suitable frame can help protect the artwork from dust and unnecessary handling. For delicate projects, consider using appropriate archival materials and adhesives designed for paper crafts.
Store unused pressed flowers in a dry, protected container until you are ready to use them.
Creative Ways to Customize Pressed Flower Art
Pressed flower projects can be personalized in many ways. Add initials, dates, short quotes, botanical names, or meaningful messages to suitable designs.
You can also create artwork around a particular color palette. For example, use only warm-toned flowers for a soft autumn-inspired design or combine pale flowers with green leaves for a minimalist botanical appearance.
Final Thoughts
DIY pressed flower art combines natural materials with simple creative techniques to produce unique handmade decorations. From framed botanical arrangements and personalized initials to greeting cards, bookmarks, collages, and nature scenes, there are many ways to use pressed flowers.
Start with small, completely dry flowers, experiment with arrangements before gluing, and protect finished artwork from moisture and strong sunlight. With patience and careful handling, even delicate flowers can become beautiful pieces of handmade art.