

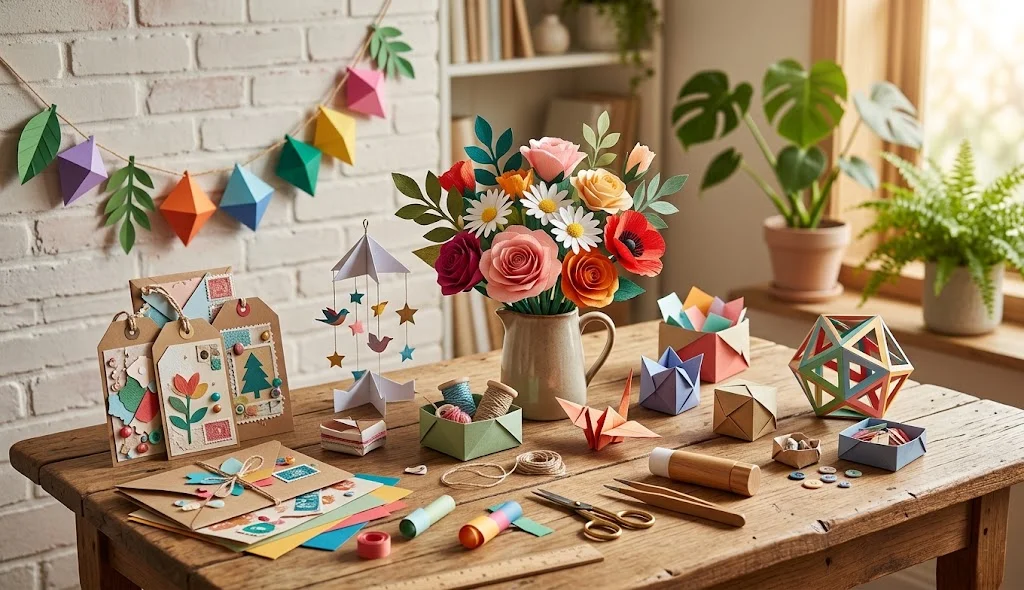
DIY paper craft is one of the easiest and most affordable ways to create beautiful decorations, gifts, toys, and handmade projects at home. With simple materials such as colored paper, cardboard, scissors, glue, and markers, you can turn ordinary paper into creative and useful crafts.
Whether you are a beginner, a student, a parent looking for kids’ activities, or simply someone who enjoys handmade projects, paper crafts offer endless possibilities. From paper flowers and bookmarks to decorative boxes and wall art, there is a DIY paper craft idea for everyone.
Why Try DIY Paper Crafts?
Paper crafting is inexpensive, simple, and requires only a few basic supplies. You can also reuse old newspapers, magazines, wrapping paper, and cardboard to make creative projects.
Some benefits of DIY paper crafts include:
- Affordable and beginner-friendly
- Easy to make at home
- Great for kids and adults
- Useful for home decoration
- Perfect for handmade gifts
- Helps reuse old paper materials
- Offers endless creative possibilities
1. DIY Paper Flower
Paper flowers are a beautiful craft that can be used for room decorations, handmade cards, and gift wrapping.
Materials:
- Colored paper
- Scissors
- Glue
- Pencil
- Small piece of cardboard
Method:
- Draw several flower petals on colored paper.
- Carefully cut out the petals.
- Curl the edges slightly with your fingers.
- Arrange the petals in layers.
- Glue the petals together from the center.
- Add a small paper circle in the middle.
- Attach the finished flower to a stick or use it as a decoration.
You can make paper flowers in different sizes and colors to create a beautiful handmade arrangement.
2. DIY Paper Bookmark
A handmade paper bookmark is a quick project that is useful for readers and makes a simple personalized gift.
Method:
- Cut a rectangular piece of thick paper or cardstock.
- Decorate it with drawings, stickers, or colorful patterns.
- Write a favorite quote or name on it.
- Punch a small hole at the top.
- Add a piece of ribbon or yarn.
- Allow any glue or decoration to dry completely.
Your DIY bookmark is now ready to use.
3. DIY Paper Gift Box
Make a small paper gift box for jewelry, candies, notes, or other lightweight presents.
Method:
- Take a square piece of cardstock.
- Mark equal sections from each edge.
- Fold the paper along the marked lines.
- Cut small sections where necessary to create folding tabs.
- Fold the sides upward.
- Glue the tabs together.
- Create a slightly larger second piece for the lid.
Decorate the box with ribbons, stickers, or handmade paper flowers for a personalized finish.
4. DIY Paper Butterfly
Paper butterflies are simple decorations that can brighten up bedrooms, classrooms, cards, and party decorations.
Method:
- Fold a colorful sheet of paper in half.
- Draw half of a butterfly shape along the folded edge.
- Cut around the outline.
- Open the paper to reveal the symmetrical butterfly.
- Fold the wings slightly upward.
- Add patterns using markers or smaller pieces of paper.
Make several butterflies in different colors and arrange them together as wall decor.
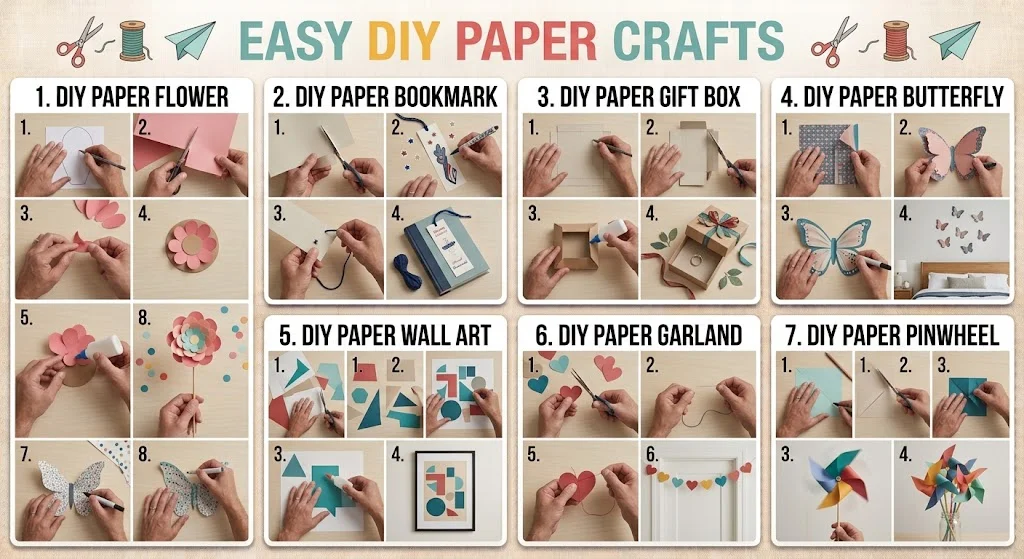
5. DIY Paper Wall Art
Create simple wall art using colorful paper and basic shapes.
Method:
- Choose a theme such as flowers, leaves, geometric shapes, or abstract patterns.
- Cut different shapes from colored paper.
- Arrange them on a large sheet of cardstock.
- Experiment with different layouts before gluing.
- Glue each piece into place.
- Place the finished artwork inside a frame or mount it directly on the wall.
This is an easy way to create inexpensive handmade home decor.
6. DIY Paper Garland
A paper garland can be used for birthdays, parties, bedrooms, and seasonal decorations.
Method:
- Cut several identical shapes from colored paper.
- Make circles, hearts, stars, leaves, or other designs.
- Arrange the shapes in your preferred order.
- Attach them to a piece of string using glue or tape.
- Leave equal spaces between each shape.
- Hang the completed garland on a wall, window, or doorway.
7. DIY Paper Pinwheel
Paper pinwheels are fun decorative crafts that can also be used for parties and children’s activities.
Method:
- Start with a square piece of colorful paper.
- Draw diagonal lines from each corner toward the center.
- Cut along the lines, stopping before reaching the center.
- Fold alternate corners toward the middle.
- Secure the folded corners with a small fastener.
- Attach the pinwheel to a paper straw or wooden stick.
Use different colored paper to create a colorful collection of pinwheels.
Tips for Making Better Paper Crafts
Keep these simple tips in mind when creating DIY paper crafts:
- Use thicker paper for projects that need more strength.
- Keep scissors and cutting tools handled safely.
- Measure and fold carefully for symmetrical designs.
- Reuse old magazines and newspapers for creative projects.
- Let glue dry completely before moving the craft.
- Experiment with different colors and textures.
- Save leftover paper pieces for future projects.
Final Thoughts
DIY paper craft is a fun and budget-friendly way to turn simple materials into beautiful handmade creations. Whether you make paper flowers, bookmarks, gift boxes, butterflies, wall art, or garlands, these projects are easy to customize according to your style.
Start with a simple project and gradually experiment with more detailed designs. With a little creativity and basic paper supplies, you can create attractive decorations, gifts, and useful items right at home.