

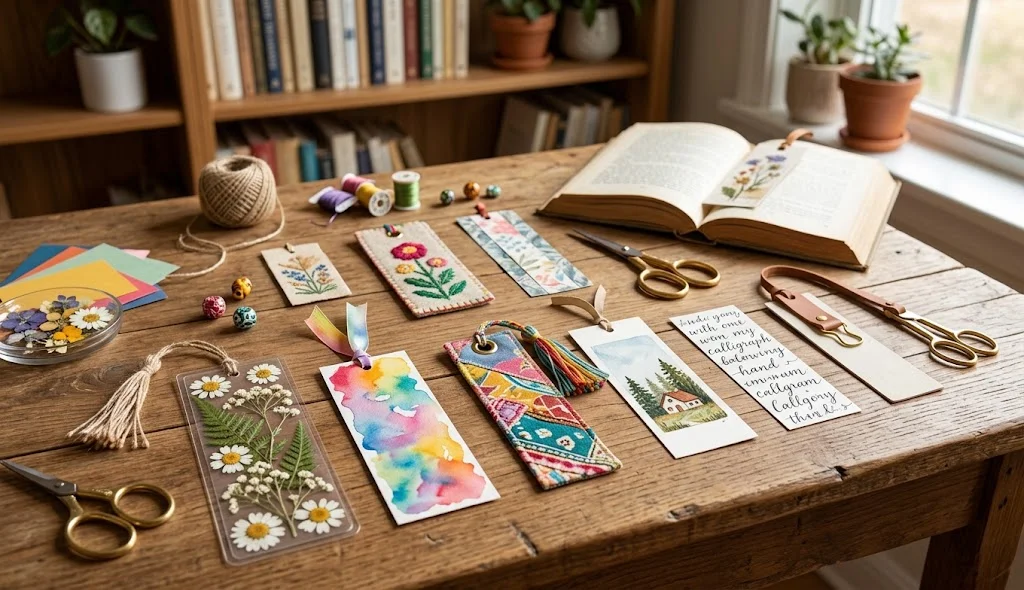
DIY bookmarks are a fun and simple craft project for book lovers, students, and anyone who enjoys creative activities. Instead of buying ready-made bookmarks, you can create personalized designs using paper, cardboard, fabric, yarn, beads, and other craft materials.
Making your own bookmark is also an excellent way to reuse leftover supplies. You can customize bookmarks with your favorite colors, patterns, quotes, names, drawings, or decorative elements. These handmade bookmarks can also make thoughtful gifts for friends and family.
Easy DIY Bookmark Methods
1. DIY Paper Bookmark
A simple paper bookmark is one of the easiest projects for beginners.
Materials:
- Colored cardstock or thick paper
- Scissors
- Glue
- Ruler
- Pencil
- Markers or colored pens
Method:
- Measure and cut a rectangular piece of cardstock.
- Decorate it with drawings, patterns, or your favorite quote.
- Add stickers or small paper decorations if desired.
- Punch a hole near the top.
- Thread a ribbon or piece of yarn through the hole.
2. DIY Tassel Bookmark
A yarn tassel can give a simple bookmark a stylish handmade finish.
Method:
- Choose your favorite color of yarn.
- Wrap the yarn around a piece of cardboard several times.
- Tie the center securely.
- Cut the loops and trim the yarn into a neat tassel.
- Attach the tassel to a cardstock bookmark using a small hole or suitable thread.
3. DIY Corner Bookmark
Corner bookmarks fit over the corner of a book page and are easy to customize.
Method:
- Cut a square piece of paper.
- Fold it diagonally to create a triangle.
- Fold the side corners toward the top corner.
- Secure the folds to create a pocket shape.
- Decorate the bookmark with faces, animals, flowers, or other designs.
4. DIY Fabric Bookmark
Fabric scraps can be turned into reusable and colorful bookmarks.
Method:
- Choose a sturdy piece of fabric.
- Cut it into a long rectangular shape.
- Fold or finish the edges to prevent fraying.
- Add embroidery, buttons, ribbons, or other suitable decorations.
- Attach a small ribbon or tassel to the top.
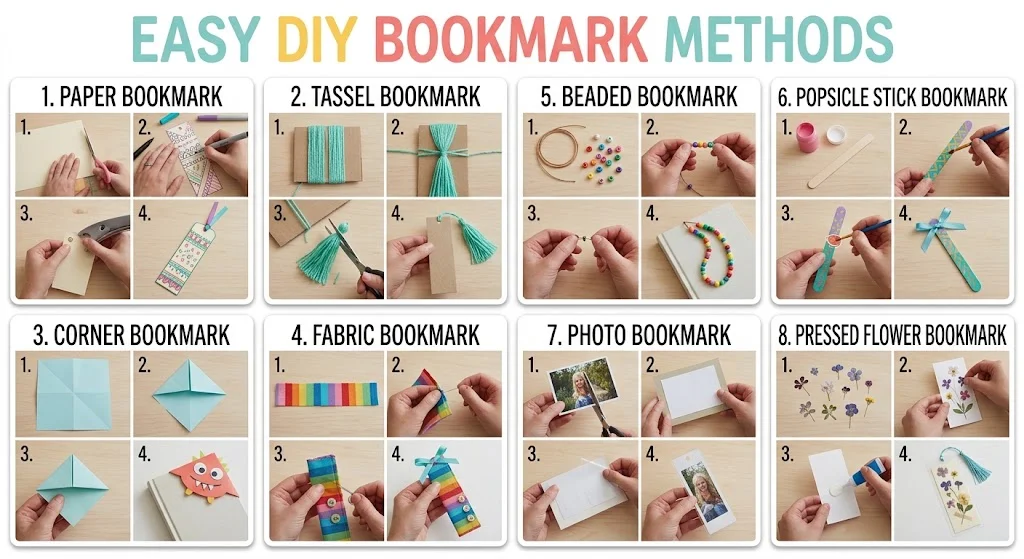
5. DIY Beaded Bookmark
Beaded bookmarks are decorative and can be personalized with different colors and letter beads.
Method:
- Choose a strong cord or suitable bookmark wire.
- Select beads in your preferred colors.
- Thread the beads onto the cord.
- Add a larger decorative bead at the end if desired.
- Secure the ends carefully so the beads remain in place.
6. DIY Popsicle Stick Bookmark
Popsicle sticks can be transformed into simple and durable bookmarks.
Method:
- Choose a clean wooden popsicle stick.
- Paint it in your favorite color.
- Add drawings, patterns, stickers, or small decorations.
- Allow the paint and adhesive to dry completely.
- Add a ribbon or small decorative piece if desired.
7. DIY Photo Bookmark
Turn a favorite photograph into a personalized bookmark.
Method:
- Select a suitable photograph.
- Trim it into a narrow rectangular shape.
- Mount it onto cardstock for extra durability.
- Add a protective covering if desired.
- Punch a hole at the top and attach a ribbon.
8. DIY Pressed Flower Bookmark
Pressed flowers can create a delicate and natural-looking bookmark.
Method:
- Choose small, fully dried pressed flowers.
- Arrange them on cardstock.
- Secure them carefully with suitable adhesive.
- Add a protective laminate or clear covering if desired.
- Trim the bookmark into your preferred shape.
Why Make DIY Bookmarks?
DIY bookmarks are inexpensive, easy to personalize, and useful for everyday reading. They allow you to express your creativity while making something practical.
Handmade bookmarks can also be excellent gifts. You can customize them with a person’s name, favorite colors, inspirational quotes, or themed decorations. They are especially suitable as small gifts for students, teachers, friends, and book lovers.
DIY bookmarks are also a great way to use leftover paper, fabric, yarn, beads, and other craft supplies instead of throwing them away.
Tips for Making Better DIY Bookmarks
- Use thick paper or cardstock for stronger bookmarks.
- Keep decorations lightweight so the bookmark remains easy to use.
- Secure beads, ribbons, and other decorations properly.
- Use a ruler to create straight and even edges.
- Protect paper designs with a suitable clear covering if needed.
- Choose colors and designs that match your personal style.
- Avoid bulky decorations that could damage book pages.
Conclusion
DIY bookmarks are simple craft projects that combine creativity and practicality. From paper and corner bookmarks to tassel, fabric, beaded, popsicle stick, photo, and pressed flower designs, there are many ways to create personalized bookmarks at home.
Choose your favorite materials and experiment with different shapes, colors, and decorations. A handmade bookmark can make reading more enjoyable and can also become a thoughtful, inexpensive gift.