

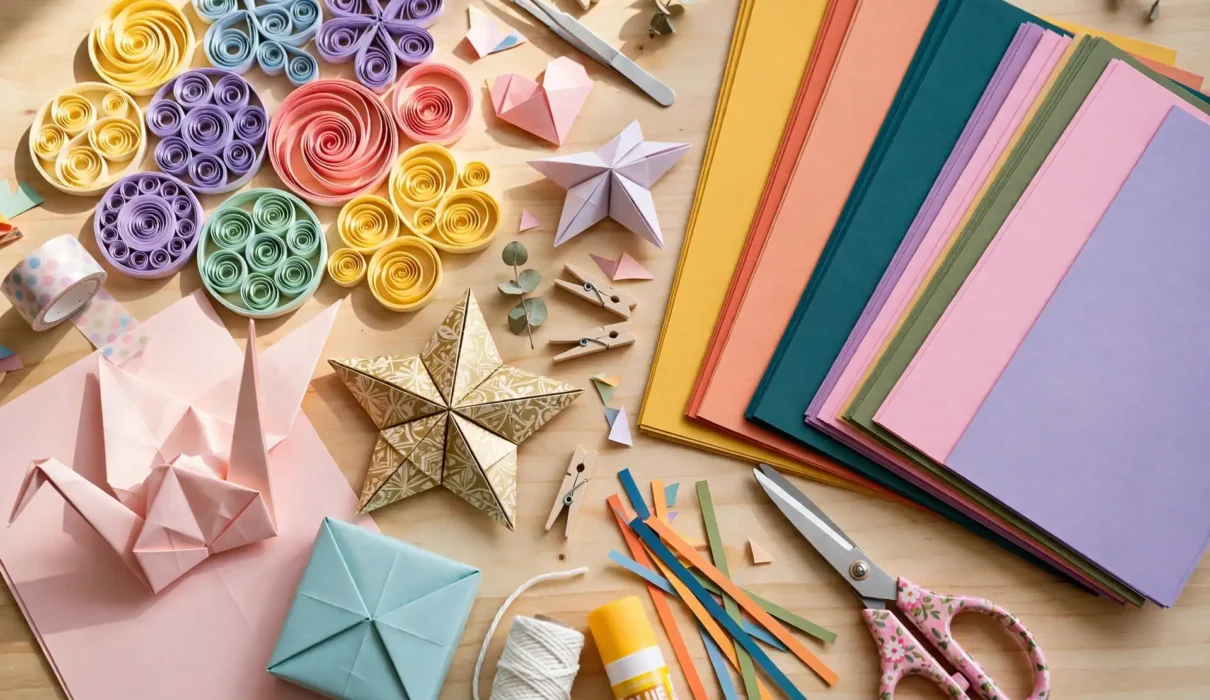
Paper is the most underrated craft material in the world. It costs almost nothing, comes in every color, and can be cut, folded, rolled, layered, and sculpted into astonishing things. But most paper crafters only ever use one or two techniques. This guide is about the techniques themselves — the skills that unlock hundreds of projects. Instead of a list of finished projects, you will learn how paper crafting actually works: how to cut cleanly, fold sharply, quill elegantly, layer beautifully, and sculpt with confidence. Master these five techniques and every paper project becomes easier.
Technique 1: Precision Cutting
Clean cutting is the foundation of all paper crafts. Dull scissors tear paper and leave fuzzy edges. Sharp scissors, a craft knife, and a metal ruler give crisp, professional lines.
How to Cut Like a Pro
Always cut on a cutting mat to protect your table and keep the blade sharp. For straight lines, hold the ruler firmly and cut away from your body in one smooth motion. For curves, move the paper, not the scissors — rotate the sheet slowly while the scissors stay steady. Cut inside your pencil line so no marks remain on the finished piece.
Tools That Make a Difference
A small pair of detail scissors handles tight corners. A craft knife cuts intricate shapes and windows. A circle punch and a corner punch add instant polish to cards and tags. Keep blades sharp: change craft knife blades often, because a dull blade tears more than it cuts.
Technique 2: Scoring and Folding
A sharp fold starts with a good score. Scoring means pressing a line into the paper before folding, so the fold lands exactly where you want it and the paper does not crack.
How to Score Paper
Use a bone folder, an empty ballpoint pen, or a scoring board. Run the tool along a ruler with firm, even pressure, then fold the paper along the scored line and crease it with the bone folder. For cardstock, score on the inside of the fold. For greeting cards, scoring gives a crisp spine that opens and closes neatly.
Folding Styles to Learn
Mountain folds rise toward you, valley folds dip away. Accordion folds alternate mountain and valley to make fans, lanterns, and pop-up cards. Gate folds bring two side panels together like doors. Master these three and you can fold cards, boxes, envelopes, and decorations.
Technique 3: Quilling
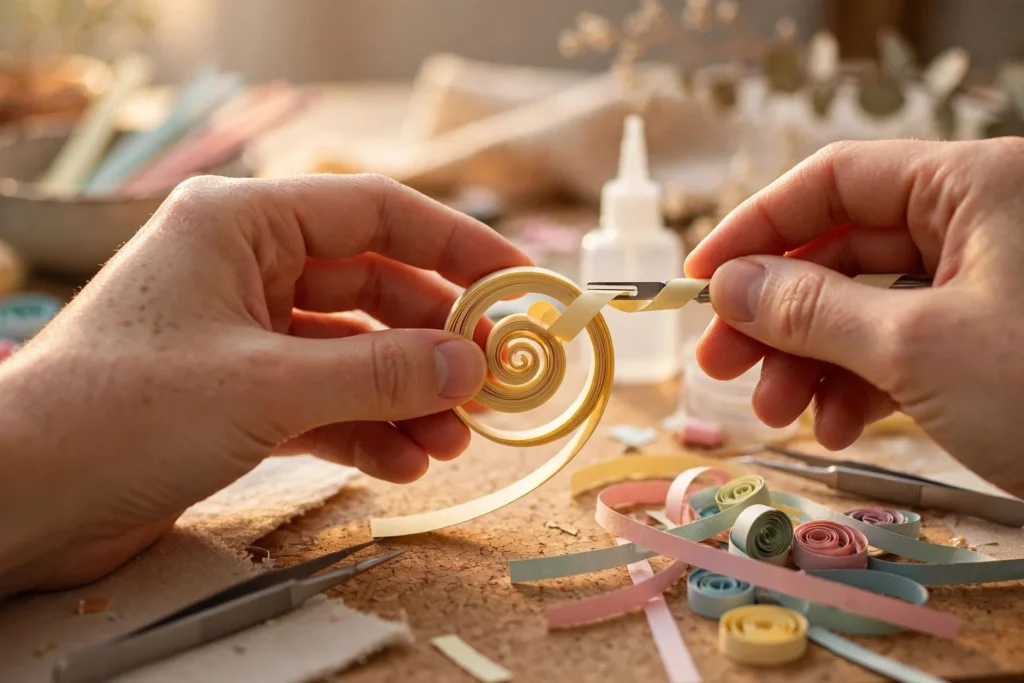
Quilling — rolling narrow paper strips into coils and shaping them — creates delicate flowers, borders, and ornaments. It looks intricate, but the basic coil takes two minutes to learn.
How to Quill
Insert the end of a paper strip into a slotted quilling tool, roll it into a tight coil, and let it loosen slightly. Glue the end to hold the shape, then pinch the coil into a teardrop, eye, heart, or square. Combine coils into flowers, leaves, butterflies, and frames. Quilled pieces decorate cards, boxes, and wall art beautifully.
Tips for Neat Quilling
Keep your coils consistent by counting turns or using a coil board. Use tiny dots of glue — too much glue warps paper. Work on wax paper so finished coils lift off easily.
Technique 4: Paper Layering
Layering builds depth by stacking cut paper shapes. A layered paper flower, mandala, or landscape looks three-dimensional, yet it is just flat shapes arranged with care.
How to Layer Paper
Cut the same shape in three or four sizes, from large to small. Stack them with foam adhesive dots between layers to create shadows and depth. For paper flowers, curl each petal layer slightly before stacking. For layered art, use contrasting colors so each layer stands out.
Layered Projects to Try
Layered paper flowers, shadow-box scenes, and mandala art are all excellent layering projects. Start with three layers, then add more as your confidence grows.
Technique 5: Paper Sculpting and Curling
Paper sculpting turns flat sheets into curved, dimensional forms. Curling strips around a pencil makes tendrils and fringes. Shaping petals with a bone folder creates realistic flowers.
How to Sculpt Paper
To curl a strip, pull it firmly over the edge of a closed scissors blade. To shape a petal, press the paper gently with a rounded tool until it cups. To make a paper rose, cut a spiral, roll it from the outside in, and let it loosen into a bloom. These small moves make paper flowers, gift toppers, and decorations look remarkably real.
Putting the Techniques Together
The best paper projects combine techniques. A birthday card might use scoring for the fold, cutting for a window, quilling for a flower, and layering for a border. A paper lantern uses scoring, folding, and cutting together. Try a “technique sampler” card: one corner quilled, one corner layered, one corner curled, and one corner cut into a pattern. It is a fun way to practice everything at once.
Essential Paper Crafting Supplies
Start with these basics: cardstock in white and a few colors, patterned paper, sharp scissors, a craft knife and cutting mat, a ruler, a bone folder, glue sticks and liquid glue, foam adhesive dots, and a pack of quilling strips. Add punches, stamps, and ink pads as you explore. You do not need expensive tools — good technique matters far more than fancy equipment.
Frequently Asked Questions
What is the best paper for paper crafting?
Medium-weight cardstock (200-300 gsm) works for most projects. Use lighter paper for folding and quilling, and heavier cardstock for cards, boxes, and layered art.
Do I need a special tool for quilling?
A slotted quilling tool helps, but you can start with a toothpick or a needle. The tool simply makes rolling faster and more even.
Why does my paper crack when I fold it?
Thick paper cracks when folded without scoring. Always score cardstock before folding, and fold with the grain when possible.
How do I keep paper crafts from looking messy?
Cut inside pencil lines, use small amounts of glue, let layers dry before handling, and work on a clean surface. Neat habits beat expensive supplies.
Practice One Technique Today
Pick the technique that appeals to you most — cutting, folding, quilling, layering, or sculpting — and practice it for twenty minutes. Make five coils, fold five cards, or cut five layered shapes. Skill grows fast with paper, because mistakes cost almost nothing. Share your paper crafting experiments in the comments, and explore more paper craft projects on Hommiest.