

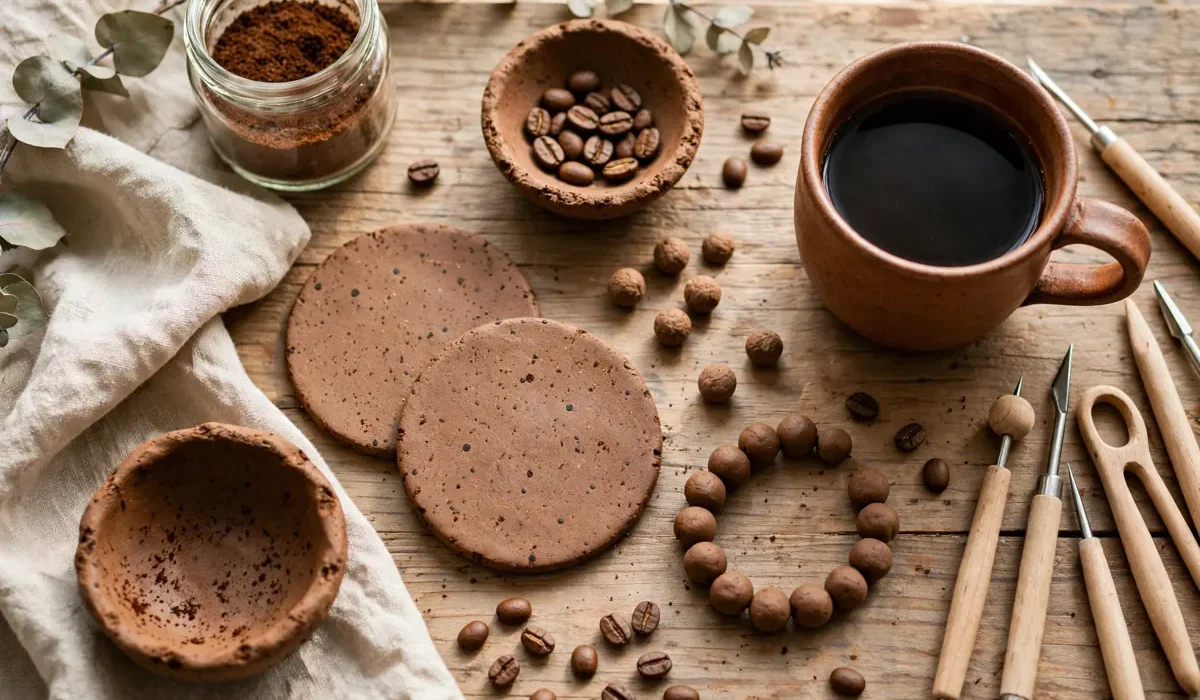
Coffee ground clay turns yesterday’s coffee into something you can shape, dry, display. Warm brown, lightly speckled, faintly coffee-scented, surprisingly versatile. If love eco-friendly crafts, this is one of most satisfying materials to try — but behaves differently from polymer clay or air-dry clay, so helps to understand it before start. Guide covers what coffee ground clay actually is, its properties, pros/cons, tools you need, best projects, how to store/troubleshoot. It is material guide, not single recipe. If want step-by-step recipes, our coffee clay recipe and coffee ground clay recipe posts cover those in detail.
What Is Coffee Ground Clay?
Coffee ground clay is handmade modeling material made from used or fresh coffee grounds mixed with binder such as flour, cornstarch, glue, or salt, plus little water or oil. Coffee grounds give color, texture, natural earthy look. Binder holds together so can be shaped/dried. No single official formula. Different makers adjust ratio of grounds to binder depending whether want smooth finish for jewelry or rougher rustic texture for bowls/ornaments. Flexibility part of appeal — you can tune material to project. Most versions air-dry, not kiln-fired. Harden as water evaporates, which means you do not need kiln or oven for most projects. Some recipes use short low oven bake to speed drying, but always follow specific recipe you are using.
Properties: What It Feels Like to Work With
Color and Texture
Fresh coffee ground clay deep brown with visible speckles. As dries, color often lightens slightly, becomes more matte. Fine grounds give smoother finish. Coarse grounds give rustic grainy texture looking beautiful on planters/ornaments but harder to detail.
Workability
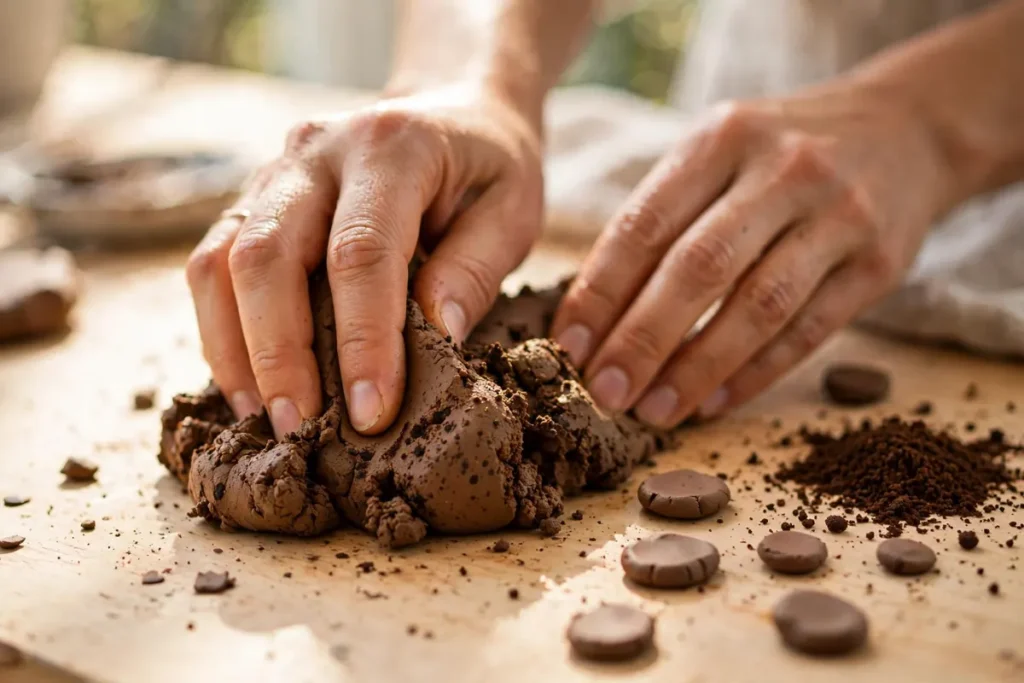
When fresh, clay soft, slightly sticky, easy to press into molds. Holds impressions well — leaf veins, stamps, lace patterns show up clearly. Less elastic than polymer clay, so can crack if bend too far or roll too thin.
Drying and Hardness
Thin pieces dry 12-24 hours. Thick pieces can take 2-3 days. Dried coffee ground clay feels firm/lightweight, more like dense paper-mache than ceramic. Strong enough for decorative items but not as hard as fired pottery.
Scent
Expect gentle coffee smell while working and during first days of drying. Scent fades over time, especially after sealing. If sensitive to smell, work in ventilated room, seal finished pieces.
Pros and Cons
Pros
Eco-friendly: Uses up coffee grounds that would otherwise go to waste. Low cost: Main ingredient is something many homes already have. No kiln needed: Most versions air-dry. Beautiful natural look: Warm brown tones suit rustic, boho, farmhouse decor. Beginner-friendly: Easy to mix, shape, fix.
Cons
Not waterproof: Unless sealed very well, softens with water. Not for functional dishes or outdoor use without protection. Can crack: Thick pieces, fast drying, or too little binder can cause cracks. Not food-safe: Do not use for plates, cups, or anything touching food directly. Limited detail: Very fine details harder than with polymer clay. Variable results: Different coffee grounds/binders behave differently, so test small batch first.
Tools You Need
You do not need pottery studio. Basic kit enough: Mixing bowl/spoon. Rolling pin or smooth bottle. Parchment paper or silicone mat. Cookie cutters, molds, or stamps. Craft knife/toothpick for detail. Sandpaper (fine grit, 220) for smoothing after drying. Acrylic sealer or Mod Podge for protection. Paintbrushes for sealing/decorating. Keep one set of tools for coffee clay only. Grounds can stain light-colored tools/surfaces, so cover table with parchment or old cloth.
Best Projects for Coffee Ground Clay
Choose projects playing to strengths — decorative, lightweight, rustic.
1. Beads and Pendants
Small beads, pendants, earrings ideal first projects. Dry fast, use little material, look great with matte sealer.
2. Coasters and Trinket Dishes
Flat coasters/shallow dishes show off speckled texture. Seal well, use for keys, jewelry, candles — not for wet glasses without waterproof topcoat.
3. Ornaments and Gift Tags
Cookie-cutter ornaments, stars, hearts, gift tags dry quickly, make lovely handmade gifts. Stamp word/pattern before drying for extra detail.
4. Small Bowls and Planters
Small decorative bowls/succulent planters work well if keep dry/sealed. Use plastic liner inside planters so soil moisture does not soften clay.
5. Wall Decor and Magnets
Pressed leaves, stamped tiles, small magnets quick wins. Let you test texture/drying without committing to large piece.
Projects to Avoid
Skip anything needing to hold water, go in dishwasher, or survive outdoors in rain. Coffee ground clay decorative, not functional ceramic.
Storage: Before and After
Storing Unused Clay
Wrap unused clay tightly in plastic wrap, then place in airtight container or zip bag. Keeps 3-5 days at room temperature. If dries out, knead in few drops water. If feels too wet, let sit uncovered 15 min or add pinch more dry binder.
Storing Finished Pieces
Store finished sealed pieces in cool dry place away direct sunlight. Sunlight can fade brown color over time. Avoid humid bathrooms/unsealed outdoor spots.
Troubleshooting
Cracks While Drying
Cracks usually mean piece dried too fast or too thick. Dry pieces slowly, away direct heat/sun. Turn thick pieces over halfway through drying so both sides dry evenly. Small cracks can be filled with fresh clay, re-dried, then sanded smooth.
Sticky Clay
If clay sticks to hands, dust hands with cornstarch or little flour. Do not add too much water at once. Work on parchment, not directly on wood.
Crumbly Clay
If clay falls apart, likely needs more binder or more kneading. Add small amount binder, knead 2-3 min, test again by rolling small ball. Should hold together without cracking at edges.
Rough or Uneven Finish
For smoother finish, use fine grounds, sand gently after drying with fine-grit sandpaper. Wipe away dust, then seal. For rustic look, skip sanding, seal directly.
Mold or Off Smell
Coffee grounds can mold if stored wet too long. Use dry grounds when possible, dry finished pieces fully, do not store unfinished clay more than few days. If piece smells musty, discard, start fresh.
Sealing and Finishing
Sealing protects color, adds durability. Thin coat acrylic sealer, Mod Podge, or clear varnish works well. Apply 2-3 thin coats, letting each dry fully. Matte sealer keeps natural look. Gloss sealer deepens brown, makes speckles pop. If want to paint details, use acrylic paint after piece fully dry, then seal over paint. Keep painted areas thin so coffee texture still shows through.
Is Coffee Ground Clay Right for You?
Coffee ground clay best if love natural materials, rustic decor, low-cost experiments. Less precise than polymer clay, less durable than ceramic, but has warmth/story neither can match. Start with small test batch — few beads or ornaments — see how like texture, drying time, finish.
Frequently Asked Questions
Is coffee ground clay waterproof?
No. Decorative and water-sensitive. Seal well for occasional splashes, but do not soak or use outdoors in rain.
Can I use fresh coffee grounds instead of used grounds?
Yes, but used grounds more eco-friendly, often give softer texture. If using fresh grounds, use fine grounds, adjust binder as needed.
How long does coffee ground clay take to dry?
Thin pieces dry 12-24 hours. Thick pieces can take 2-3 days. Dry slowly, away direct heat, for fewest cracks.
Can kids use coffee ground clay?
Yes, with adult supervision. Fun sensory material for older kids. Keep small pieces away toddlers, do not let anyone eat it.
Does it stain hands and surfaces?
Yes, can stain light fabrics/porous surfaces. Wear apron, cover table, wash hands with soap after working.
Start With Small Test Piece
Do not start with large bowl. Make one small ornament or few beads, let dry fully, seal them, see how like result. Once understand how grounds/binder behave, you can scale up to bigger projects with confidence. Have you tried coffee ground clay? Share favorite project in comments — send guide to friend who loves coffee and crafts.