

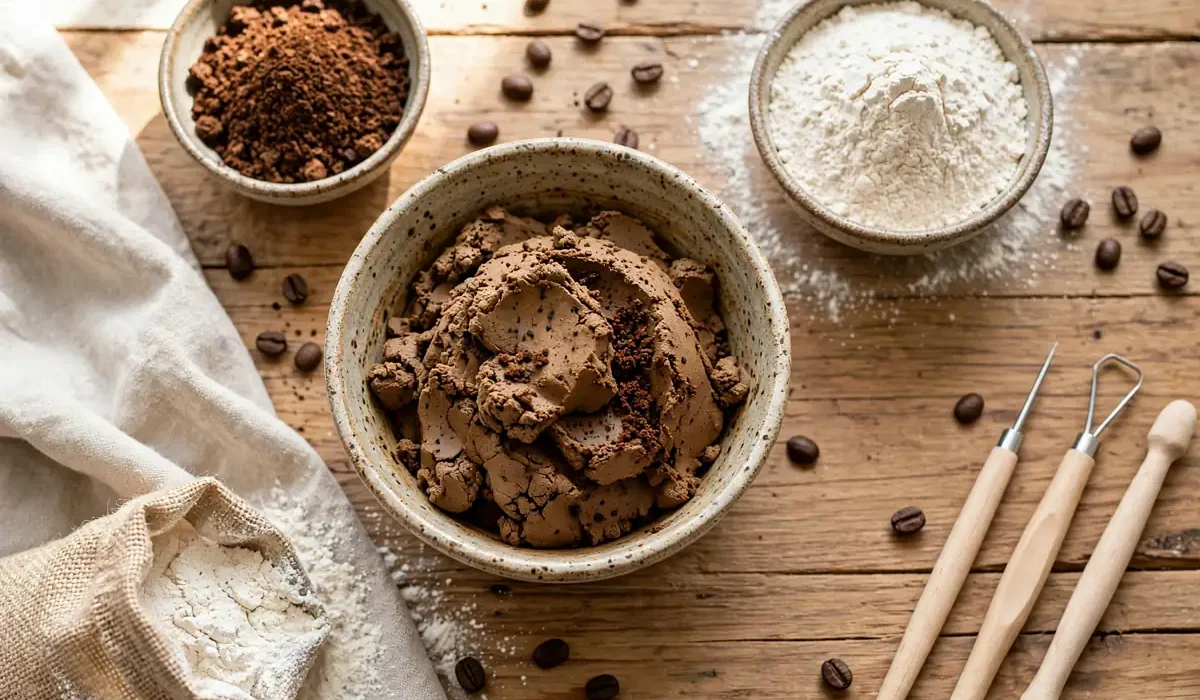
If you love coffee and crafting, this recipe is for you. Coffee ground clay uses real used coffee grounds as main ingredient, giving finished clay warm brown color, natural coffee scent, lovely sandy texture. Eco-friendly, inexpensive, perfect for ornaments, beads, small bowls, rustic decor. This is true coffee-ground recipe, not coffee-colored clay. Gro
Why Make Clay From Coffee Grounds?
Used coffee grounds often thrown away, but wonderful craft material. Free if brew coffee at home, naturally brown, slightly gritty, gives clay stone-like finish that plain flour clay does not have.
Best for: Decorative crafts: ornaments, beads, pendants, small dishes, gift
What You Need: Ingredients and Tools
Ingredients (Makes About 2 Cups of Clay)
- 1 cup used coffee grounds, squeezed dry and cooled (not fresh dry grounds from bag).
- 1 cup all-purpose flour.Step 2: Add Oil and Water Slowly
Add oil and 2 tablespoons water. Stir with wooden spoon until mixture starts to clump. Add water 1 teaspo
Step 5: Dry Slowly and Evenly
Project Ideas for Coffee Ground Clay
- Or
Frequently Asked Questions
Can I use fresh coffee grounds instead of used grounds?
Used grounds work best. They are damp, softer, already brewed, so blend smoothly into dough. Fresh dry grounds absorb more water, can make clay gritty and dry. If only have fresh grounds, dampen lightly, let sit 10 min before measuring.
How long does coffee ground clay take to dry?
Thin pieces dry 2-3 days in dry airy room. Thick pieces can take 4-5 days. Turn pieces daily, wait until feel hard and light before sanding and sealing.
Does coffee ground clay smell like coffee after drying?
Keeps light pleasant coffee scent that fades over time. Sealing with varnish reduces scent further. If want stronger scent, add cinnamon to dry mix.
Can I paint coffee ground clay?
Yes, after fully dry. Use acrylic paint for details, then seal with clear varnish. Natural brown base works well with cream, gold, white, green accents.
Is coffee ground clay eco-friendly?
Yes, reuses waste product, uses simple low-cost ingredients. Best for decorative crafts, not for replacing ceramic or polymer clay for functional pieces.
Make Your First Batch Today
Coffee ground clay turns yesterday’s coffee into today’s craft. Save grounds, mix one small batch, make set of ornaments or beads this afternoon. Texture, color, scent make every piece feel warm and handmade. What will you make first with coffee ground clay? Share project in comments, send recipe to coffee-loving crafter.
naments: Stars, hearts, trees with hole for ribbon. Add stamped word before drying. - Beads and pendants: Roll small balls, poke hole with toothpick, string after drying.
- Small trinket dishes: Press clay into small bowl lined plastic wrap, smooth inside, let dry in bowl.
- Gift tags: Cut rectangles, stamp name or word, tie with twine.
- Garden markers: Shape flat stones, write herb name with skewer, seal well for outdoor use.
Keep finished pieces decorative. Do not use for food, drinks, or water storage, even after sealing.
Safety and Storage
Not food-safe: Even though ingredients are kitchen items, clay is for decoration only. Do not eat it, do not use finished pieces for food or drinks. Keep away from young children who mouth objects: Clay contains salt and coffee grounds. Supervise kids, use for children old enough not to taste crafts. Wash hands and surfaces: Coffee grounds can stain light clothes and porous counters. Work on parchment or old tray, wipe tools promptly. Store unused clay: Wrap tightly in plastic wrap, then place in sealed bag or container. Keeps in fridge 2-3 days. Let warm to room temperature, knead briefly before using. Store finished pieces: Keep dry place. Sealed pieces last longer, avoid soaking in water.
Place pieces on parchment paper in dry airy spot. Turn once a day so both sides dry evenly. Small ornaments and beads usually dry 2-3 days. Thicker pieces can take 4-5 days. Do not rush drying with high oven heat. Very low oven (lowest setting, around 170F / 75C) 1-2 hours can help, but watch closely, let pieces cool in oven. Rapid heat can crack clay. Best results, air-dry slowly.Step 6: Sand, Seal, and Finish
Once fully dry and hard, lightly sand rough edges with fine sandpaper. Wipe off dust with dry cloth. For longer-lasting pieces, brush thin coat clear varnish, Mod Podge, or clear acrylic sealer. Let dry completely, then add second coat if needed. Sealing deepens brown color, protects surface from moisture.
Troubleshooting: Fix Common Problems
- Clay too sticky: Knead in flour, 1 teaspoon at a time, until releases from hands.
- Clay cracks when shaped: Add water, 1 teaspoon at a time, knead well. Cracks also happen if clay rolled too thin.
- Finished piece crumbles: May have been too dry before shaping, or dried too fast. Next time, add tablespoon white glue, dry slowly away direct heat.
- Piece warps while drying: Turn daily, dry on flat surface. Thick pieces warp more than thin even ones.
- Coffee smell too strong: Scent fades as clay dries. Sealing with varnish reduces it further.
Step 3: Knead Until Smooth but Textured
Turn dough onto lightly floured surface, knead 3-5 min. Press, fold, turn dough until feels firm, slightly gritty, easy to shape. Should not stick to hands. If sticks, knead in 1 teaspoon flour at a time. If cracks when bent, knead in 1 teaspoon water at a time. Finished clay should hold fingerprint when pressed, keep shape when rolled, feel like firm playdough with visible coffee specks.
Step 4: Shape Your Projects
Roll clay to about 1/4 inch (6 mm) thick for ornaments and tags, or shape small beads, bowls, figures by hand. Use cookie cutters for clean shapes, poke hole with straw or skewer before drying if want to hang piece. Work fairly quickly. Coffee ground clay firms as it sits. If dries while you work, mist lightly with water, knead briefly to soften again.
Tools
- Large mixing bowl.
- Measuring cups and spoons.
- Wooden spoon.
- Clean work surface or baking sheet.
- Cookie cutters, rolling pin, butter knife or sculpting tool.
- Parchment paper for drying.
- Optional: sandpaper (fine, 220 grit) for smoothing after drying.
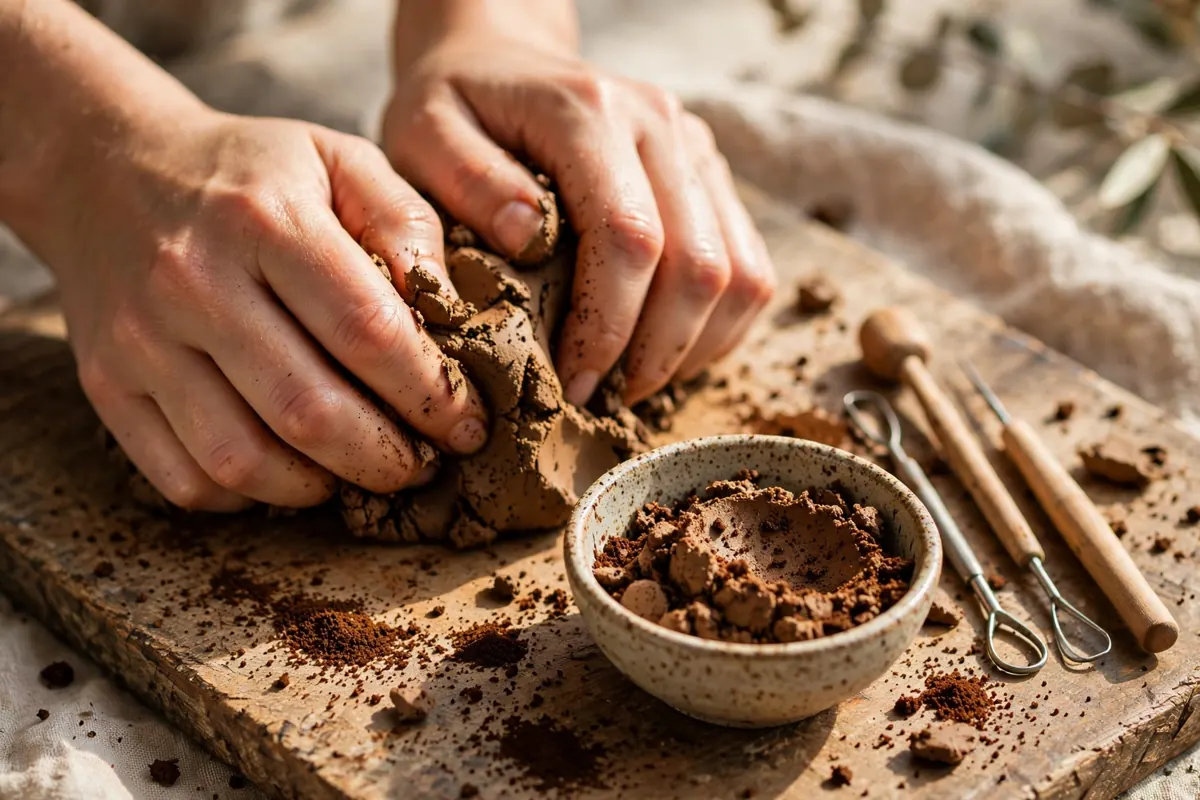
Step-by-Step: Coffee Ground Clay Recipe
Step 1: Mix Dry Ingredients
In large bowl, combine used coffee grounds, flour, salt. Stir well so grounds evenly distributed. If adding cinnamon, stir in now. Mixture should look like dark speckled flour.
> - Or
- 1/2 cup salt.
- 1 tablespoon vegetable oil or coconut oil, melted.
- 2 to 4 tablespoons water, added slowly.
- Optional: 1 teaspoon ground cinnamon for extra scent and warmth.
- Optional: 1 tablespoon white glue (PVA) for firmer less crumbly finish.
Use used grounds from drip machine, French press, or pour-over. Espresso grounds also work but finer, so texture smoother. Let grounds cool completely, squeeze out extra liquid in cloth or paper towel before measuring. Very wet grounds make sticky clay.
tags. Rustic natural-looking projects where texture is feature. Low-cost family crafting with simple kitchen ingredients. Eco-friendly projects reusing waste. Not best for food-safe dishes, water-holding pots, or pieces needing very strong. Think decoration, not dinnerware.unds themselves become part of clay, so every piece has visible texture and handmade earthy feel. Different from coffee-colored clay that only looks brown, and from general clay-material guide. Here you get one complete recipe with exact ingredients, steps, drying, safety tips.