

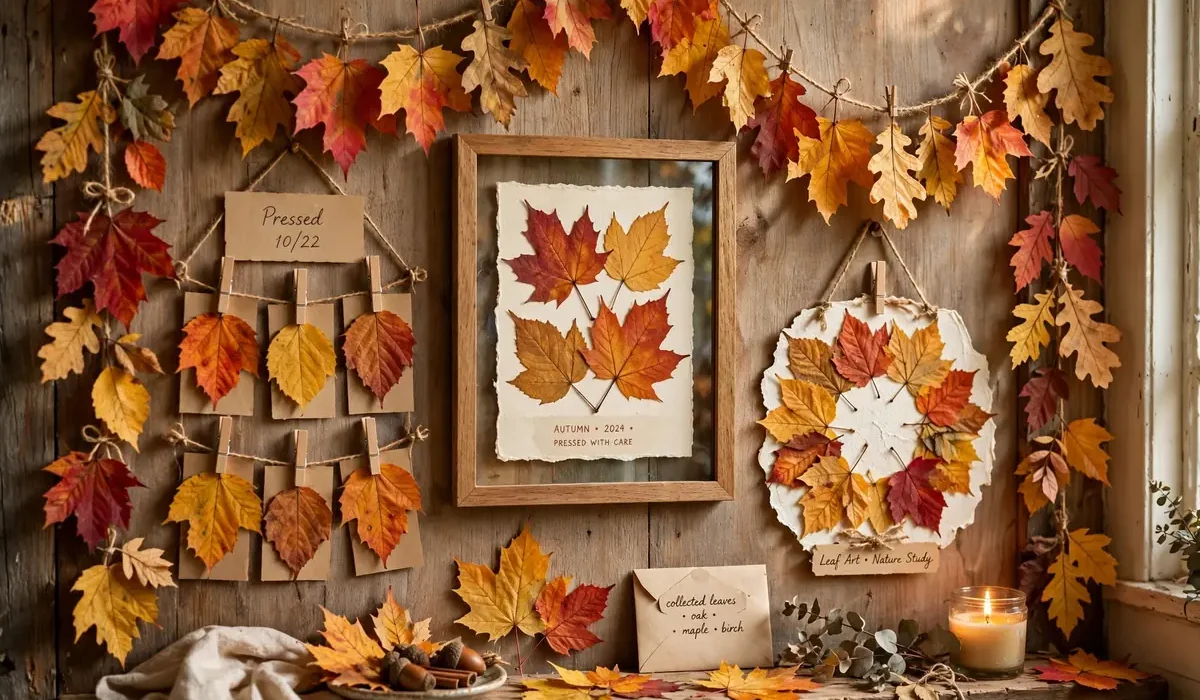
When the leaves start to change, the best craft supply in the world falls free from the trees. Red maples, golden birches, rusty oaks, and deep burgundy sweetgums all land at your feet, ready to become art. This guide is all about leaf crafts: projects where the leaf itself is the star. You will press leaves, arrange them, hang them, and turn them into garlands, bowls, lanterns, and keepsakes. Unlike painting projects, where leaves are just inspiration, these crafts celebrate the real leaf: its shape, its veins, its color, and the way it crinkles in your hand. Most of them cost nothing beyond glue, string, and a free afternoon.
Collecting and Preparing Leaves
The best leaf crafts start with good leaves. Go out on a dry day and choose leaves that are freshly fallen or just turning, with strong color and no brown spots or tears. Pick more than you think you need, because some will crack or curl while they dry. Carry a book or a folder to keep them flat on the way home. Sort your leaves by size and color when you get home. Large, flat leaves are best for garlands and placemats. Small, colorful leaves suit cards, bookmarks, and confetti. Leaves with interesting shapes, like maple and oak, make the most striking display pieces.
How to Press Leaves
Pressing is the foundation of most leaf crafts. Place each leaf between two sheets of plain paper or paper towel, then tuck the stack inside a heavy book. Stack more books on top and leave the leaves for three to seven days. Pressed leaves come out flat, dry, and ready to glue, frame, or laminate. For faster results, press leaves between sheets of wax paper with a warm iron on low heat for a few seconds per side. This seals in the color and gives the leaf a slight sheen. Keep the iron moving and work on a protected surface.
Pressed Leaf Art and Framed Leaves
The simplest leaf craft is also one of the prettiest. Arrange three to five pressed leaves on a sheet of thick paper or card, varying the sizes and colors, and glue them down with a tiny dot of clear glue. Add a small handwritten label, a date, or the name of the tree if you know it. Slip the page into a frame, and you have elegant botanical art. For a more natural look, press a whole small branch with its leaves attached and frame it as a specimen. A row of three matching frames, each holding one large leaf in a different fall color, makes a beautiful hallway display.
Leaf Garlands: The Classic Fall Decoration
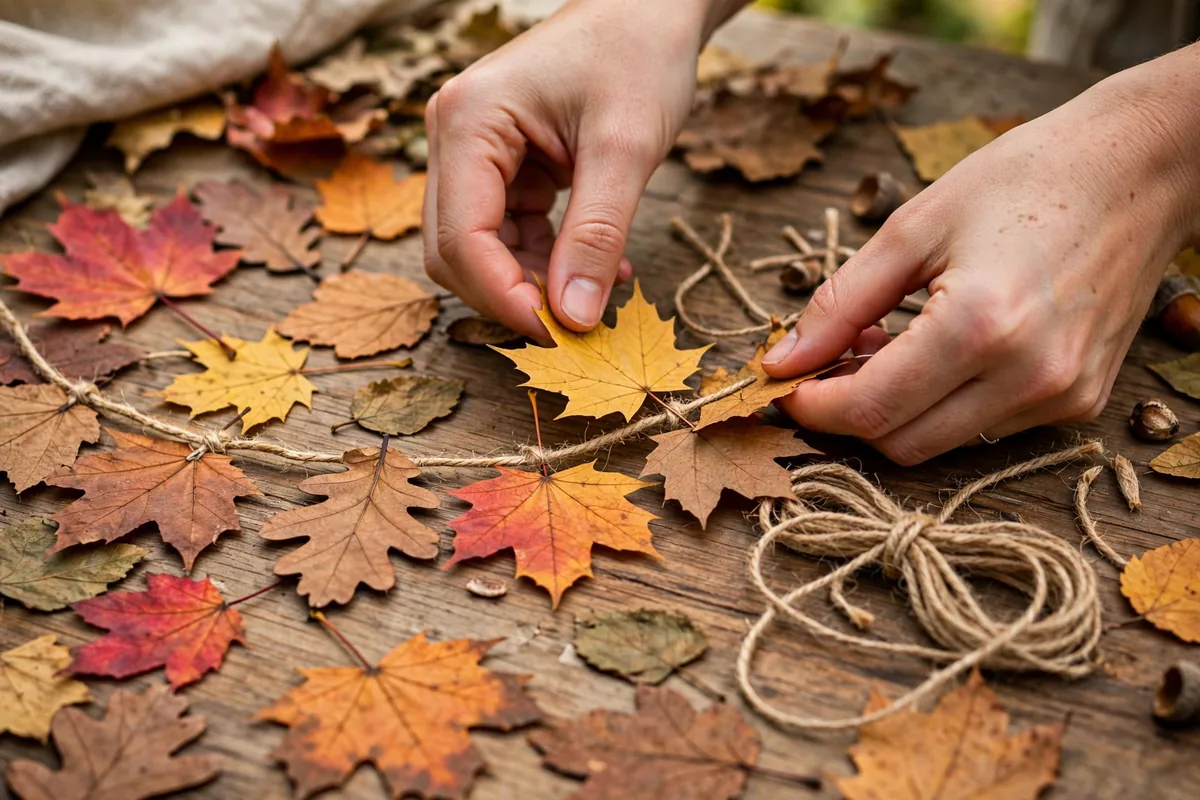
A leaf garland is the most satisfying way to use a big pile of leaves. There are two easy methods, and both look wonderful. The sewn garland. Thread a needle with strong thread or thin twine, and sew straight through the stems or the center of each leaf, spacing them a few centimeters apart. Sewn garlands drape naturally and flutter gently in a breeze. Hang one across a mantel, a doorway, or a window. The glued garland. Lay a long piece of twine on the table and glue leaves along it, overlapping them slightly like shingles. Press each leaf flat until the glue sets. Glued garlands are sturdier and easier for kids, since no needle is involved. Mix leaf colors along the garland, or sort it into a gradient from green to gold to deep red. Add a few small pinecones or dried berries between the leaves for extra texture.
Leaf Bowls: A Favorite Nature Craft
A leaf bowl looks magical and is surprisingly simple. Blow up a balloon to the size you want your bowl to be, and cover the top half with a thin layer of decoupage glue. Press small and medium leaves onto the balloon, overlapping them, and brush another layer of glue over the top. Add two or three layers of leaves, letting each layer dry slightly, then leave the whole thing overnight. When it is fully dry, pop the balloon and lift it away. You are left with a delicate, translucent leaf bowl, perfect for holding wrapped candy, potpourri, or a battery candle. Use leaves in similar tones for a calm look, or mix bright reds and golds for a bold centerpiece.
Leaf Wreaths for the Front Door
A leaf wreath announces fall before anyone steps inside. Start with a wire or grapevine wreath base, and attach bunches of leaves with floral wire or hot glue, working around the circle and overlapping each bunch to hide the base. Mix leaf types and colors for a full, natural look, and finish with a burlap ribbon or a few pinecones. A fresh-leaf wreath lasts about a week before the leaves dry and curl, which is part of its charm. A wreath made from pressed or wax-preserved leaves lasts much longer and can be stored and reused next year.
FAQ
What leaves are best for leaf crafts?
Maple, oak, birch, and sweetgum leaves work beautifully because they are large, colorful, and sturdy. Freshly fallen leaves with strong color and no tears give the best results.
How long do pressed leaves last?
Pressed leaves kept flat, dry, and out of sunlight last for months. Sealed with decoupage glue or laminated, they can last for years.
Are leaf crafts safe for kids?
Yes, with supervision. Pressing, gluing, and arranging leaves are great for all ages. Adults should handle hot glue and irons, and battery candles should replace real flames in leaf lanterns.
Go Gather Some Leaves
The best time for leaf crafts is right now, while the colors are at their peak. Take a walk, fill a bag with the brightest leaves you can find, and press them tonight. By the weekend you will have a garland on the mantel, a bowl on the table, and a framed leaf on the wall, all made from leaves that fell free from the trees. That is the magic of changing leaves.