

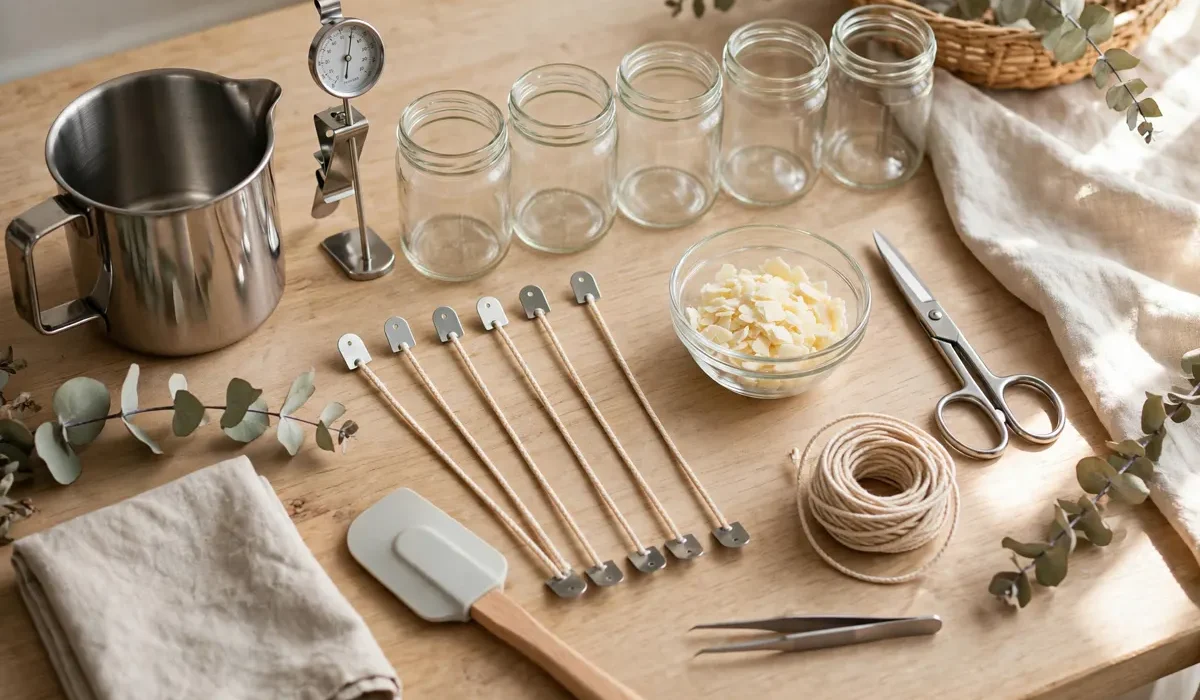
Candle making looks simple on video: melt wax, add scent, pour into jar. In real life, difference between relaxing hobby/frustrating mess usually comes down to setup. Before melt first batch of wax, pays to get workspace, tools, supplies organized. Here is how to set it all up.
Why Your Setup Matters More Than Your Recipe
Most candle making problems not caused by bad recipe. Caused by cluttered table, wrong pot, or workspace too hot, too cold, or too close to curious pets/kids. Good setup saves time, keeps safe, makes every batch more consistent. When everything has place, can focus on fun part: choosing scents, jars, colors. Do not need dedicated room, just clear counter, few tools, safety routine.
Choosing the Right Workspace at Home
Best candle making spot flat, heat-resistant, well ventilated, away from foot traffic. Kitchen counter near stove works well because have water nearby, surface easy to clean.
What to Look for in a Workspace
- Flat stable surface at comfortable height.
- Good ventilation, such as open window or running extractor fan.
- Enough room to separate hot zone from cool zone.
Set Up Two Zones
Divide workspace into two zones. Hot zone is where melt wax, handle pouring pot, pour candles. Keep area clear of clutter. Cool zone is where prepare jars, measure fragrance, label finished candles, let poured candles set undisturbed.
Essential Candle Making Tools
These tools make home candle making easier/safer.
Melting and Pouring Tools
- Double boiler or pouring pot: pouring pot set over pan of simmering water melts wax gently/evenly. Pouring pot with spout makes pouring much neater.
- Thermometer: digital or candy thermometer essential.
- Kitchen scale: Weighing wax/fragrance gives consistent results.
- Heat-resistant spatula or spoon: Use it only for candle making.
Jar and Wick Tools
- Wick holders or chopsticks: Keep wicks centered/straight while wax sets.
- Wick trimmer: Trimming wicks to about quarter inch before each burn gives cleaner safer flame.
- Glue dots or wick stickers: Hold wicks in place at bottom of jar before pouring.
Cleaning and Protection Tools
- Silicone mat or old baking sheet: Place under pouring area to catch drips. Dried wax peels off silicone easily.
- Apron/oven mitts: Hot wax splashes rare, but apron/mitts protect clothes/hands.
- Paper towels/rubbing alcohol: Wipe jars before pouring so labels stick well, finished candle looks clean.
Your Candle Making Supplies Checklist
Gather basics before first session:
- Candle wax suited to project, such as container soy wax for jars.
- Pre-tabbed wicks in right size for jars.
- Fragrance oils or essential oils labeled safe for candles.
- Clean jars, tins, or containers that can handle heat.
- Labels, pen, notebook for recording each batch.
- Rubbing alcohol/paper towels for cleaning jars.
Start with supplies for five to ten candles, not fifty.
Safety Setup: The Routine Every Home Candle Maker Needs
Candle making safe when follow simple routine from first session.
Before You Start
- Clear workspace of paper, fabric, clutter.
- Keep fire extinguisher or heavy lid nearby, know where it is.
- Tie back long hair, roll up loose sleeves.
- Make sure pets/children in another room.
While You Work
- Never leave melting wax unattended, even for minute.
- Never add water to hot wax, never melt wax directly over high flame.
- Keep heat low/steady. Wax should melt gently, never smoke.
- Use oven mitts when lifting hot pouring pot.
After You Finish
- Turn off heat, let pouring pot cool before washing it.
- Let poured candles sit undisturbed until fully set.
- Store fragrance oils upright, away from heat/sunlight, out of reach of children/pets.
Organizing and Storing Your Supplies
Tidy setup makes candle making hobby you actually return to. Store wax in cool dry place in sealed bag or container. Keep fragrance oils upright in box, labeled with scent name/date opened. Store jars with lids on so dust stays out. Keep wicks sorted by size in small bags or envelopes. Single labeled bin can hold everything, so setup takes five minutes.
Your First Candle Making Session: A Simple Plan
For first session at home, keep small/unhurried. Plan about one to two hours, including setup/cleanup. Set up two zones, lay out all tools/supplies. Clean two/three jars, secure wicks in place. Melt small amount of wax, checking temperature as go. Measure fragrance, add at right temperature, stir slowly. Pour carefully, center wicks, leave candles to set. Clean up while candles cool, write down what made. Two/three candles plenty for first session.
Frequently Asked Questions
How much space do I need to make candles at home?
Single kitchen counter or sturdy table enough for beginners. Mainly need clear hot zone for melting/pouring, plus small cool zone for jars/finished candles.
Is it safe to make candles in a kitchen?
Yes, as long as follow basic safety habits: never leave melting wax unattended, keep workspace clear, ventilate room, keep children/pets away from hot zone.
Set Up Once, Enjoy Every Batch
Thoughtful setup turns candle making at home from one-time experiment into hobby you look forward to. Once station ready, every batch becomes simpler, safer, more enjoyable. What does your candle making corner look like? Tell us in comments.