

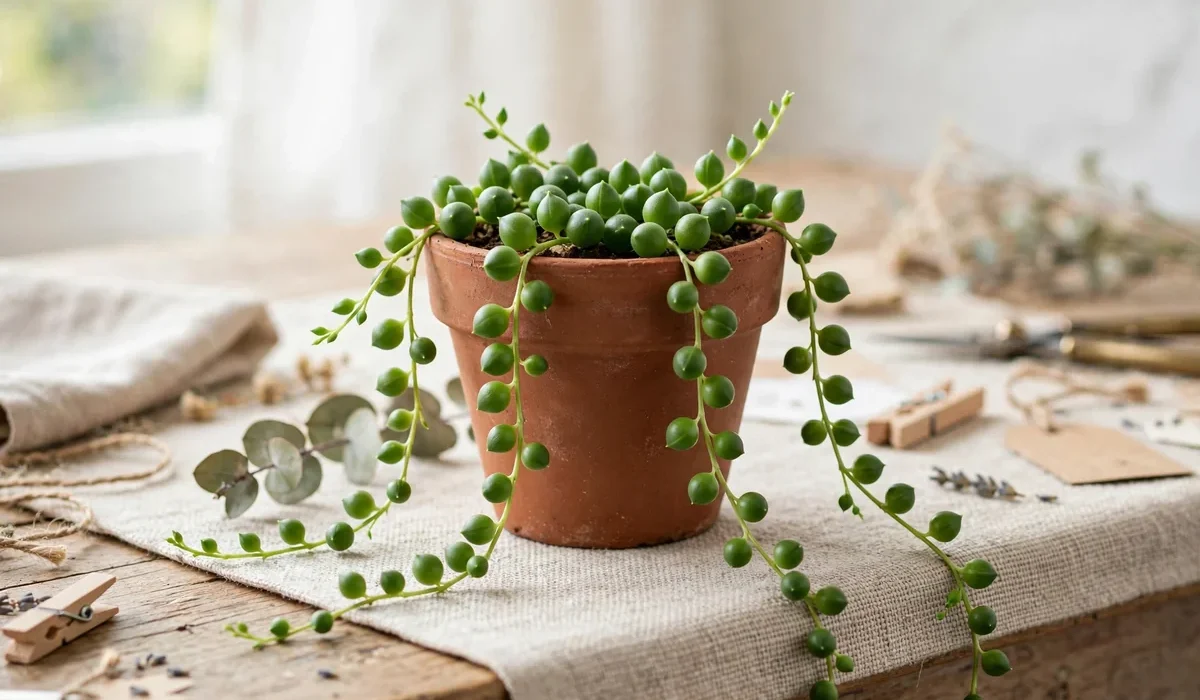
A beaded string of pearls is one of the most charming crafts you can make. The real string of pearls plant, with its trailing strands of round leaves, is beautiful but famously fussy. A beaded version gives you the same delicate, trailing look with none of the watering, light, or soil worries. It hangs gracefully over the edge of a pot, catches the light, and stays perfect forever. This tutorial walks you through making a beaded string of pearls from start to finish. You need only a few inexpensive supplies, about an hour, and a little patience. By the end, you will have a trailing beaded plant that looks lovely on a shelf, a desk, or hanging in a window.
Supplies You Will Need
Green round beads, 6mm or 8mm, in two shades of green. Thin craft wire, 26 gauge, green or silver. Small pot, about 8 to 10 centimetres wide. Floral foam, clay, or a ball of modelling clay to anchor the strands. Wire cutters. Small pebbles or moss to cover the base. Optional: tiny beads in pink or white for flowers. Choose beads with a slightly glossy finish, because the shine mimics the plump, juicy look of real pearl plant leaves. Mixing two greens, a light and a dark shade, makes the strands look more natural.
Step By Step Tutorial
Step 1: Cut Your Wire
Cut five to seven lengths of wire, each 45 to 60 centimetres long. Longer wires make longer trailing strands. Vary the lengths slightly, so the finished plant has strands of different lengths, just like a real plant.
Step 2: Thread The First Beads
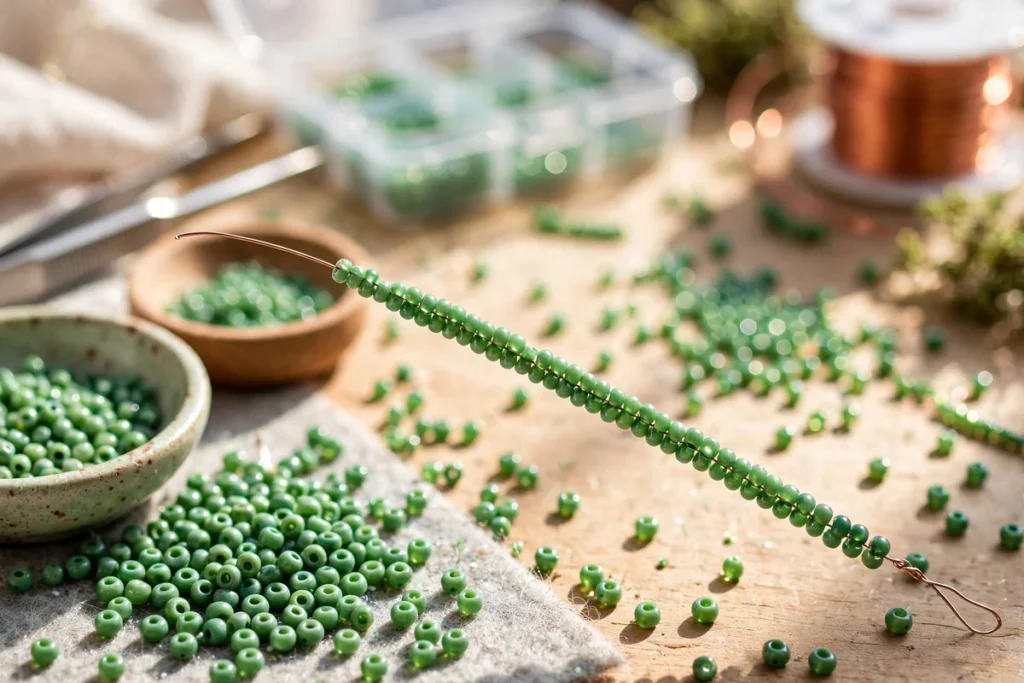
Take one wire. Thread on six to eight beads, then push them to the middle of the wire. These beads form the top of the strand, the part that sits in the pot.
Step 3: Create The Trailing Strand
Now thread beads onto both ends of the wire, working outward from the middle. On each side, add beads in a repeating pattern, for example three light green beads, then one dark green bead. Keep the beads snug but not tight, so the strand stays flexible and drapes naturally.
Step 4: Finish The Ends
When each side reaches your desired length, thread the last bead back through the second-to-last bead to form a small loop, then twist the wire end around the strand to secure it. Trim any sharp wire end with cutters and tuck it into the last bead.
Step 5: Repeat For All Strands
Repeat steps 2 to 4 for each wire length. Aim for five to seven strands: three long, two medium, and two short. This mix gives the plant a full, natural shape.
Step 6: Anchor The Strands
Press floral foam or a ball of clay into the pot. Push the middle of each strand into the foam, fanning the two trailing ends over the edge of the pot. Arrange the strands so they fall evenly around the pot.
Step 7: Add The Finishing Touches
Cover the foam with small pebbles or moss to hide it. If you like, add a few tiny pink or white beads on short wires as flowers. Gently arrange the strands so they hang naturally, and trim any strand that looks out of place.
Tips For A Realistic Look
Real string of pearls has leaves that sit close together on a thin stem. To mimic this, use small beads and keep them snug. Vary the bead shades along the strand, with lighter beads near the tips. Let some strands hang straight down and others drape over the pot rim at an angle. A few strands that curl slightly look more natural than perfectly straight ones.
Display Ideas
A beaded string of pearls looks best where its strands can trail. Place it on a high shelf, on top of a bookcase, or in a hanging planter. Pair it with a beaded succulent or a beaded cactus for a mini beaded garden. It also makes a lovely gift: wrap the pot in tissue paper, add a ribbon, and include a small card saying it never needs watering. For a bolder display, make three beaded string of pearls plants in different pot colours and hang them at staggered heights in a window. The beads catch the light and sparkle gently.
Common Mistakes To Avoid
Do not use wire that is too thick, because the strands will be stiff and will not drape. Do not make all the strands the same length, because the plant will look flat and artificial. Do not overcrowd the pot: five to seven strands look full, but ten strands look tangled. Finally, always tuck in sharp wire ends, so the finished plant is safe to handle.
Variations To Try
Variegated pearls: Add cream or white beads among the green for a variegated look. Flower-topped pearls: Add a tiny flower of pink beads at the end of one or two strands. Mini version: Use 4mm beads and a thimble as a pot for a tiny desk plant. Hanging version: Attach the pot to a macrame hanger and let the strands trail from above. Seasonal version: Add red beads in winter for a festive touch, or pastel beads in spring.
Frequently Asked Questions
How long does it take to make a beaded string of pearls?
About 45 to 90 minutes, depending on how many strands you make. Beginners should allow a full afternoon and enjoy the process.
What size beads work best?
6mm to 8mm round beads are ideal. Smaller beads look delicate, while larger beads look bold and modern.
Can I use fishing line instead of wire?
Wire is better, because it holds its shape and lets you arrange the strands. Fishing line is too floppy and tangles easily.
Is this craft suitable for children?
Older children, around age ten and up, can make a beaded string of pearls with supervision. Pre-cut the wire and use larger beads to make threading easier.
How do I clean a beaded string of pearls?
Dust it with a soft brush or a gentle blast of cool air. Avoid water, which can dull some bead finishes.
Final Thoughts
A beaded string of pearls is a small project with a big payoff. In about an hour, you can make a trailing plant that never wilts, never needs water, and always looks beautiful. Make one for your own shelf, and one as a gift for someone who loves plants but not plant care. Once you have mastered the technique, you will want to bead a whole collection. Make your beaded string of pearls today, share a photo of your finished plant, and explore more beaded craft ideas on Hommiest for your next project.