

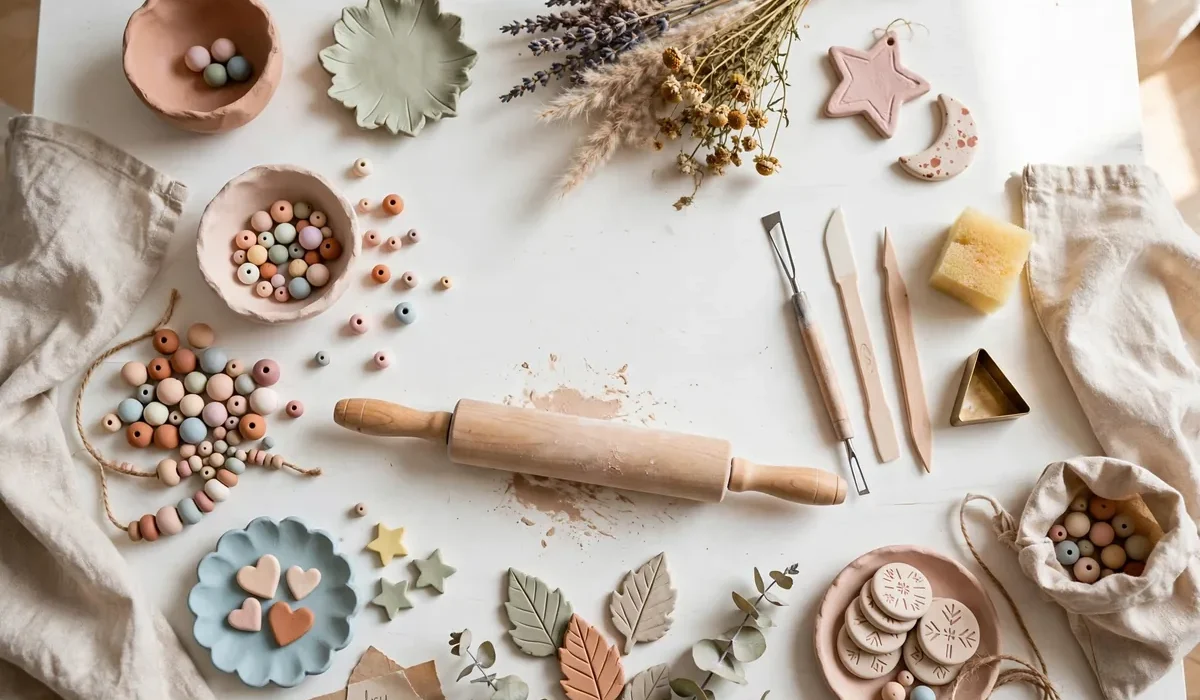
Air dry clay has become one of the most loved craft supplies for beginners, families, teachers, and small business makers. You do not need a kiln, special training, or a big budget. You shape it, let it dry in the air, paint it, seal it, and enjoy a finished piece that looks thoughtful and handmade. Whether you want a relaxing weekend project, a gift for someone you love, or a new hobby that fits a busy life, air dry clay is a wonderful place to begin. In this guide, you will learn what air dry clay is, what tools you really need, how to shape, dry, paint, and seal it, and which beginner projects give the best results.
What Is Air Dry Clay?
A Simple Clay That Hardens Without Heat
Air dry clay is a soft, pliable modelling material that hardens naturally when exposed to air. Unlike polymer clay, which needs oven baking, and ceramic clay, which needs a kiln, air dry clay cures at room temperature. Most projects dry within 24 to 72 hours, depending on thickness, humidity, and air flow. Most air dry clays are water based. You can smooth them with a little water, join pieces with slip, which is clay mixed with water, and clean hands and tools easily. Once dry, the surface is firm, lightweight, and ready to sand, paint, and seal.
Who Is Air Dry Clay Best For?
Air dry clay works well for almost everyone. Children love it because it is soft and easy to shape. Adults love it because it is calming and creative. Teachers use it for classroom art, gift makers use it for ornaments and keepsakes, and small sellers use it for jewellery and home decor. Mistakes are easy to fix while the clay is damp, and even imperfect pieces often look charming once painted.
What You Need to Get Started
Essential Supplies for Beginners
You do not need a long shopping list. Start with these basics: one pack of white or terracotta air dry clay, a smooth work surface such as a silicone mat or wax paper, a rolling pin, a craft knife, a small bowl of water with a sponge, toothpicks or clay tools for detail, fine sandpaper, acrylic paint, brushes, and a clear sealant. White clay is best if you plan to paint in bright colours, because it gives a clean base. Terracotta clay looks beautiful left natural or sealed with a matte finish, and it suits rustic, earthy styles. Try a small pack first before buying in bulk.
How to Use Air Dry Clay Step by Step
Shape, Dry, Paint, and Seal
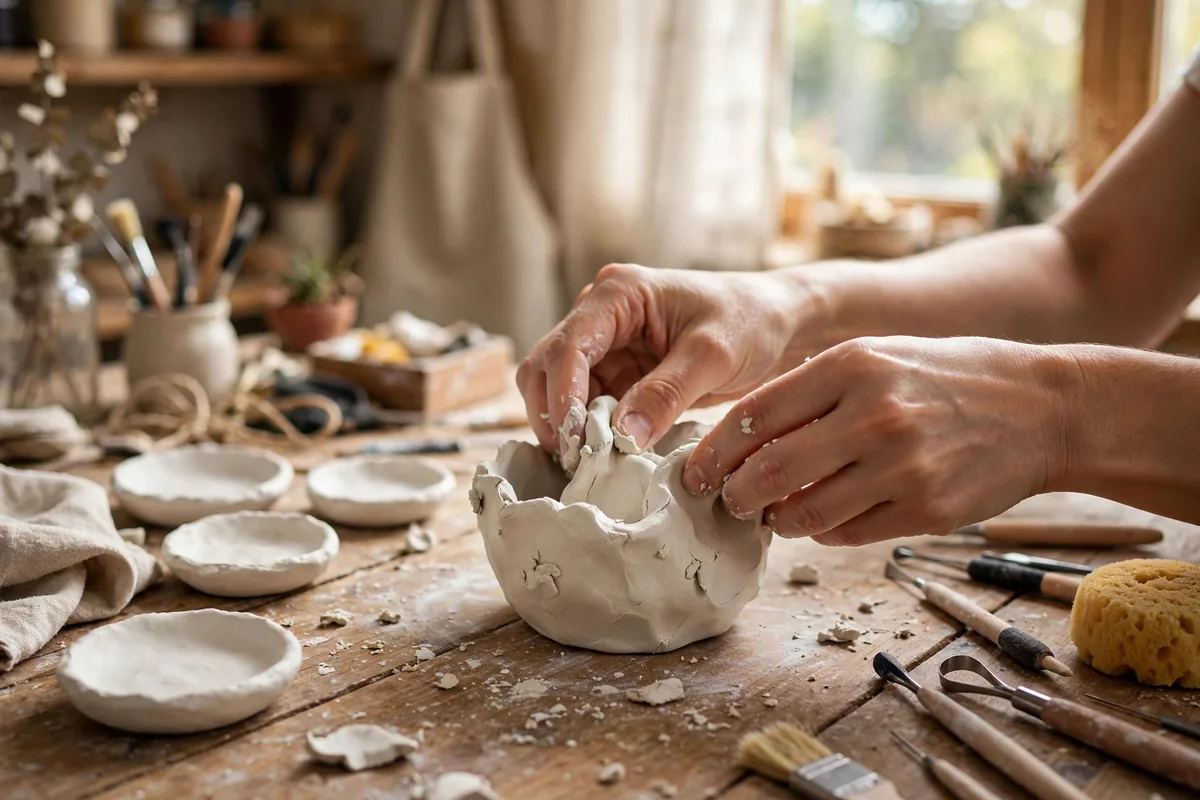
First, knead the clay for a minute or two until soft and even. If it feels dry, work in a few drops of water. Roll, pinch, coil, or cut it into shape, keeping thickness as even as possible. For bowls and dishes, aim for 6 to 8 millimetres thick. To join two pieces, score both surfaces with a toothpick, add a little slip, press firmly together, and smooth the seam with a damp finger. Next, add texture. Press lace, leaves, stamps, or fabric into the surface, and use a toothpick for lines, dots, or names. Then let the piece dry slowly in a cool, well ventilated room. Turn it over once or twice a day so both sides dry evenly. Avoid sunlight, radiators, or hair dryers, because fast drying causes cracking. Thin pieces may dry in a day, while thicker pieces may need three days. Once fully dry, sand rough edges gently, paint with acrylic paint in thin layers, and finish with two or three thin coats of clear sealant. Matte sealant gives a soft natural look, while glossy sealant gives bright polished colour.
Best Air Dry Clay Projects for Beginners
Easy First Projects to Try
Start with forgiving projects that still look lovely: trinket dishes and ring holders, leaf bowls, ornaments and gift tags, beads and charms, candle holders, and small plant pots or trays. For ornaments, roll clay flat, cut shapes with cookie cutters, punch a hole, and paint after drying. For leaf bowls, press a real leaf into rolled clay, cut around it, and drape it over a bowl to dry. Once comfortable, try handprint keepsakes, jewellery dishes with gold edges, hanging wall decor, mini planters, or sculpted animals. Combine clay with dried flowers, twine, beads, and paint for pieces that look store bought.
Common Mistakes and How to Avoid Them
Cracking is the most common frustration. It usually happens when clay dries too fast, pieces are too thick, or clay was too dry to begin with. Dry slowly, keep thickness even, and keep unused clay sealed in an airtight bag. Do not skip sealant, because unsealed clay can absorb moisture and stain easily. Remember that air dry clay is not waterproof and not food safe, even after sealing. Use pieces for decoration and dry items only.
Frequently Asked Questions
How long does air dry clay take to dry?
Most small projects dry in 24 to 48 hours. Thicker pieces can take up to 72 hours. The piece should feel light and fully firm before you paint it.
Can you bake air dry clay to make it dry faster?
It is best not to bake it. High heat can cause cracking or uneven drying. Slow air drying gives the strongest, smoothest result.
Is air dry clay safe for children?
Many air dry clays are non toxic and suitable for children with adult supervision. Always check the label and choose a brand marked non toxic.
Can you paint air dry clay?
Yes. Acrylic paint works best. Apply thin coats, let each coat dry, and finish with a clear sealant for protection.
How do you stop air dry clay from cracking?
Keep thickness even, dry slowly away from heat and sunlight, condition the clay well, and avoid making pieces too thick.
Start Your First Air Dry Clay Project Today
Air dry clay proves you do not need fancy tools or years of experience to make something beautiful. Pick one simple project, such as a trinket dish or a set of ornaments, gather a few basic supplies, and give yourself an hour to create. Share your finished piece as a gift, use it at home, or start a small collection of handmade decor you can be proud of.