

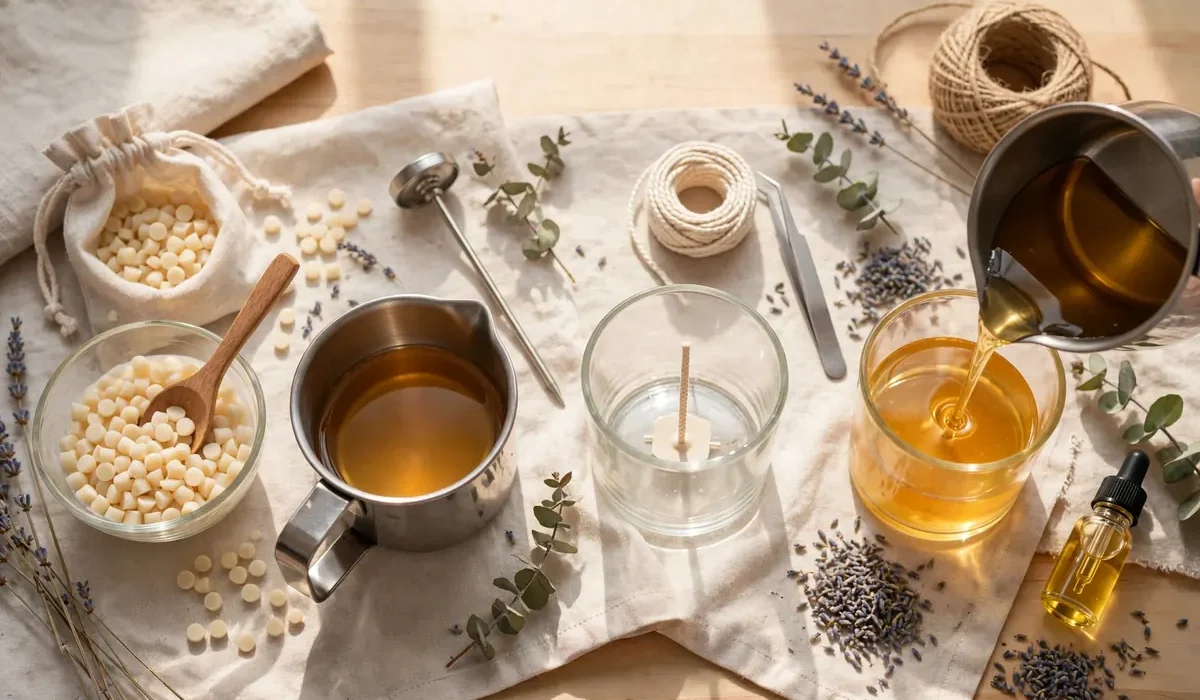
Best way to learn candle making is to make one candle from start to finish. Tutorial walks through single jar candle project, one numbered step at a time. Need no large kit or prior experience, just clear workspace, supplies below.
What You Will Make
This project makes one 8 ounce jar candle with cotton wick, clean scent, smooth top. Use soy wax because forgiving, easy to find, gives clean finish. Active work takes about 45 minutes, plus cooling/curing time.
Supplies for One Jar Candle
Gather everything before melt wax.
- 8 ounce heat safe glass jar with wide mouth.
- 7 ounces of soy wax flakes.
- One cotton wick sized for 8 ounce jar, with metal tab.
- Wick sticker or small dot of hot glue.
- Wick holder, chopstick, or pencil.
- Thermometer, heat safe pouring jug, larger pot for double boiler.
- 0.7 ounces of candle fragrance oil, about 10 percent of wax weight.
- Kitchen scale, stirring spoon, paper towels.
Candle making works best by weight, not volume. Weighing wax/fragrance gives consistent scent strength, more predictable result.
Candle Making Tutorial: The Step by Step Walkthrough
Follow steps in order. Do not skip temperatures, because they control how candle sets, smells, burns.
Step 1: Prepare Your Jar and Wick
Start with clean dry jar. Stick wick tab to center of jar bottom with wick sticker or tiny dot of hot glue. Place wick holder or chopstick across top, wrap wick around it so wick stands straight/centered. Centered wick essential. If leans, candle burns unevenly.
Step 2: Weigh and Melt the Wax
Weigh 7 ounces of soy wax flakes into pouring jug. Place jug in larger pot with few inches of simmering water to create double boiler. Never melt wax directly over high heat, never leave melting wax unattended. Stir gently. Soy wax usually melts fully between 170-180 degrees Fahrenheit.
Step 3: Add Fragrance Oil at the Right Temperature
Remove jug from heat when wax reaches about 185 degrees Fahrenheit. Add 0.7 ounces of fragrance oil, stir slowly for full two minutes. Stirring helps fragrance bind with wax, giving stronger scent when candle burns. Use fragrance oil made for candles. For unscented candle, skip step.
Step 4: Cool the Wax Before Pouring
Let wax cool to about 135 degrees Fahrenheit before pouring. Wax too hot can cause sinkholes, cracks, rough top. Wax too cool can cause lumps, poor adhesion. While cools, check wick still centered, jar sits on flat heat safe surface.
Step 5: Pour the Wax Slowly Into the Jar
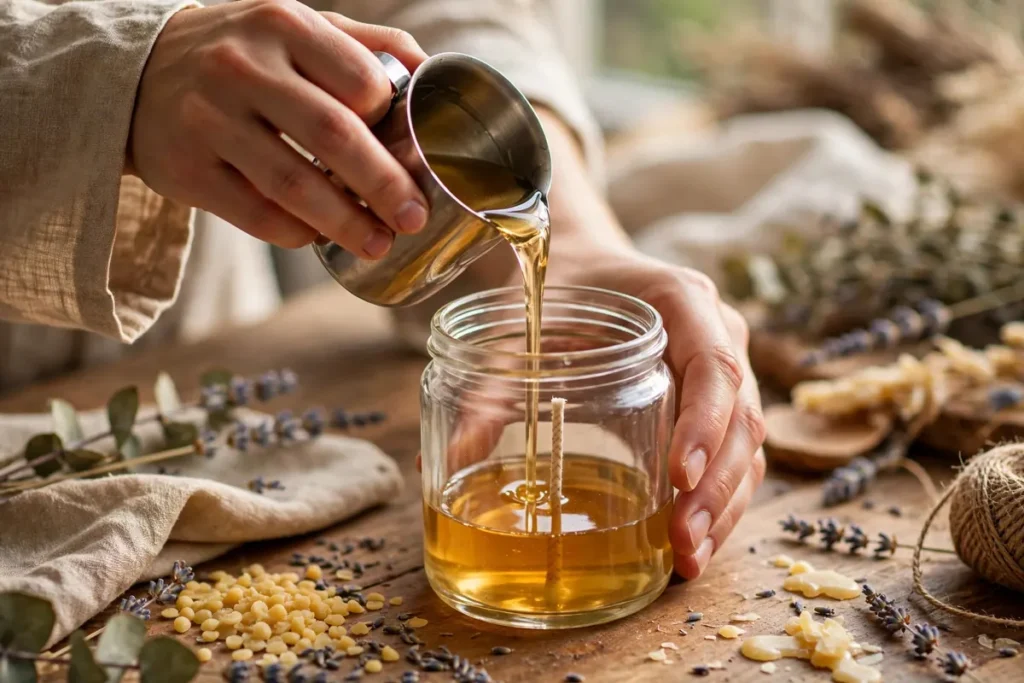
Pour slowly/steadily, leaving about half inch of space at top. Use one smooth stream rather than splashing or stopping/starting. Hold jug low, close to jar to reduce bubbles. Do not move jar after pouring. Let sit undisturbed, away from drafts, fans, open windows.
Step 6: Secure the Wick and Let the Candle Set
Check once more wick centered. If shifted, gently nudge back with chopstick while wax still liquid. Then leave candle alone for at least four hours, or overnight if can. Slow even cooling gives smoothest finish. Soy wax may look cloudy or slightly frosty as sets. Normal.
Step 7: Fix the Top With a Second Pour
After cooling, may see small dip or sinkhole near wick. Common with soy wax, easy to fix. Poke two/three small holes around wick with skewer, melt little leftover wax, pour thin relief layer over top. Let cool fully without moving jar. One relief pour usually enough.
Step 8: Trim the Wick and Let the Candle Cure
Once candle fully set/cool, trim wick to one quarter inch above wax. Helps candle light cleanly, burn with steady flame. Remove wick holder, wipe jar if needed. Now let candle cure for at least 48 hours before lighting it. For strongest scent, wait three to five days.
Step 9: Do a Test Burn and Enjoy Your Candle
For first burn, let candle burn until melted wax reaches edge of jar, usually two to three hours for 8 ounce jar. Full melt pool prevents tunneling, where candle burns down middle, leaves ring of hard wax. After first burn, trim wick before each lighting. Never leave burning candle unattended.
Troubleshooting Your Finished Candle
Even careful first candle can have small flaws. If top looks rough or cracked, pouring temperature likely too high or candle cooled too quickly. Next time, pour near 135 degrees, keep jar away from drafts. If candle tunnels, first burn probably too short. If scent feels weak, check stirred fragrance oil for two full minutes, cured candle for at least 48 hours.
Frequently Asked Questions
How long does this candle making tutorial take?
Active work takes about 45 minutes. Cooling takes at least four hours, curing takes 48 hours or more before first burn.
Can I use a different wax for this tutorial?
Yes, but temperatures/results will change. Tutorial written for soy wax. Paraffin, beeswax, coconut blends each have own melt, fragrance, pouring temperatures.
Try This Project Today
Now have complete candle making tutorial for one jar candle, from preparing wick to first burn. Gather supplies, follow steps in order, give candle time to cool/cure. Share guide with friend who wants to try candle making, explore more DIY projects on Hommiest for next handmade idea.