

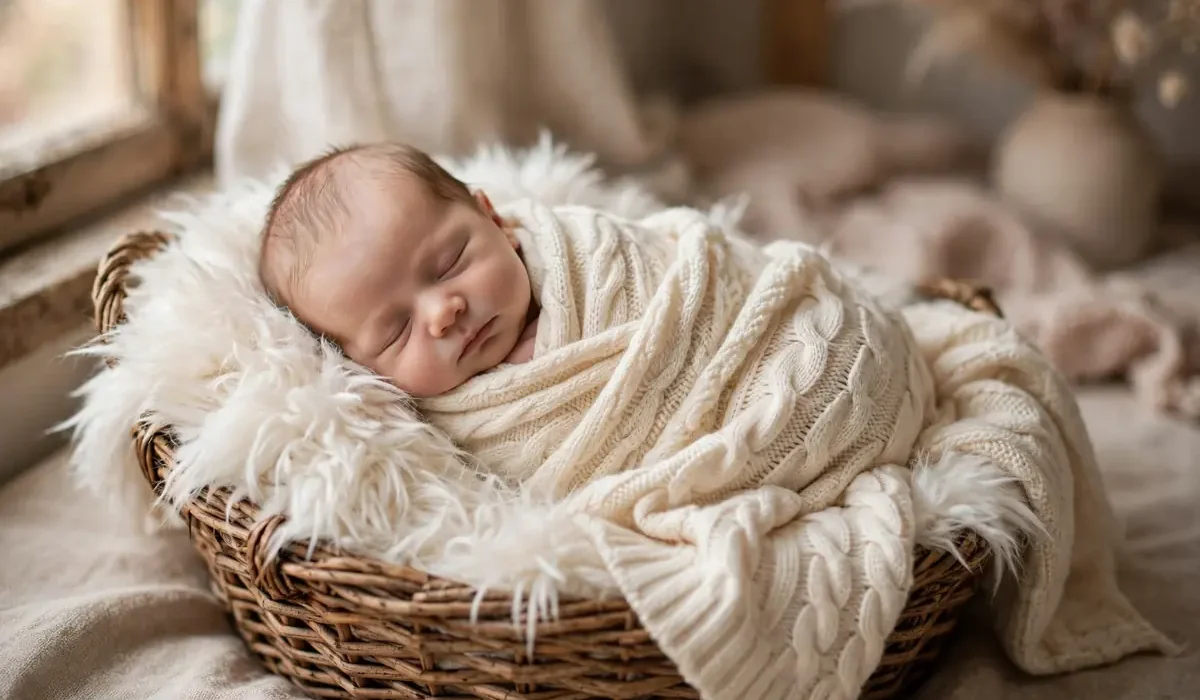
Those first tiny yawns, curled-up fingers, and sleepy smiles disappear faster than anyone warns you. A DIY newborn photoshoot lets you capture them at home, on your own schedule, without the cost of a professional studio session. You do not need fancy equipment or photography experience. With soft natural light, a few simple props, and a calm, warm room, you can take beautiful photos your family will treasure for years.
Safety First for Your DIY Newborn Photoshoot: The Only Rule That Matters
Before any pose or prop, remember that your baby’s safety and comfort come first. Never place a newborn in a basket, bowl, or prop that could tip over, and never leave your baby unattended on a raised surface. Keep the room warm, around 75 to 78 degrees Fahrenheit, so your baby stays comfortable while wrapped or undressed. Support your baby’s head and neck at all times, and if your baby fusses, stop and try again later. The best photos happen when your baby is calm and content, not when a pose is forced.
When to Do a DIY Newborn Photoshoot
The best window for newborn photos is the first two weeks after birth, when babies sleep deeply and curl up naturally. That said, do not stress if you miss that window. Babies at three or four weeks old are more alert, and their open eyes and expressions make lovely photos too. Plan your session for a time when your baby is fed, changed, and sleepy, usually right after a feeding. Keep the session short, thirty to forty-five minutes, and take breaks whenever your baby needs you.
What You Need for a DIY Newborn Photoshoot
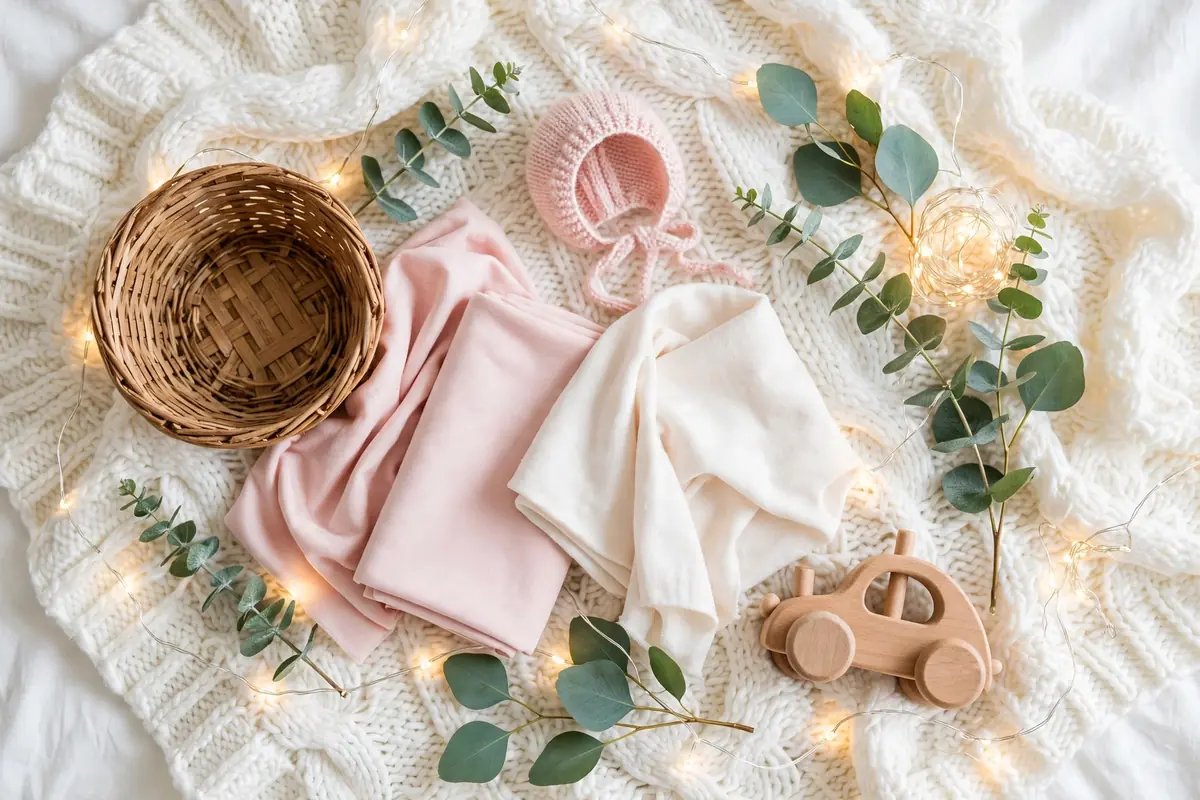
You probably own most of what you need already. A smartphone with a good camera works beautifully for newborn photos. In addition, gather a few soft blankets and wraps in neutral colors like cream, blush, sage, and soft gray. A woven basket, a shallow wooden bowl, or a soft rug makes a perfect base. Add a few simple props such as a knit bonnet, a tiny headband, a stuffed animal, or fresh greenery. Keep everything clean, soft, and baby safe. Natural light from a large window is your best friend, so set up near one.
12 Sweet DIY Newborn Photoshoot Ideas
1. The Classic Basket Pose
Lay a fluffy blanket inside a sturdy woven basket and gently place your sleeping baby inside, wrapped snugly. Then, shoot from above for a sweet, timeless photo. This is the most pinned newborn pose for a reason: it is simple, safe, and adorable.
2. Wrapped Like a Burrito
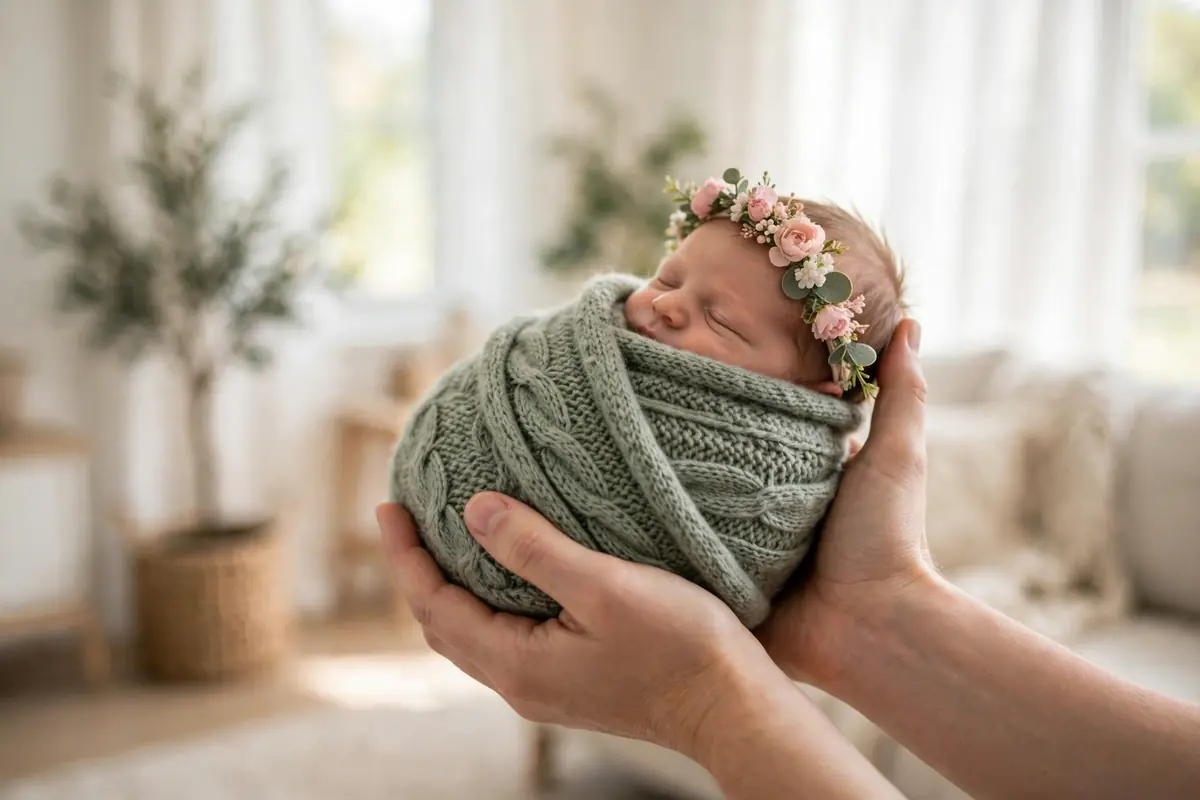
Wrap your baby snugly in a soft knit or muslin wrap, leaving only the face visible. A snug wrap helps newborns feel secure and sleepy, and it creates clean, beautiful lines in photos. Try cream, sage, or blush wraps for a soft look.
3. Parent’s Hands
Place your baby in your cupped hands or hold your baby’s tiny hand in yours. These close-up shots show just how small your newborn is, and they make emotional keepsakes. Focus on the hands and keep the background soft and blurred.
4. The Sibling Introduction
If your baby has a big brother or sister, capture their first meeting. Then, have the older sibling lie beside the baby or gently hold them with your help. These photos become family treasures, and siblings love looking back at them.
5. Tiny Details Close-Up
Zoom in on the little things: tiny toes, curled fingers, eyelashes, and lips. Then, use your phone’s portrait mode for a soft background blur. These detail shots are perfect for printing and framing.
6. The Family Cuddle
Lie on a bed together as a family and take photos from above. In fact, everyone snuggled close, looking at the baby, creates warm, natural images. A white or neutral bedsheet keeps the focus on your family.
7. Seasonal Touches
Add a seasonal detail to mark the moment: autumn leaves, a tiny pumpkin in fall, evergreen sprigs in winter, or fresh flowers in spring. Finally, keep the seasonal prop small and simple so your baby stays the star.
8. The Faux Fur Rug
A soft white or cream faux fur rug makes a dreamy base for newborn photos. Then, lay your baby gently on the rug near a window and shoot from above. The texture photographs beautifully and feels cozy.
9. Daddy’s Shoulder
A photo of your baby sleeping on a parent’s chest or shoulder is one of the most loved newborn images. The size contrast is heart-melting. Use soft light and a plain shirt so nothing distracts from the moment.
10. The Name Sign
A small wooden or felt sign with your baby’s name and birth date adds a personal touch. Place it beside your sleeping baby or hold it gently in frame. It makes the photo perfect for birth announcements.
11. The First Outfit
Dress your baby in their coming-home outfit or a special knitted set from a loved one. A simple, well-fitting outfit in a soft color photographs far better than a busy pattern. Keep accessories minimal.
12. Black and White Classics
Convert a few of your favorite photos to black and white. Without color, the emotion, tiny details, and soft light stand out even more. Finally, black and white newborn photos look timeless in a frame or a photo book.
Lighting Tips for a DIY Newborn Photoshoot
Natural window light is the single best light for newborn photography, and it costs nothing. Set up near a large window and turn off overhead lights, which create harsh shadows and yellow tones. Morning light is soft and flattering. If the sun is too strong, hang a sheer white curtain to soften it. Always position the light so it falls on your baby’s face from the side or slightly above, never from directly behind.
Simple Editing Tips for Your DIY Newborn Photoshoot
A little editing goes a long way. Next, use a free app to gently brighten the photo, warm the tones slightly, and crop out clutter. Keep your baby’s skin natural: avoid heavy filters that turn skin orange or gray. A soft, bright, airy edit suits newborn photos best. Save your favorites at full resolution so you can print them later.
Frequently Asked Questions
When is the best time for a DIY newborn photoshoot?
The first two weeks are ideal because newborns sleep deeply and curl up naturally, but babies up to six weeks old photograph beautifully too. Finally, choose a time right after a feeding when your baby is calm and sleepy.
Do I need a professional camera for a DIY newborn photoshoot?
No. A modern smartphone with portrait mode takes wonderful newborn photos. Good natural light and a clean, simple background matter far more than the camera you use.
What should my baby wear for a photoshoot?
A soft wrap, a simple onesie, or nothing but a diaper cover with a blanket works beautifully. In addition, neutral colors like cream, white, blush, and sage photograph best. Avoid busy patterns and large logos.
How do I keep my baby safe during a photoshoot?
Never leave your baby unattended in a prop or on a raised surface. Keep the room warm, support the head and neck, and stop if your baby is uncomfortable. A spotter should always stay within arm’s reach.
How many photos should I take?
Take plenty, then pick your favorites. Aim for a short thirty to forty-five minute session and expect to keep ten to fifteen beautiful shots. Quality matters more than quantity.
Final Thoughts on Your DIY Newborn Photoshoot
A DIY newborn photoshoot is not about perfection. It is about capturing a fleeting moment: how tiny your baby was, how they curled into your arms, and how your family felt in those first days. Set up near a window, keep your baby warm and comfortable, and take your time. The photos you take today will be the ones you treasure most in the years to come. Pick one idea from this list and try it this week while your baby is still tiny. Gather a soft blanket, find your brightest window, and start shooting. Explore more DIY baby and family craft ideas on Hommiest for your next project.