

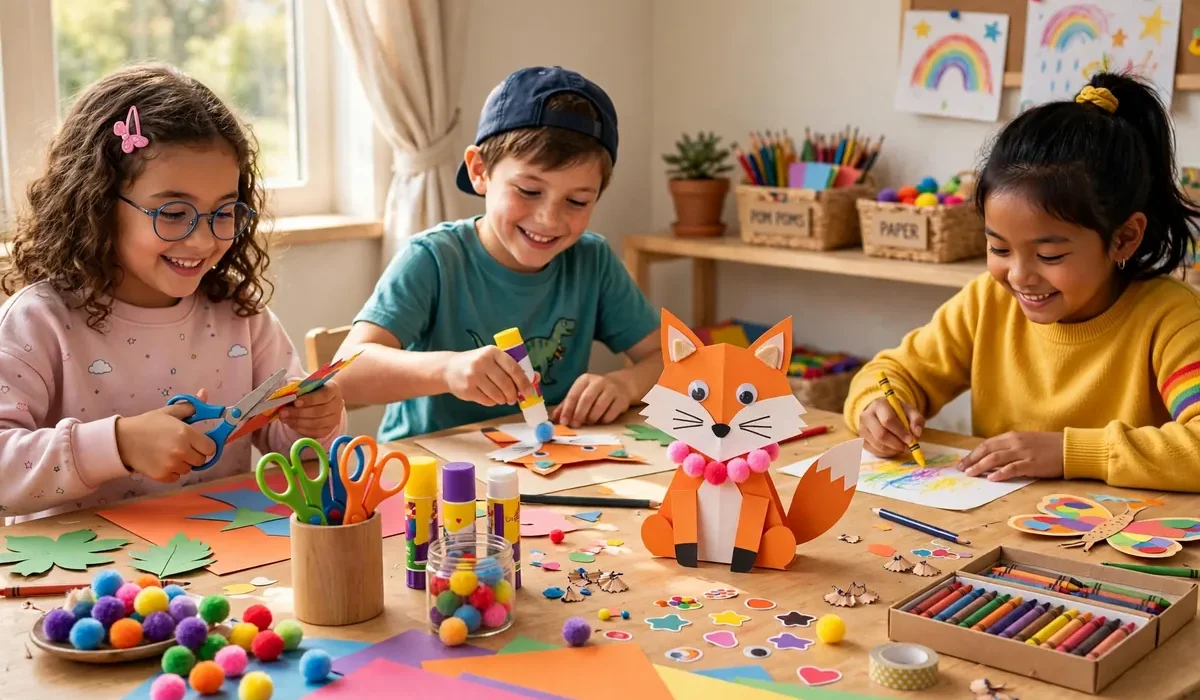
If you have ever searched for a kids craft activity and ended up with a vague idea and a messy table, this guide is for you. Here is one complete, tested activity plan from start to finish: a paper animal collage that works for children aged about 4 to 10, takes roughly 45 minutes, and needs only basic supplies. A paper animal collage is a perfect kids craft activity because it is open-ended. Every child makes something different, there is no single right answer, and the steps are simple enough for younger children while older children can add detail and complexity. By the end, each child has a colourful animal to display, and you have a calm, focused activity that builds real skills.
What You Will Need
Gather everything before you begin. Setting out supplies in advance keeps the activity calm and avoids mid-craft searches for missing scissors. Coloured paper and cardstock in several colours. One sheet of sturdy paper or card per child for the background. Child-safe scissors (one pair per child if possible). Glue sticks, plus a small bottle of white glue for heavier pieces. Crayons, markers, or coloured pencils for details. Pom poms, googly eyes, or stickers for decoration (optional). Newspaper or an old tablecloth to protect the table. For a group, pre-cut a few basic shapes (circles, ovals, triangles) so younger children can start straight away. Older children may prefer to cut their own shapes, so keep extra paper within reach.
Setting Up: 5 Minutes
Cover the table and lay out the supplies where every child can reach them.

The Activity: Step by Step
Step 1: Choose an Animal and Plan (5 Minutes)
Ask each child to name their animal and think about its main features. A cat has pointy ears and a long tail. A fish has fins and a tail. A lion has a big mane. For younger children, suggest simple animals with big shapes: fish, cats, dogs, birds, or frogs. Older children might try owls, foxes, or butterflies.
Step 2: Cut or Tear the Main Shapes (10 Minutes)
Children cut or tear the big shapes first: body, head, ears, tail, wings, or fins. Younger children can tear paper, which is excellent for motor skills and gives a soft, textured edge. Older children can draw shapes lightly in pencil, then cut them out. Remind children that shapes do not have to be perfect. A slightly wobbly circle still looks like a belly, and uneven ears give an animal character.
Step 3: Arrange Before Gluing (5 Minutes)
Before any glue comes out, children lay their shapes on the background sheet and move them around until the animal looks right. This lets children change their minds without ruining anything, and it teaches planning. Once they are happy, they glue the pieces down one at a time, starting with the largest shapes and adding smaller details on top.
Step 4: Glue and Add Details (15 Minutes)
Now comes the fun part. Children glue their shapes in place, then add details with markers, crayons, and decorations. Eyes, noses, whiskers, spots, and smiles all bring the animal to life. Googly eyes and pom poms are always popular.
Step 5: Finish, Name, and Display (5 Minutes)
When the collage is done, ask each child to give their animal a name and, if they can write, add the name at the bottom of the page. Let the collages dry flat, then display them on the fridge, on a wall, or on a shelf.
Cleanup and Adapting for Different Ages
Ages 4 to 5: Pre-cut most shapes, use tearing instead of cutting, and keep the animal simple. Expect a shorter session, around 25 to 30 minutes, and help with gluing. Ages 6 to 8: Children can cut their own shapes and add written labels, patterns, and backgrounds, such as a pond for a frog or a sky for a bird. Ages 9 to 10: Challenge older children with layered shapes, patterned paper, or a scene with two animals. They can also write a short story about their animal on the back.
Tips and Safety
Keep groups small if possible: four to six children per adult is ideal for younger ages. Use glue sticks first, since they are less messy than liquid glue and dry quickly. Protect clothes with old T-shirts or aprons. Praise effort, not just results. Always use child-safe scissors with rounded tips for younger children, and supervise cutting. Keep small items like googly eyes away from children under three. Check that glue and markers are non-toxic and age-appropriate.
Frequently Asked Questions
What is a good kids craft activity for a rainy day?
A paper animal collage is ideal: it uses basic supplies, keeps children engaged for about 45 minutes, and works for a wide age range.
How long should a craft activity for kids last?
Around 30 to 45 minutes is right for most children aged 4 to 10. Younger children may finish in 25 to 30 minutes. Watch for signs of restlessness and wrap up with the finishing and display step rather than pushing on.
What supplies do I need for a kids craft activity?
Coloured paper, background card, child-safe scissors, glue sticks, and crayons or markers cover most activities. Optional extras like googly eyes, pom poms, and stickers add excitement without adding complexity.
How do I keep a kids craft activity from getting too messy?
Cover the table, use glue sticks instead of liquid glue, give each child their own small set of supplies, and build a five-minute cleanup into the end of the session. Aprons or old shirts protect clothes.
Can this activity work for a kids birthday party?
Yes. Set it up as a table station, pre-cut shapes for speed, and let each child take their collage home as a party favour. Keep the group small or add an extra adult to help with cutting and gluing.
Try It This Week
You now have a complete kids craft activity ready to go: supplies, steps, timing, and tips. Gather your paper and scissors, pick a time when nobody is in a rush, and make a paper animal collage together. Display the finished animals proudly, and keep the leftover supplies for the next craft day. One good activity, done well, beats a dozen half-planned ones every time.