

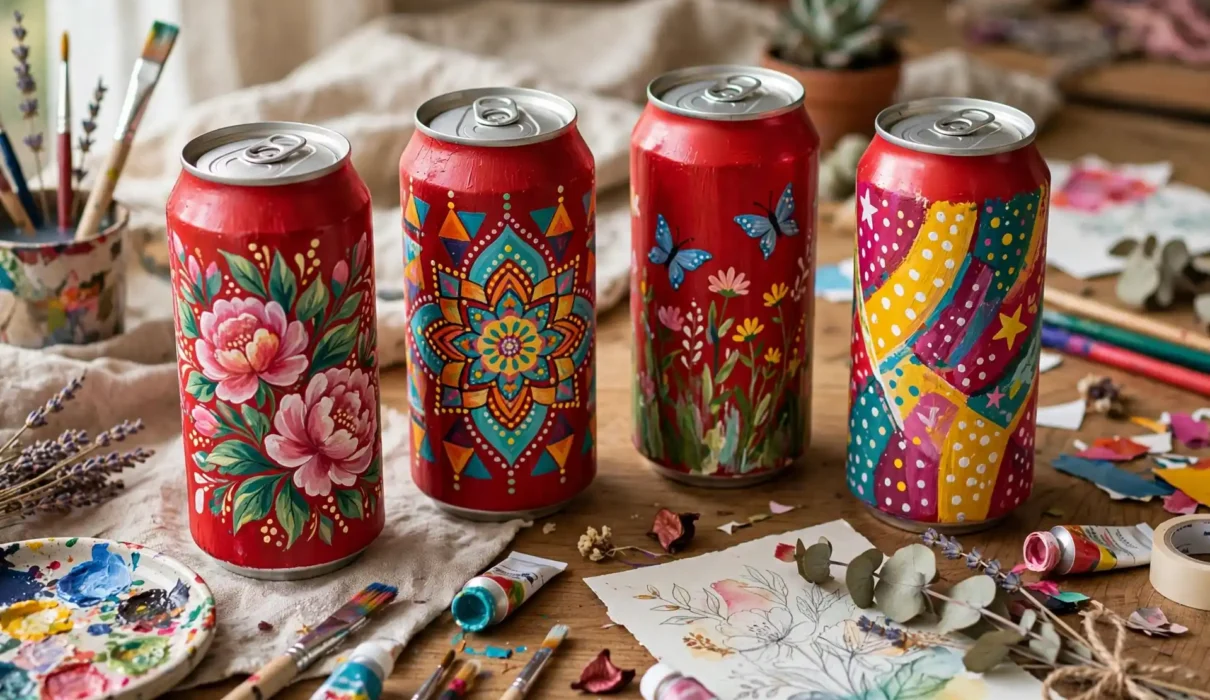
A red cola can is already bold — but painted, it becomes a tiny canvas. Coke can painting turns empty soda cans into planters, pencil holders, vases, ornaments, and gifts. The curved metal surface takes paint beautifully, and the small size means every project finishes fast. This guide covers Coke can painting from start to finish: how to prepare cans, which paints work best, design ideas for every skill level, and finished projects you will actually want to display.
Why Paint Coke Cans?
Coke cans are free, plentiful, and perfectly sized for small crafts. The red color gives a warm base, or you can prime over it for a blank canvas. Painted cans are lightweight, durable, and ideal for gifts, party decor, and craft fair inventory. Painting cans is also a great introduction to painting on metal — a skill that transfers to larger upcycling projects.
How to Prepare a Coke Can for Painting
Step 1: Clean the Can
Rinse the can with soap and water, remove any sticky residue, and let it dry completely. For planters and holders, cut the top off carefully with tin snips, then sand the cut edge smooth. Wear gloves — cut aluminum edges are sharp.
Step 2: Prime the Surface
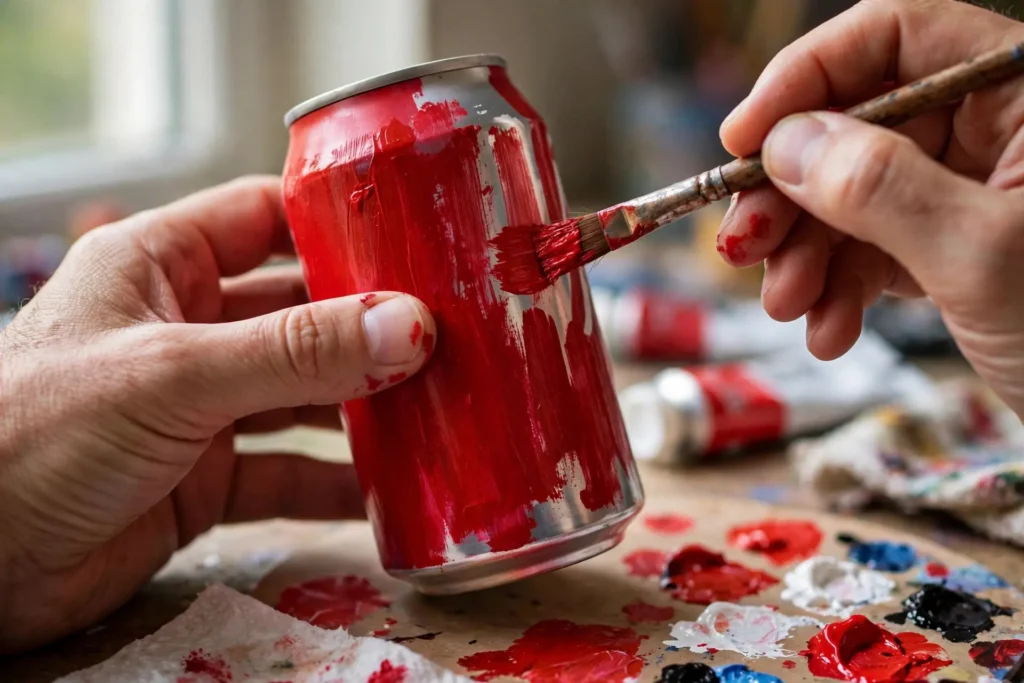
Aluminum is smooth, so paint needs help sticking. Lightly sand the outside with fine sandpaper, wipe away dust, and apply one coat of metal primer or white acrylic gesso. Primer gives paint something to grip and makes colors brighter. Let the primer dry fully before painting.
Step 3: Choose Your Paint
Acrylic paint is the best choice for Coke can painting. It sticks well to primed metal, dries quickly, and comes in every color. For outdoor projects, use outdoor acrylic or seal finished cans with clear varnish. Spray paint also works for base coats and gives an even finish fast.
Coke Can Painting Techniques
Solid Color and Color Blocking
The simplest technique is also one of the prettiest. Paint the whole can one bold color, or block two colors with painter’s tape for crisp lines. Metallic gold, pastel pink, matte black, and sage green all look elegant on cans.
Dots and Patterns
Use a dotting tool, a pencil eraser, or a toothpick to paint dots in rows, mandalas, or confetti patterns. Dot painting is relaxing, forgiving, and looks impressively detailed.
Stripes and Geometric Designs
Tape off stripes, triangles, or chevrons, paint between the tape lines, and peel the tape away while the paint is slightly tacky. Geometric designs look modern and professional with very little skill.
Freehand Art
Paint flowers, faces, animals, or landscapes freehand with small brushes. Start with simple shapes — daisies, hearts, stars — and build up to detailed scenes as your confidence grows.
Stencils and Stamps
Stencils give crisp lettering and patterns without freehand skill. Hold the stencil firmly against the curved can, dab paint lightly, and lift straight up. Rubber stamps work the same way.
Decoupage Over Paint
After painting a base coat, glue on paper napkin designs, tissue paper, or printed images with Mod Podge. Decoupage adds detailed pictures that would be hard to paint by hand.
Painted Coke Can Project Ideas
Painted Can Planters
Paint a can, punch drainage holes in the bottom, and plant a succulent or herb. Painted can planters are the most popular Coke can project — cheap, cute, and endlessly giftable.
Pencil and Brush Holders
Paint a can to match your desk, add felt pads to the bottom, and use it for pens, brushes, or makeup brushes. A set of three painted holders organizes any desk.
Painted Can Vases
Paint tall cans in elegant colors, add a few stems of dried flowers, and you have a vase that costs almost nothing. Grouped vases in different heights look like a boutique set.
Party Decor and Favors
Paint cans to match a party theme — pastel for a baby shower, bold colors for a birthday — and use them as table centerpieces, favor holders, or candy cups.
Painted Can Ornaments
Cut a can flat, paint a design, and cut out ornaments — stars, hearts, trees. Painted can ornaments are lightweight, shiny, and perfect for holidays.
Painted Can Lanterns
Paint a can with a pattern, punch holes through the design with a nail, and place an LED tea light inside. The light glows through the painted pattern beautifully.
Tips for a Professional Finish
Thin coats beat thick coats — apply two or three thin layers, letting each dry fully. Seal finished cans with clear varnish, especially for outdoor or handled items. Keep designs simple on the curved surface; small, bold motifs read better than tiny details. And always let paint cure for 24 hours before using the can.
Frequently Asked Questions
What paint works best on Coke cans?
Acrylic paint over a coat of primer works best. Use outdoor acrylic or clear varnish for cans that will live outside or be handled often.
Do I need to prime a Coke can before painting?
Yes. Priming helps paint stick to smooth aluminum and makes colors brighter. Skipping primer leads to peeling and patchy coverage.
How do I cut a Coke can safely?
Wear gloves, use tin snips or strong scissors, and sand every cut edge with fine sandpaper. Keep cutting away from children.
Can I sell painted Coke cans?
Yes. Painted can planters, vases, and holders sell well at craft fairs and online. Price them to cover paint, primer, varnish, and your time.
Paint Your First Can Today
Grab an empty can, prime it, and paint one simple design. In under an hour you will have a planter, a holder, or a vase that looks like it came from a boutique. Share your painted cans in the comments, and explore more can craft ideas on Hommiest.