

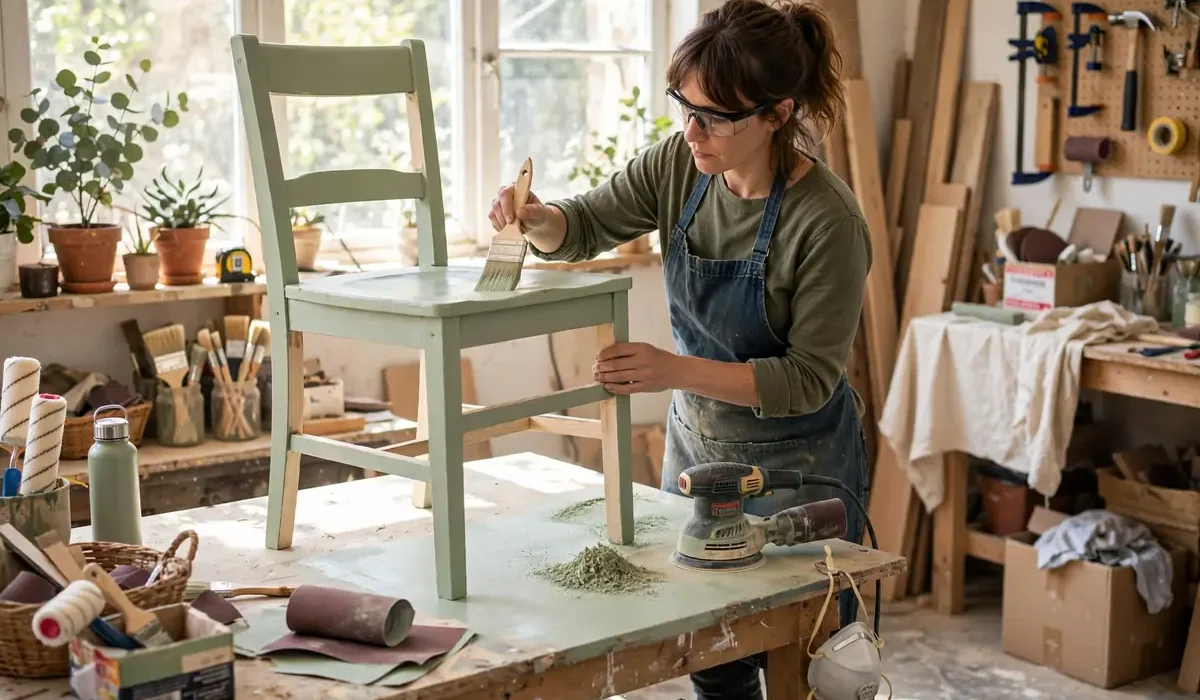
DIY for the home does not have to mean a full renovation, a workshop full of tools, or weeks of work. Some of the most satisfying home projects are small: a chair that gets a second life, a cabinet door that finally closes properly, a hallway that looks brighter after a weekend of painting. The appeal is simple. DIY saves money, lets you customize your home to your taste, and gives you the satisfaction of fixing something with your own hands.
Before You Start: Set Up for Success
Gather a basic toolkit first. You need a cordless drill and driver, hammer, tape measure, level, screwdrivers, pliers, wrench, utility knife, sandpaper in 80, 120, and 220 grit, paintbrushes, a roller, painter’s tape, safety glasses, a dust mask, and work gloves. Plan the project, then buy materials. Measure twice, buy once. Write down dimensions, take photos, and list every material you need. A furniture flip might take a weekend including drying time. A small repair might take an hour. Work safely. Wear safety glasses when drilling, sawing, or sanding, and a dust mask when sanding or working with paint and stain. Keep your workspace ventilated. If a job involves electrical wiring, plumbing behind walls, or structural changes, call a licensed professional.
Furniture Flips: Give Old Pieces a Second Life
Furniture flips are one of the most rewarding DIY home projects. Thrift stores, yard sales, and online marketplaces are full of solid wood pieces that just need cleaning, sanding, and a fresh finish.
How to Flip a Wooden Chair
A wooden chair is a perfect first flip. It is small, affordable, and teaches the core skills of refinishing. 1. Inspect, clean, and sand. Tighten loose screws and reglue wobbly joints, then let the glue cure overnight. Clean with warm soapy water and let it dry. Sand with 80-grit, then 120-grit, then 220-grit, always with the grain. 2. Prime and paint, or stain. For paint, apply a bonding primer, then two thin coats of furniture paint. For stain, apply stain in thin, even coats, wiping off excess. Seal with a clear topcoat. 3. Let it cure. Wait at least 24 to 48 hours before heavy use so the finish hardens. The result is a chair that looks new, costs a fraction of a store-bought piece, and carries a story.
Small Repairs That Make a Big Difference
Fix a Sagging Cabinet Door
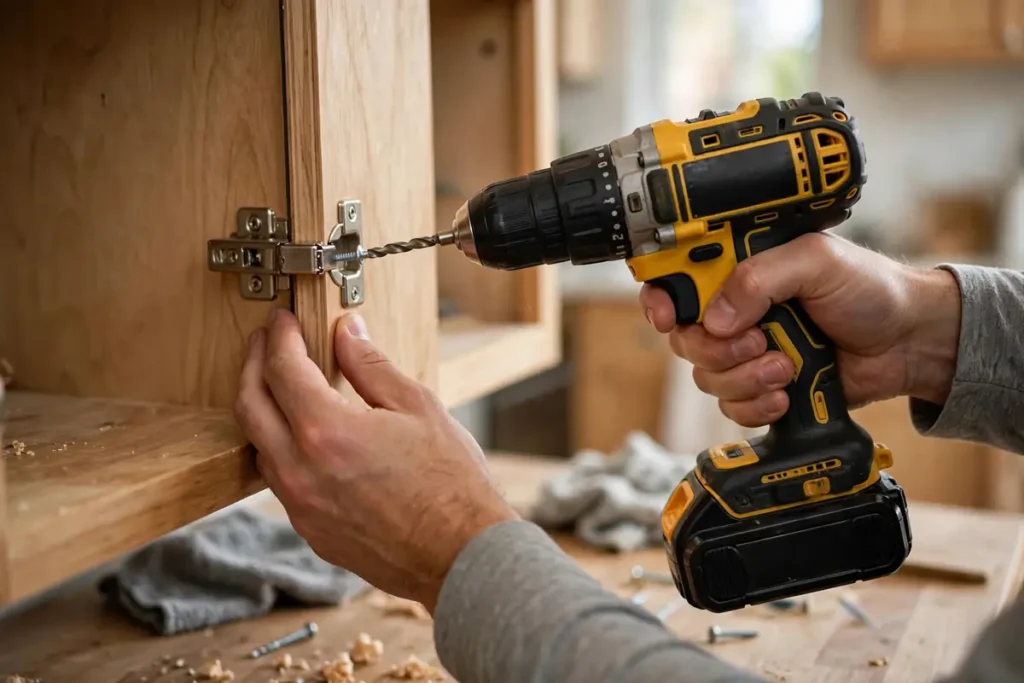
Cabinet doors sag when hinges loosen or screws strip out. First, tighten all hinge screws. If a screw spins without gripping, remove it and fill the hole with a wooden toothpick dipped in wood glue. Let it dry, trim it flush, and re-drive the screw. Then adjust the hinge until the door sits level. If the hinge itself is bent, replace it, bringing the old one to match the size.
Silence a Squeaky Door and Patch Small Holes
A squeaky door hinge is easy to fix. Spray silicone lubricant into the hinge, then open and close the door a few times to work it in. For small nail holes, press lightweight spackle into the hole, scrape it flush, let it dry, and sand lightly. Prime before painting.
Fix a Running Toilet
A toilet that runs constantly wastes water and money. Often the cause is a worn flapper. Turn off the water supply, flush to empty the tank, and inspect the flapper. If it is warped or cracked, replace it. If you are unsure about any plumbing repair, call a professional.
Easy Home Upgrades That Refresh Any Room
Upgrades sit between repairs and renovations. They change how a room looks and feels without tearing anything down. Paint is the highest-impact, lowest-cost upgrade in DIY. Choose the right finish: flat or matte for ceilings, eggshell or satin for living rooms and bedrooms, semi-gloss for trim and bathrooms. Prep matters: clean the walls, fill holes, sand rough spots, and tape edges before you open the can. Swapping light fixtures and hardware is another fast way to modernize a home. Replace dated ceiling lights with simple pendants, add under-cabinet lighting, or install a dimmer switch. New cabinet pulls in a consistent finish make the space look more cohesive. Always turn off power at the breaker before working on fixtures. You do not need new floors to improve tired ones. Deep-clean hardwood with a wood-safe cleaner, then apply a refresh coat of polyurethane if the finish is worn. In high-traffic areas, a quality rug protects the floor and adds warmth and color.
Budget Tips and When to Call a Pro
DIY saves money, but costs can creep up. Start with what you have: repaint, repair, and rearrange before buying new. Buy secondhand first for furniture flips. Rent big tools instead of buying them for a one-time project. Knowing your limits is part of good DIY. Handle cosmetic work, furniture, minor repairs, and simple upgrades yourself. Call a licensed professional for electrical panel work, gas lines, major plumbing, and structural changes.
FAQ
What is the easiest DIY project for a beginner?
Repainting a small piece of furniture, like a chair or side table, is a great first project. It teaches cleaning, sanding, priming, and painting without advanced tools. Fixing a squeaky door or patching a nail hole is even simpler.
How much does a typical DIY furniture flip cost?
A simple chair flip often costs 20 to 60 dollars in materials: sandpaper, primer, paint or stain, a topcoat, and new hardware if needed.
How long does a furniture flip take?
Most small flips take one weekend including drying time. Sanding and prep take a few hours, painting takes a few hours spread across coats, and curing takes 24 to 48 hours.
What tools do I need to start DIY at home?
Start with a cordless drill, hammer, tape measure, level, screwdrivers, pliers, sandpaper, paintbrushes, and safety gear.
How do I choose paint for furniture vs. walls?
Wall paint is not durable enough for furniture. Use furniture or cabinet paint, or a high-quality enamel with a bonding primer and a clear topcoat, for pieces that get daily use. For walls, use interior latex paint in the right finish.
Final Thoughts
DIY for the home is about progress, not perfection. Start with one project: a chair to flip, a cabinet door to fix, or a wall to repaint. Finish it, learn from it, and move on to the next. Pick your first project this weekend, gather your tools, and get started.