

Candle making looks simple on video, and it can be. Still, first candle will go much better if understand basics before melt any wax. Guide for complete beginners. Explains what candle making involves, how to choose first supplies, how to stay safe, which mistakes to avoid. Need no talent, special tools, or craft room, just calm workspace, few beginner friendly supplies, patience while candle cools/cures.
What Candle Making Actually Involves
Candle making has four phases: melt, scent, pour, cure. Melt wax, add fragrance, pour liquid wax into container with wick, let harden/rest. Skill comes from learning temperatures, timing, small details affecting scent/burn quality. First candle is learning candle. Make one or two small jar candles, not large batch.
Choosing Your First Wax
Wax biggest choice for beginner, affects everything else. Each wax has different look, scent strength, melting point, feel. For first candle, choose wax forgiving/easy to work with.
Soy Wax: Best for Most Beginners
Soy wax most popular beginner choice. Melts at moderate temperature, holds scent well, cleans up with soap/water, gives natural creamy look. Frosting or small sinkholes can appear, but those flaws cosmetic. Look for container soy wax made for jar candles, not pillar soy wax.
Paraffin Wax: Strong Scent, More Heat
Paraffin wax gives strong scent throw, smooth glossy finish. Less forgiving, because melts hotter, cools faster, needs more careful temperature control. If love strongly scented candles, try paraffin later, once comfortable with basics.
Beeswax and Coconut Wax: Later Experiments
Beeswax has natural honey scent, but expensive/trickier to scent. Coconut wax burns cleanly, but soft, often blended with other waxes. Start with soy, then explore other waxes with confidence.
Choosing Your First Wick
Wick is not just string. It is engine of candle. Wrong wick can cause tunneling, weak scent, soot, or flame too large or too small. Match wick to jar/wax. Use cotton wick made for container candles, match to jar diameter using seller size guide. Center wick carefully. Leaning wick melts one side faster, creates uneven burn.
Choosing Your First Jar, Scent, and Tools
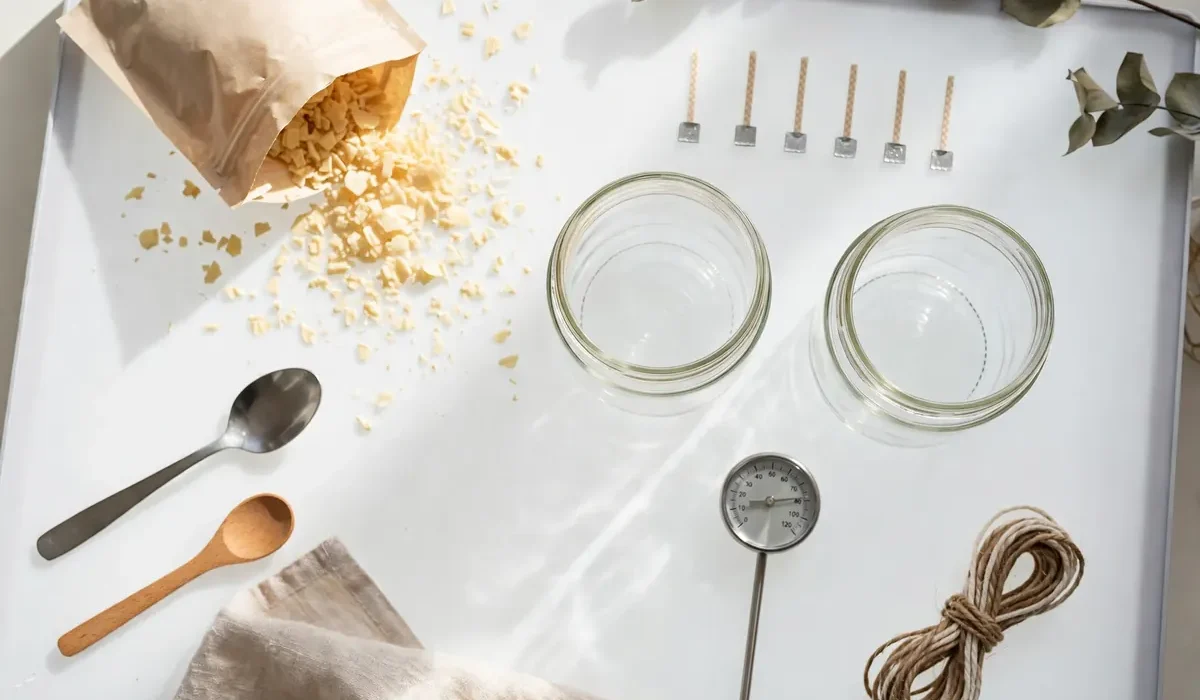
Keep first setup simple. Choose heat safe glass jar with wide mouth, about 8 ounces. Wide mouth jars easier to pour, easier to burn evenly. Avoid thin glass, containers not heat safe, jars with cracks or chips. Use fragrance oil made for candles, not perfume, body oil, or diffuser oil. Start with one simple scent you love, such as vanilla, lavender, or cedarwood. Measure fragrance by weight. Common starting point 6-10 percent fragrance by wax weight. Too much can cause sweating, poor burning, or safety issues. For tools, need kitchen scale, thermometer, heat safe pouring jug, pot for double boiler, stirring spoon, wick holder. Do not use candle tools for food afterward. Keep small set just for candles.
Safety First: The Rules Every Beginner Must Follow
Candle making involves hot wax/open heat, so safety not optional.
- Never leave melting wax unattended. Wax can heat quickly, reach flash point if gets too hot. Stay in room, watch thermometer, keep heat at medium low.
- Never melt wax directly over high heat. Double boiler gives gentle even heat.
- Keep water away from hot wax, since splashing water into melted wax can cause burns.
- Keep flammable items away from stove, keep children/pets out of workspace.
Common Beginner Mistakes and How to Avoid Them
Most beginner problems come from same few mistakes. Knowing them in advance saves wax, time, frustration.
- Skipping scale/thermometer: Guessing measurements/temperatures leads to inconsistent results. Weigh wax/fragrance, check temperatures at every stage.
- Pouring wax too hot: Hot wax causes sinkholes, cracks, rough top. Let wax cool to recommended pouring temperature before pour.
- Moving candle while cools: Moving jar or placing in fridge causes uneven cooling. Leave on flat surface in draft free room until fully hard.
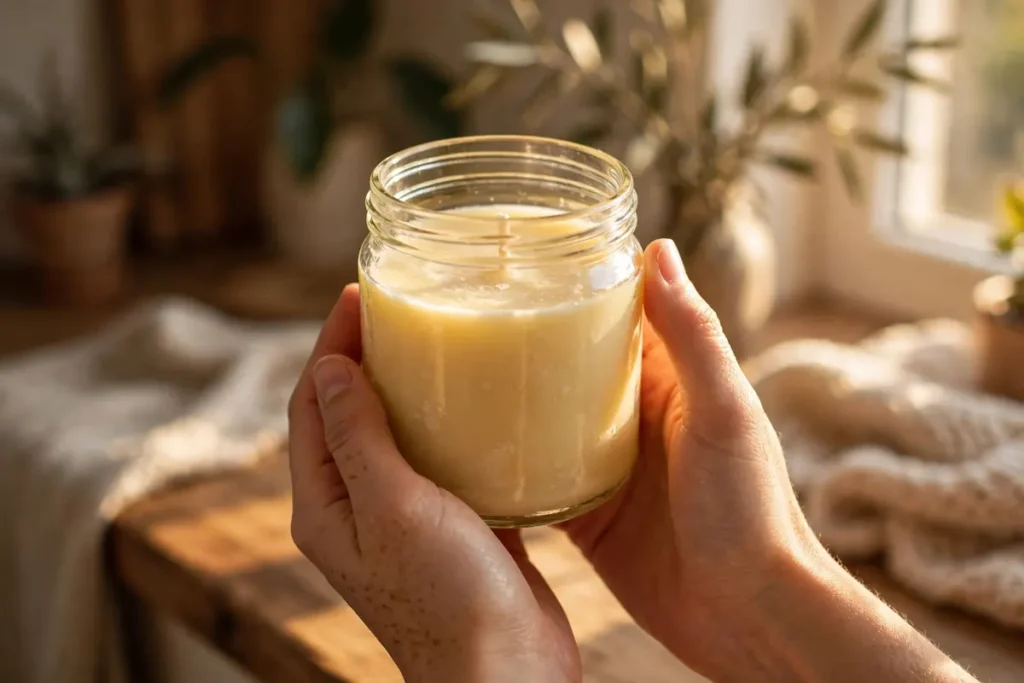
- Lighting candle too soon: Curing is rest period after candle hardens, when wax/fragrance bond. Wait at least 48 hours before first burn.
- Cutting first burn short: On first burn, let melted wax reach edge of jar. Creates full melt pool, prevents tunneling, where candle burns down center.
- Using too much fragrance: More fragrance can cause sweating, poor burning, safety problems. Stay within fragrance limit for wax, measure by weight.
- Choosing wrong wick: Wick too small tunnels/drowns. One too large burns too hot/smokes. Match wick to jar diameter, center it, trim to one quarter inch before each burn.
Frequently Asked Questions
How much does it cost to start candle making?
Small beginner setup costs less than large starter kit. Start with one bag of soy wax, few jars, small set of wicks, one fragrance oil, thermometer, pouring jug.
Is candle making safe for beginners?
Yes, when follow basic safety rules. Never leave melting wax alone, use double boiler, watch temperatures, keep water away from hot wax, work in clear ventilated space.
Start With One Candle
Candle making for beginners about learning basics, staying safe, enjoying process. Choose forgiving wax, match wick to jar, measure carefully, give candle time to cure. First candle may have small flaws like frosting, but normal with soy wax. When ready for full walkthrough, follow step by step candle making tutorial, explore more DIY projects on Hommiest.