

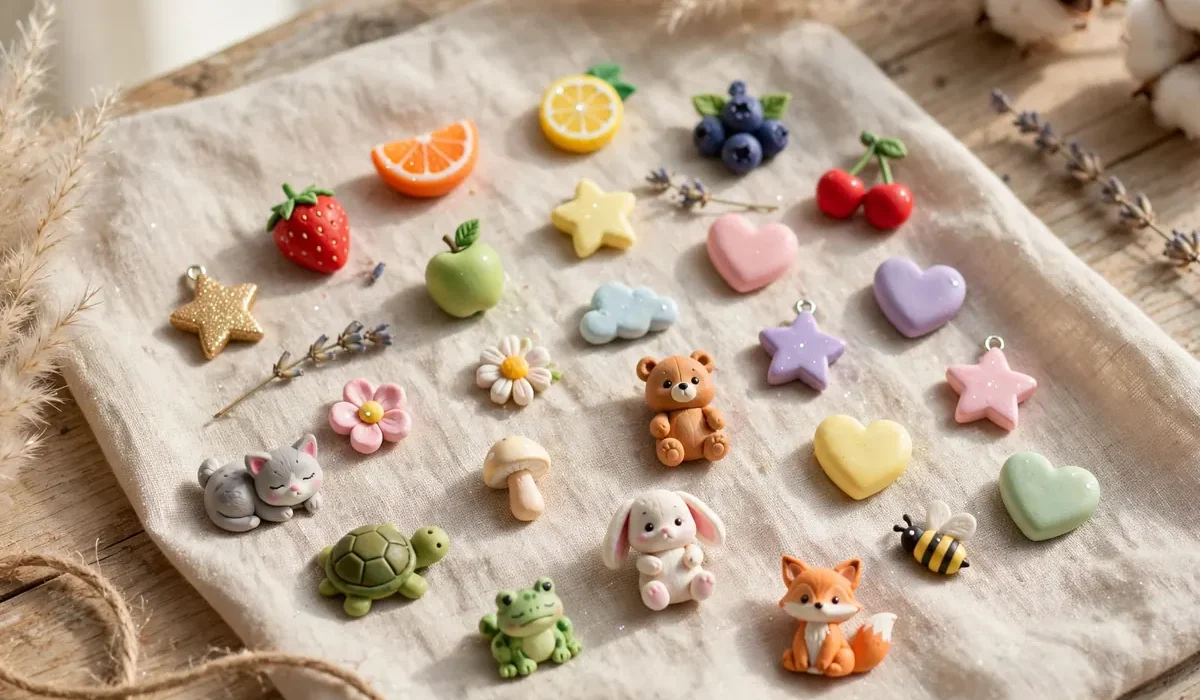
Something irresistible about tiny clay charm. Strawberry no bigger than fingernail, miniature cupcake, or heart in favourite colour can turn keychain, bracelet, or bag zip into something personal. Clay charms small, affordable, satisfying to make, which is why become one of most popular mini clay crafts for beginners. Guide covers clay charms across all main clay types: air-dry clay, polymer clay, oven-bake clay. Will learn how each clay behaves, which one suits first project, how to shape, dry or bake, finish charms looking neat, lasting. Can begin with one pack of clay, few household tools.
What Are Clay Charms?
Clay charms small decorative shapes made from clay, finished with hole, loop, or finding so can hang from keychain, bracelet, necklace, earring hook, bag, or zip. Most measure one to three centimetres, which makes quick to make, easy to customise. Popular designs include miniature foods, animals, flowers, hearts, stars, clouds, moons, tiny letters. Because charms small, forgiving. Beginners can start with spheres, teardrops, flat shapes.
Choosing Your Clay: Air-Dry, Polymer, and Oven-Bake
Most important choice is clay itself. Each type has strengths, best one depends on time, tools, how durable want finished charm to be.
Air-Dry Clay
Air-dry clay hardens at room temperature, usually within twenty-four to seventy-two hours, with no oven needed. Soft, easy to shape, widely available, which makes lovely for children, classrooms, first-time makers. White air-dry clay can be painted after drying. Seal finished charms with clear varnish.
Polymer Clay
Polymer clay soft colourful modelling clay hardening when baked in home oven at low temperature, following packet instructions. Holds fine detail beautifully, comes in wide range of colours, produces strong durable charms. Bake on foil lined tray at printed temperature.
Oven-Bake Clay
Oven-bake clay broad category including polymer clay and other bake-hardening modelling clays. Like polymer clay, baked in home oven, produces durable charms with crisp detail. Always read packet for exact temperature/time, because brands vary. Air-dry wins on simplicity. Oven-bake wins on durability.
Tools And Supplies You Need
Small starter kit enough: clay in two/three colours, smooth work surface, rolling pin, craft knife kept only for clay, toothpick, eye pins or jump rings, clear varnish, fine sandpaper. Keep wipes nearby, because dark clay can tint white clay.
8 Beginner Clay Charm Ideas
1. Mini Hearts
Roll small ball, flatten slightly, pinch top centre to form two lobes, shape bottom into point. Hearts need no moulds, look lovely in any colour.
2. Tiny Strawberries
Shape small cone in red clay, round top, taper bottom. Add tiny yellow dots with toothpick for seeds, then green star cap on top.
3. Mini Cupcakes
Roll small cylinder for cup, flatten top, add swirl of frosting from coiled rope of clay. Press tiny ball on top as cherry.
4. Clouds And Moons
Roll flat oval for cloud, then press small circles along edges to form bumps. For moon, flatten ball, cut out crescent with round cutter.
5. Mini Animals
Start with simplest animals: round cat face, bunny head with long ears, or tiny frog. Use ball for head, small triangles for ears, tiny balls for eyes.
6. Flowers
Roll five small balls, flatten into petals, arrange around centre ball. Press gently to join. Flower charms make easy matching pair of earrings.
7. Tiny Food Charms
Try slice of watermelon, tiny doughnut, small ice cream cone, or miniature pizza slice. Build each one from simple shapes: circles, triangles, coils.
8. Letter And Initial Charms
Roll thin coil, shape into initial, or cut letter from flat sheet of clay. Initial charms personal/popular as gifts. Keep letter thick enough to stay strong.
How To Make A Clay Charm Step By Step
Step 1: Condition The Clay
Knead small piece of clay until feels soft/smooth, with no cracks. Well conditioned clay less likely to crack.
Step 2: Shape Your Charm
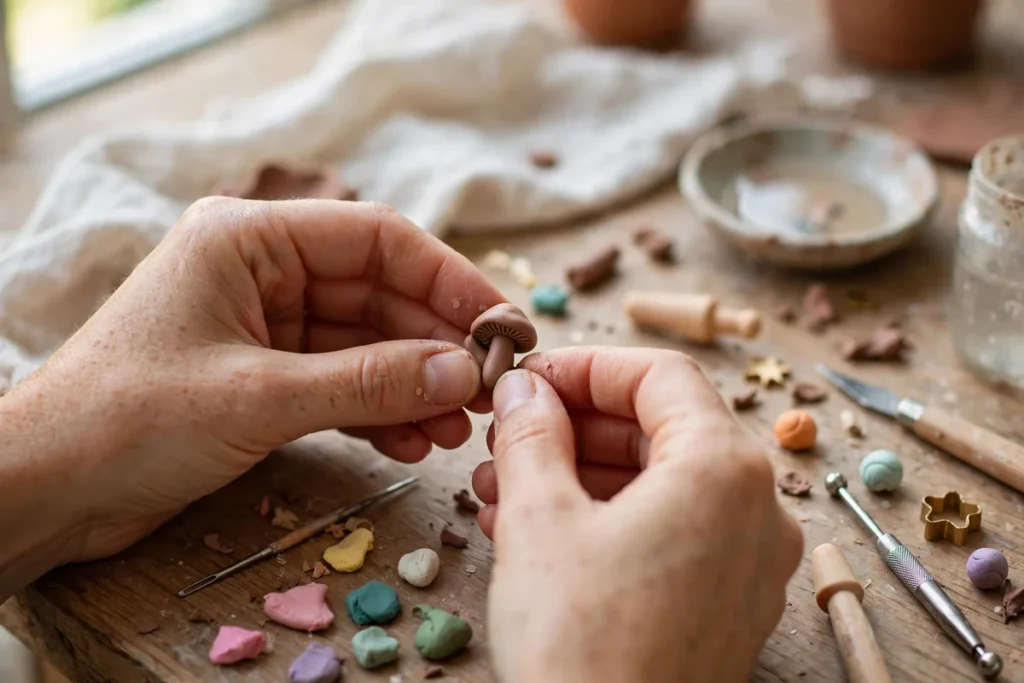
Build from simple shapes. Start with balls, coils, flat sheets, then join by pressing gently, smoothing joins with fingertip.
Step 3: Add A Hole Or Loop
Decide how charm will hang before dries or bakes. For simple hole, push toothpick through top, wiggle slightly. For stronger hanging point, push small eye pin into top.
Step 4: Dry Or Bake
Place air-dry charms on flat surface, let dry fully for twenty-four to seventy-two hours. Do not rush drying with hairdryer, because uneven drying can cause cracks. For polymer or oven-bake clay, follow packet instructions exactly, let charms cool completely before handling.
Step 5: Sand, Paint, And Seal
Smooth rough edges with fine sandpaper. If used white air-dry clay, paint now with acrylic paints, let dry fully. Finish with clear varnish, then add findings once dry.
Frequently Asked Questions
What is best clay for beginners making charms?
Air-dry clay easiest for absolute beginners because needs no oven. Polymer clay best if want durable detailed charms, comfortable following baking instructions.
How long do clay charms take to dry or bake?
Air-dry charms take twenty-four to seventy-two hours to harden fully. Polymer/oven-bake charms usually bake in fifteen to thirty minutes depending size/brand, plus cooling time.
How do I make a hole in a clay charm?
Push toothpick or needle through soft clay at top before drying or baking, wiggle slightly. For extra strength, insert small eye pin instead.
Start Your First Charm Today
Pick one simple design, make three of them. First teaches how clay feels. Third will be one you keep. Explore more DIY projects on Hommiest, turn ordinary afternoon into shelf of miniature delights.