

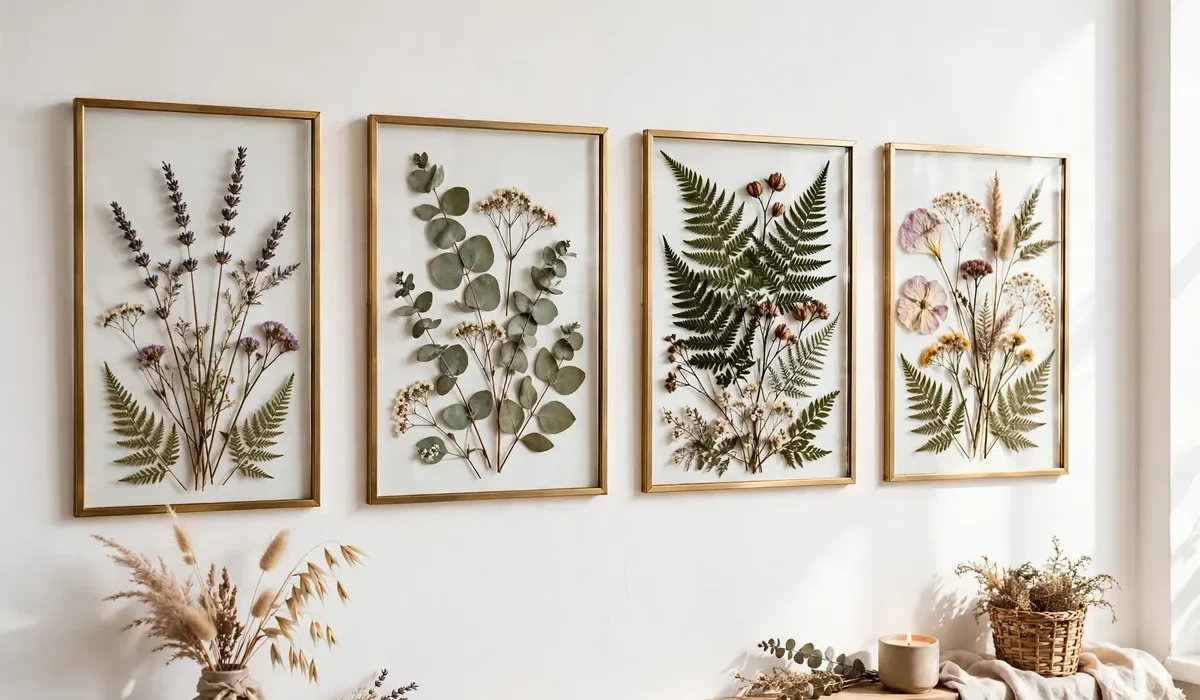
Handful of wildflowers, heavy book, little patience can turn into wall art will keep for years. Pressed flower art one of simplest crafts to start. Flowers cost almost nothing, supplies basic, finished pieces look delicate/personal. Guide: learn how to press flowers, arrange them, turn into framed art, bookmarks, resin pieces, handmade cards.
Why Pressed Flower Art Is So Popular
Pressed flower art sits at meeting point of nature, decor, memory. People press flowers from wedding bouquet, first garden, or holiday trip, then turn into something can see every day. Emotional connection is why pressed flower pieces make such good gifts. Feel thoughtful without being expensive, no two pieces ever exactly alike.
How To Press Flowers
Good pressed flower art starts with good pressing. Flowers too thick, too wet, or picked too late will turn brown or go mouldy.
What Flowers Press Best
Flat thin flowers press far better than thick fleshy ones. Great choices include pansies, violets, daisies, cosmos, larkspur, lavender sprigs, baby’s breath, Queen Anne’s lace, ferns, grasses. Avoid thick blooms such as whole dahlias or peonies unless press individual petals. Pick flowers in late morning, after dew dried but before midday sun fades colour.
The Book Method
Open heavy book to middle, lay down blotting paper, coffee filter, or plain printer paper. Arrange flowers in single layer, keeping petals flat, avoiding overlap. Lay another sheet on top, close book, stack two/three more heavy books on top. Leave flowers for two to four weeks, change paper after first week if feels damp.
The Flower Press Method
Wooden flower press gives more even pressure, worth buying if press regularly. Steps same, but tighten bolts every few days as flowers shrink. Microwave flower press works in minutes rather than weeks, ideal if want to make pressed flower art same day. Press in short bursts so delicate petals do not scorch. Flowers ready when feel papery/dry. Store flat in paper envelope, away from sunlight/humidity.
Framed Pressed Flower Art
Framing classic way to display pressed flowers. Floating glass frame, where artwork sits between two panes, shows flowers from both sides, looks especially elegant. White or natural wood frame suits clean modern look.
How To Make Framed Pressed Flower Art
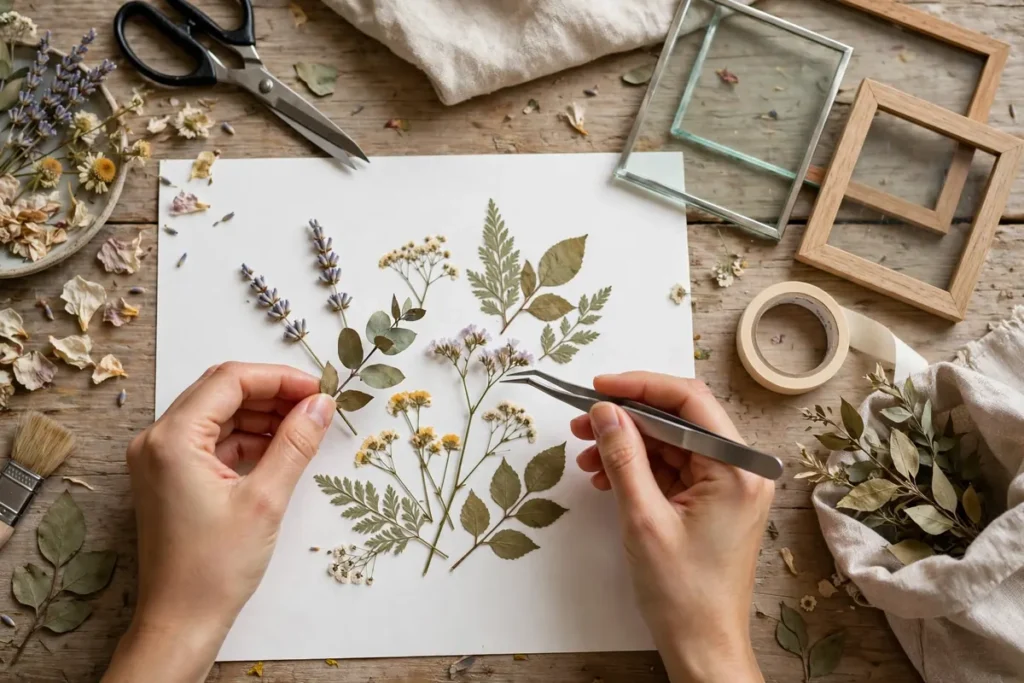
Cut heavyweight paper or card to fit frame. White, cream, soft sage all work well. Plan design before glue anything. Single bloom with fern frond elegant, while small bouquet shape feels romantic. Attach each piece with tiny dot of clear-drying craft glue applied with toothpick. Less glue better, since too much will stain petals. Let piece dry flat for hour, then assemble frame. Keep framed art out of direct sunlight so colours last longer. Try botanical monogram, seasonal set of four small frames, wedding keepsake, or herbarium style piece with each flower labelled by hand.
Pressed Flower Bookmarks
Pressed flower bookmarks quick, useful, perfect for gifts/market stalls. Cut strip of heavy card, about 5 cm by 15 cm, arrange small flowers/leaves on one side. Tiny blooms, ferns, single petals work best at this size. Fix each piece with small dot of clear glue, let dry flat. Cover bookmark with clear adhesive laminate, smoothing from centre outward to avoid bubbles. Punch hole at top, add ribbon or tassel.
Pressed Flower Resin Art
Resin gives pressed flowers glossy professional finish, turns into jewellery, coasters, paperweights. Always work in ventilated room, wear gloves, follow product instructions exactly.
How To Make A Pressed Flower Resin Coaster
Choose fully dried flowers. Any trapped moisture will cloud resin or cause bubbles. Pour thin base layer of resin into silicone coaster mould, let thicken slightly. Place flowers face down with tweezers, then pour second thin layer to cover them. Pop bubbles with toothpick or quick pass of heat gun held at distance. Let coaster cure for full time on instructions, usually 24-48 hours, before demoulding. Start with small moulds such as pendants/keychains before moving to large trays. UV resin cures in minutes under UV lamp, easier to control for tiny pieces.
Pressed Flower Cards
Handmade cards one of easiest ways to use pressed flowers. Fold heavyweight card in half, then arrange small cluster of flowers on front. Single stem with two leaves often more striking than crowded design. Glue flowers in place, let dry flat under book for 30 minutes. Add short handwritten message or stamped greeting. Make cards in batches: press large batch of flowers once, then assemble ten cards in afternoon.
Frequently Asked Questions
How long do pressed flowers last?
Stored flat, kept out of sunlight, pressed flowers stay colourful for several years. Framed pieces kept away from direct sun usually last three to five years, resin pieces last much longer.
Can I press flowers without a flower press?
Yes. Heavy book, two sheets of paper, two to four weeks of patience work just as well.
Why did my pressed flowers turn brown?
Brown flowers usually picked too late or pressed while damp. Pick fresh blooms on dry morning, press same day, change paper if feels damp during first week.
Can I use pressed flowers from a shop-bought bouquet?
Yes, as long as flowers fresh. Supermarket roses/carnations press well if separate thick blooms into individual petals first.
Start Pressing Today
You do not need perfect garden to begin. Pick few daisies or wildflowers this week, press in heavy book, while they dry, gather frame, card, tube of clear glue. Which project will you try first? Tell us in comments, share guide with friend who loves flowers.